
Click any picture to see it full size.
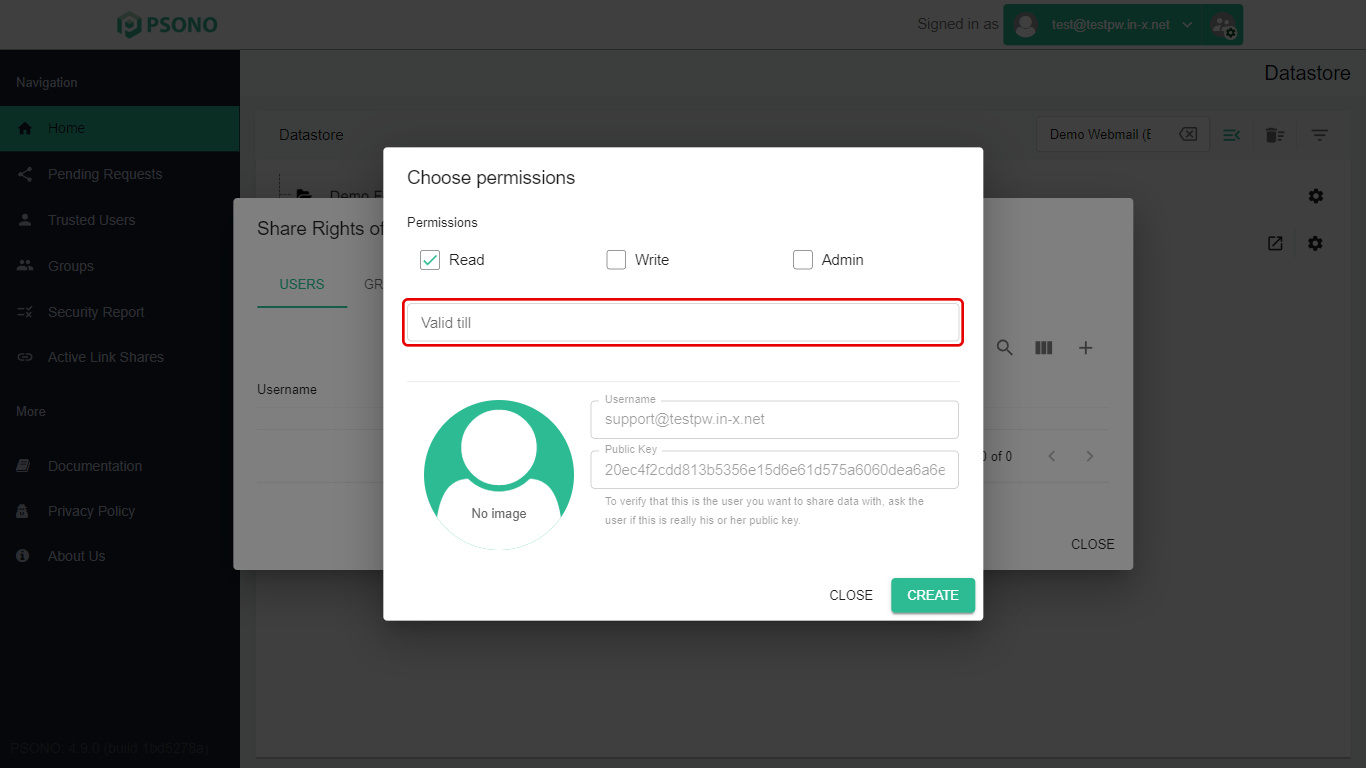
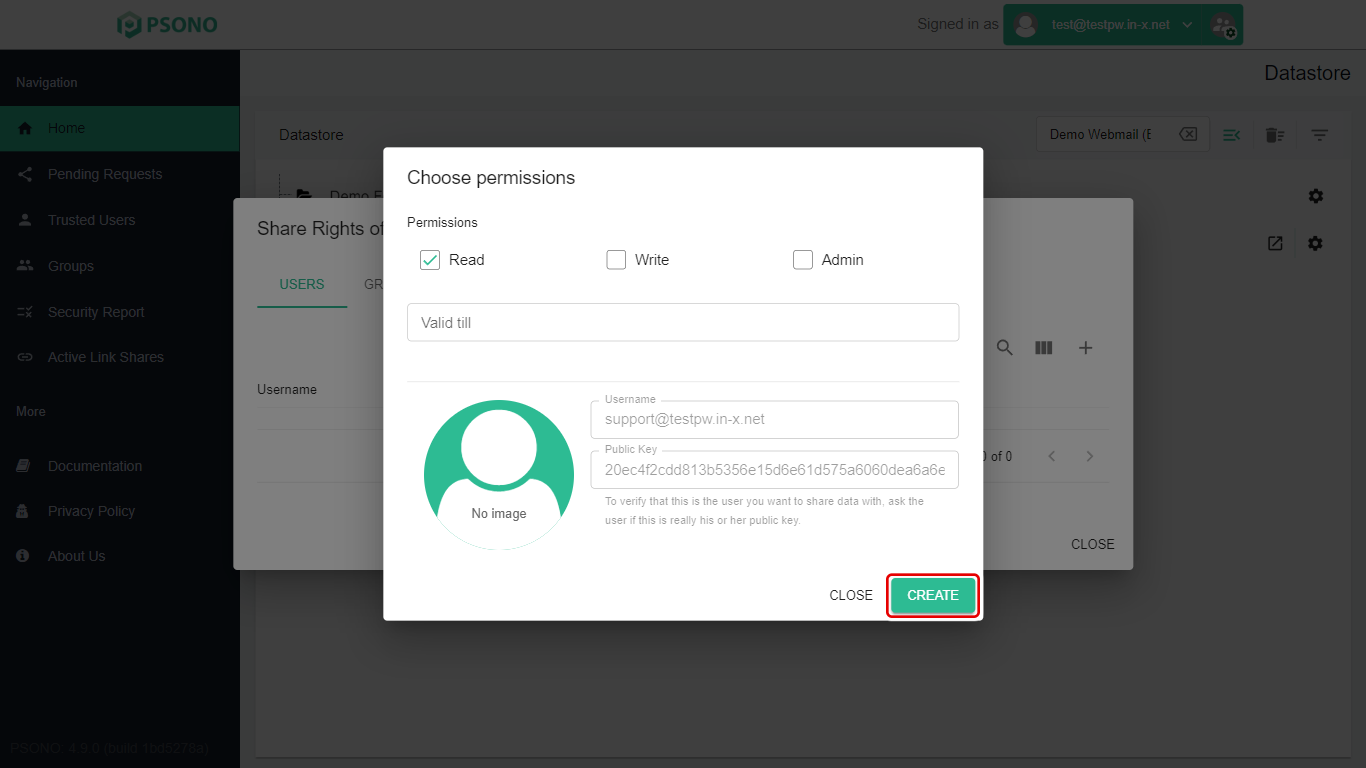
In this guide, the red box in each picture shows what to click.
Before you start
- Never send passwords by email or chat. Share them in Psono instead.
- The other person must already have a Psono account.
- You need their Psono username.
- After you share, the other person has to accept the share before they can see it. See Accepting Shared Passwords and Folders.
Share the entry
-
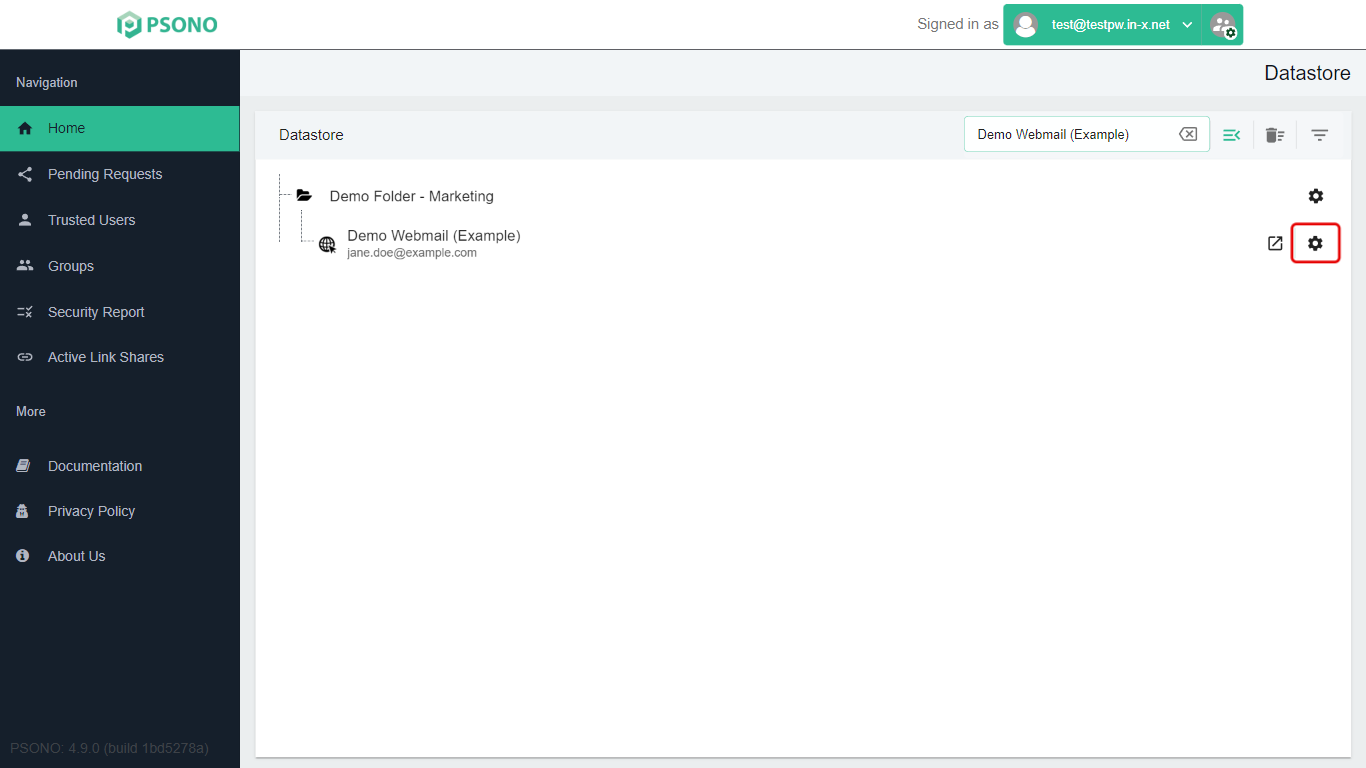
On the Datastore page, find the entry. Typing part of its name in Search helps. Click the gear icon at the end of its row.
-
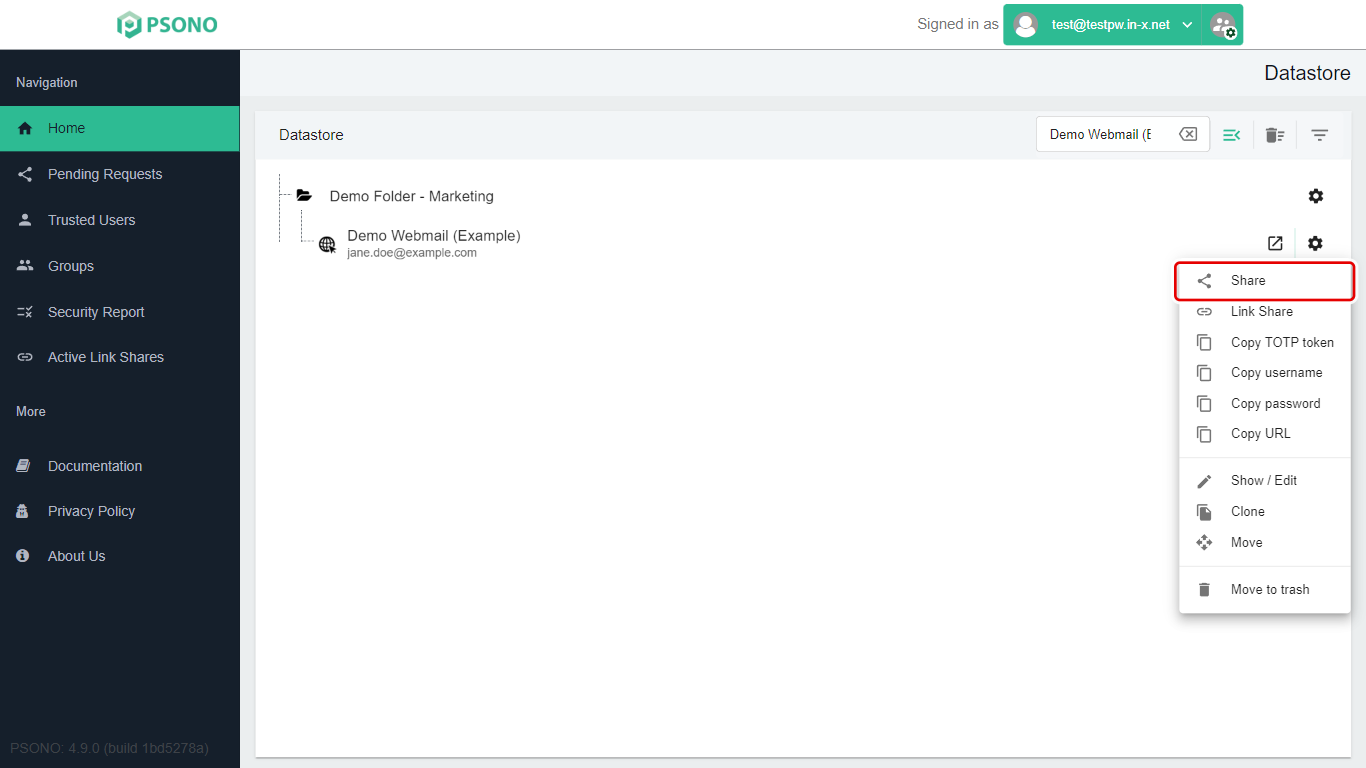
Click Share.
-
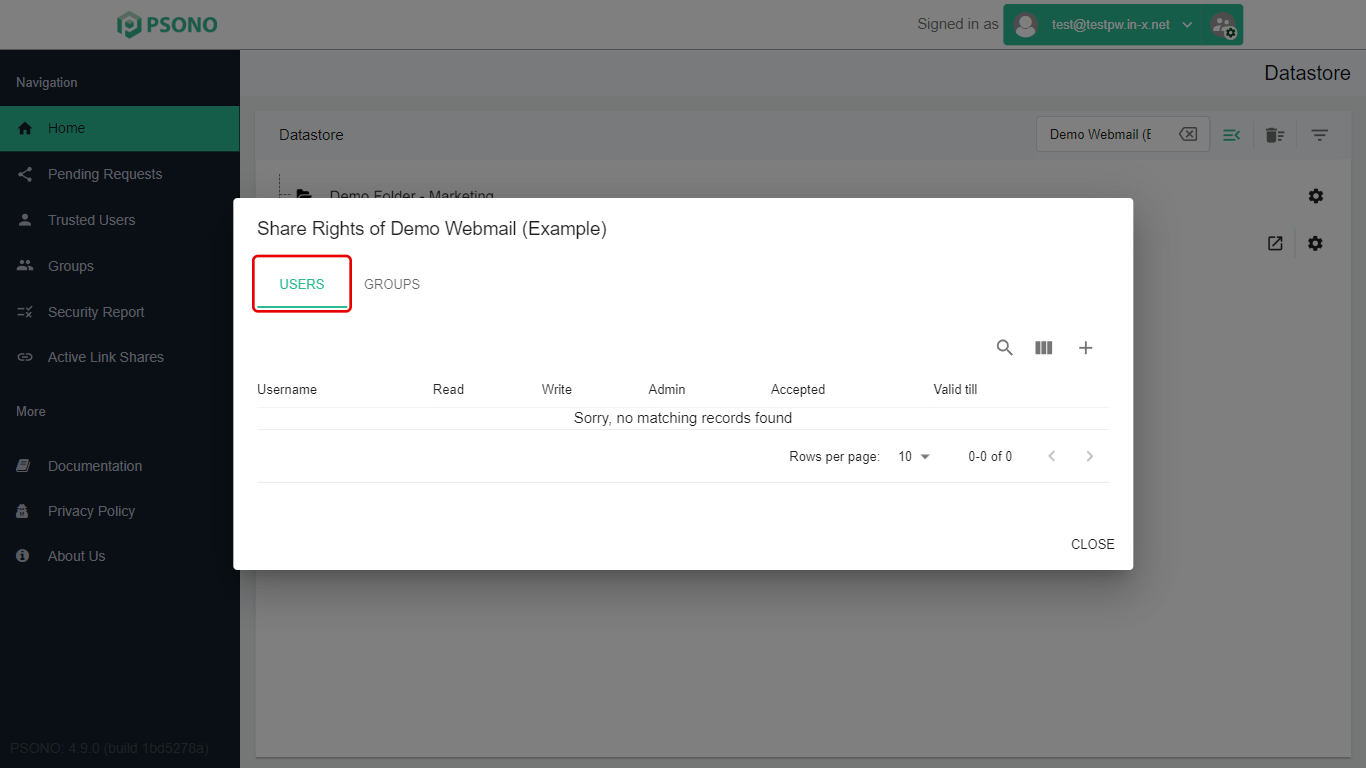
A window called Share Rights of … opens. It lists anyone who already has access; it's empty if you haven't shared this entry yet. Make sure the Users tab is selected.
-
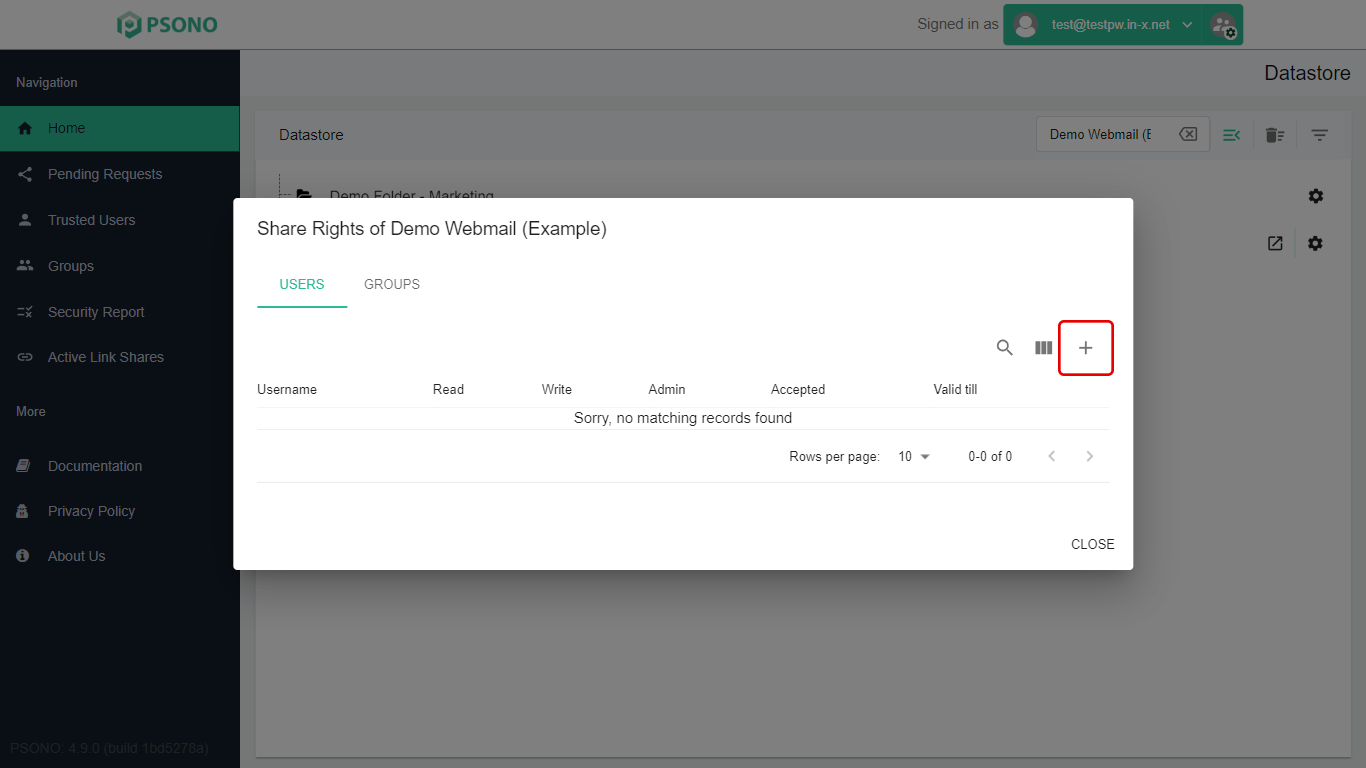
Click the + button at the top right of the list.
-
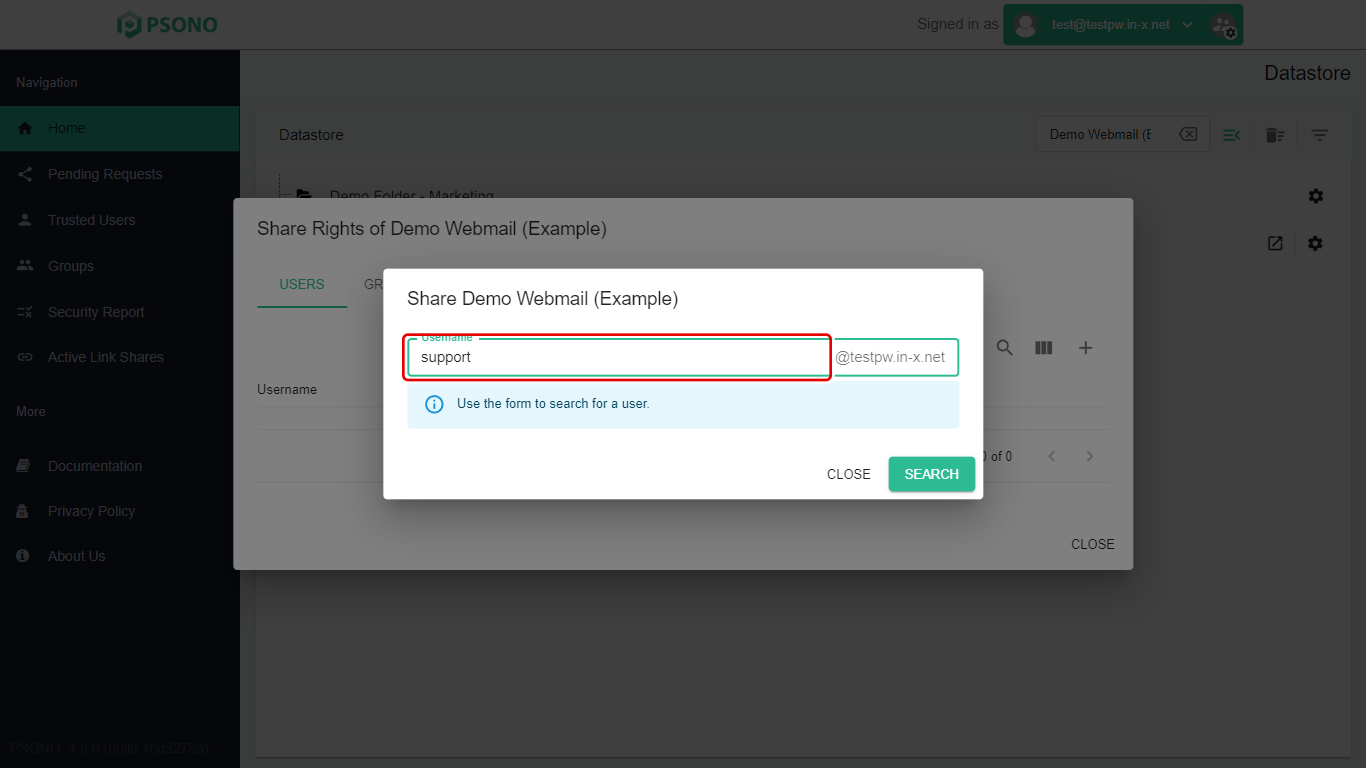
Type the other person's username in the Username box. If the box already shows the part after the @, type only the part before it.
-
Click Search.
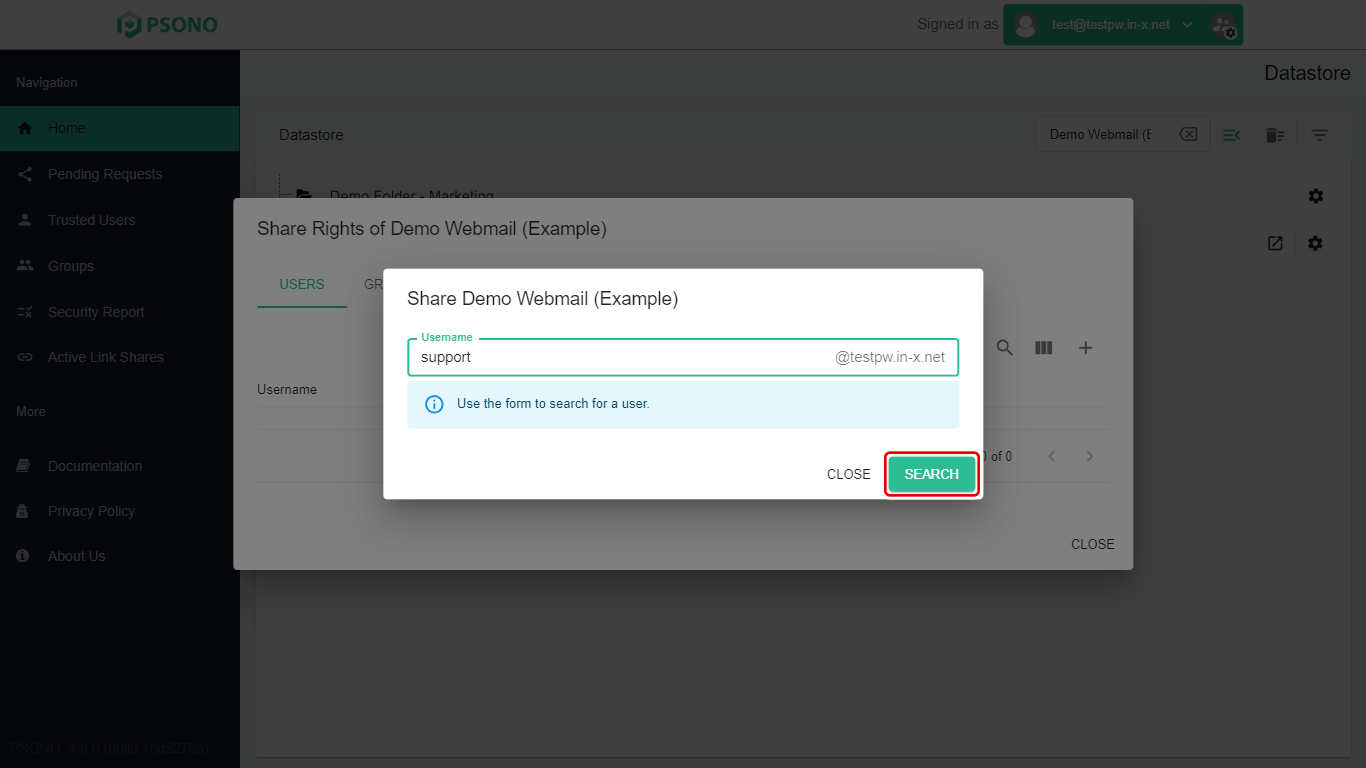
If you see User not found, check the spelling of the username.
Choose what they can do
The window changes to Choose permissions. It shows the person Psono found (their username and a long "public key"), and the Permissions you can give them. Check that the username is the person you meant.
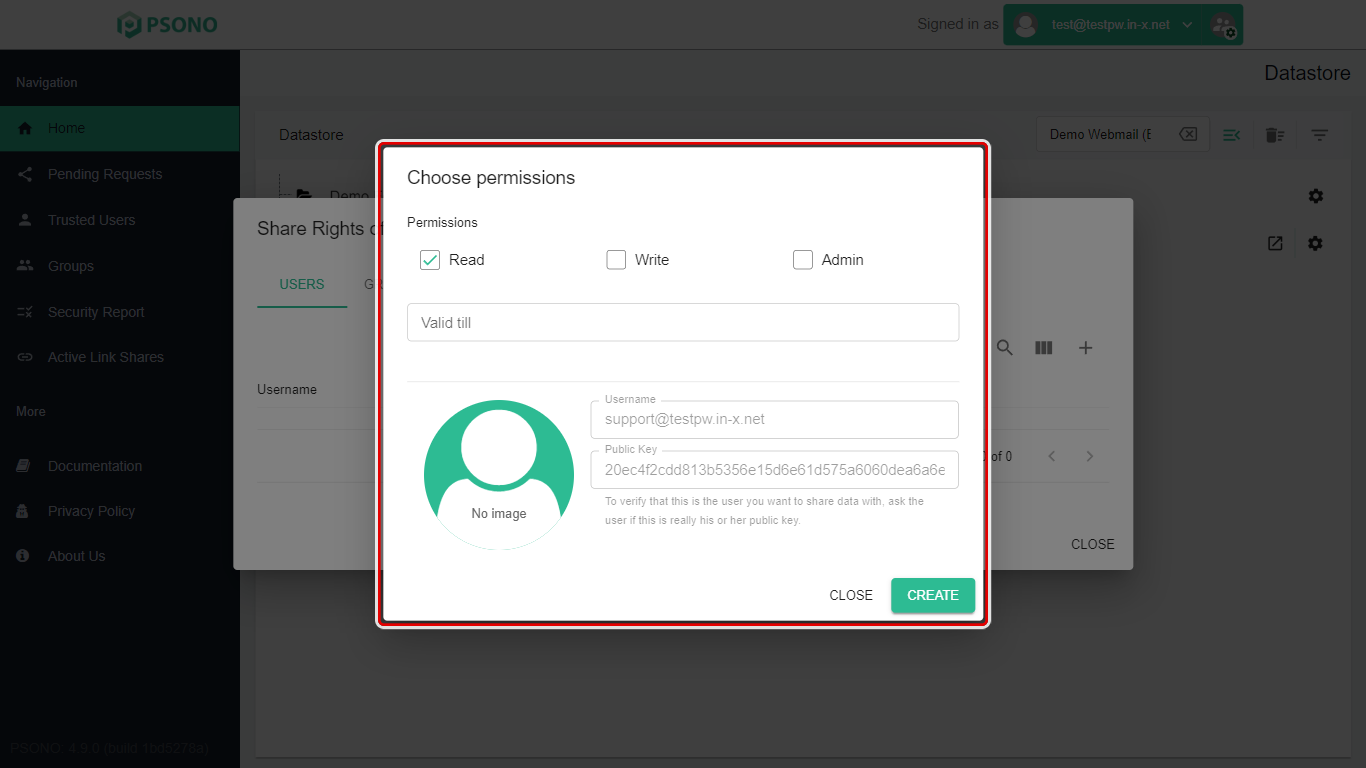
| Permission | What it lets the other person do | Ticked to start with? |
|---|---|---|
| Read | See and use the entry: copy the username and password, open the website. | Yes |
| Write | Change the entry, for example update the password. | No |
| Admin | Share the entry with other people and change everyone's permissions. | No |
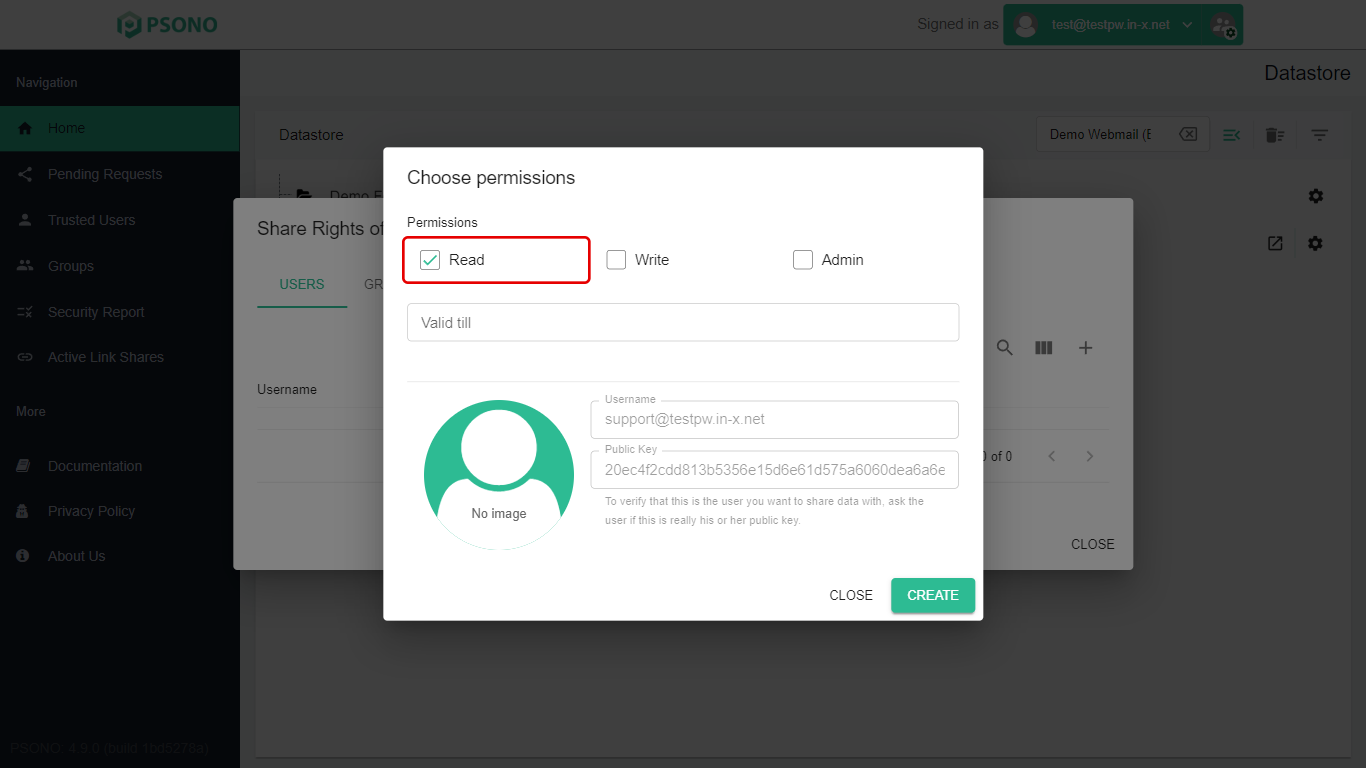
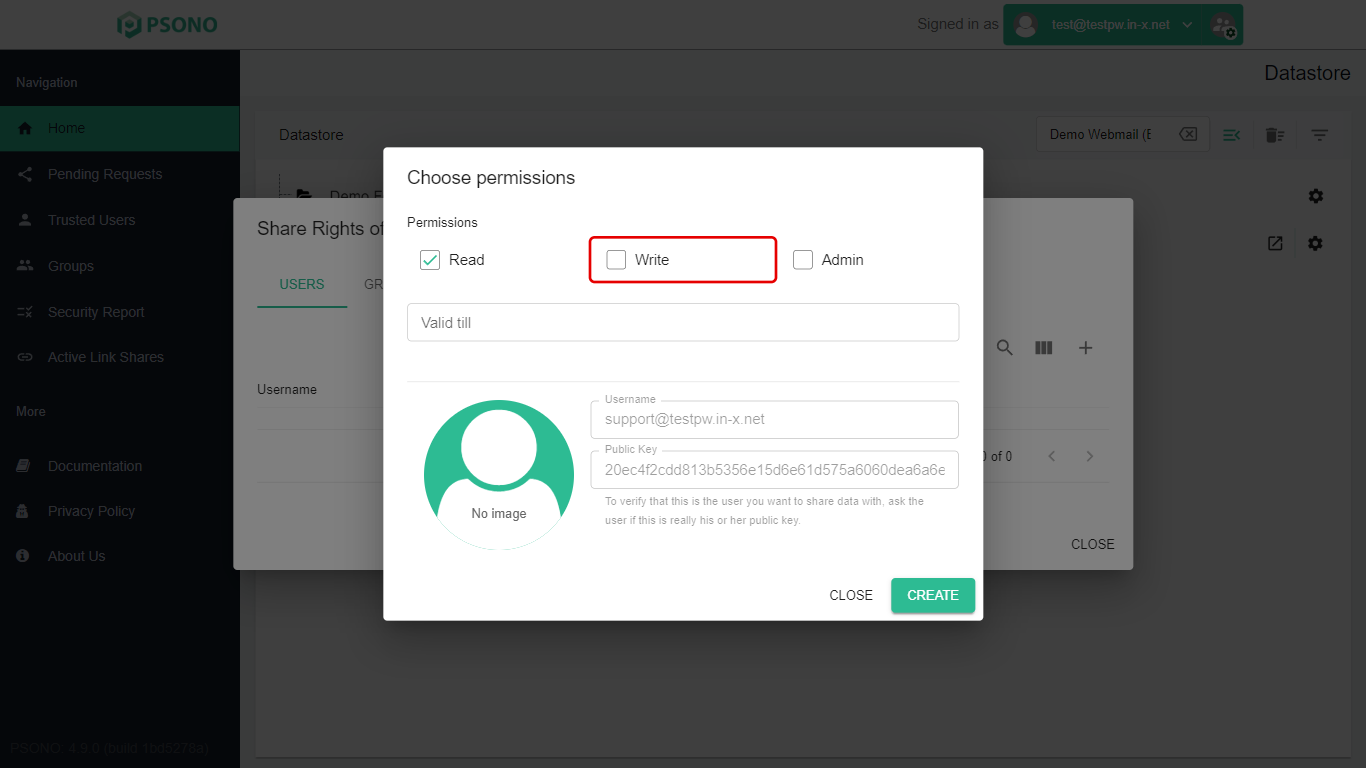
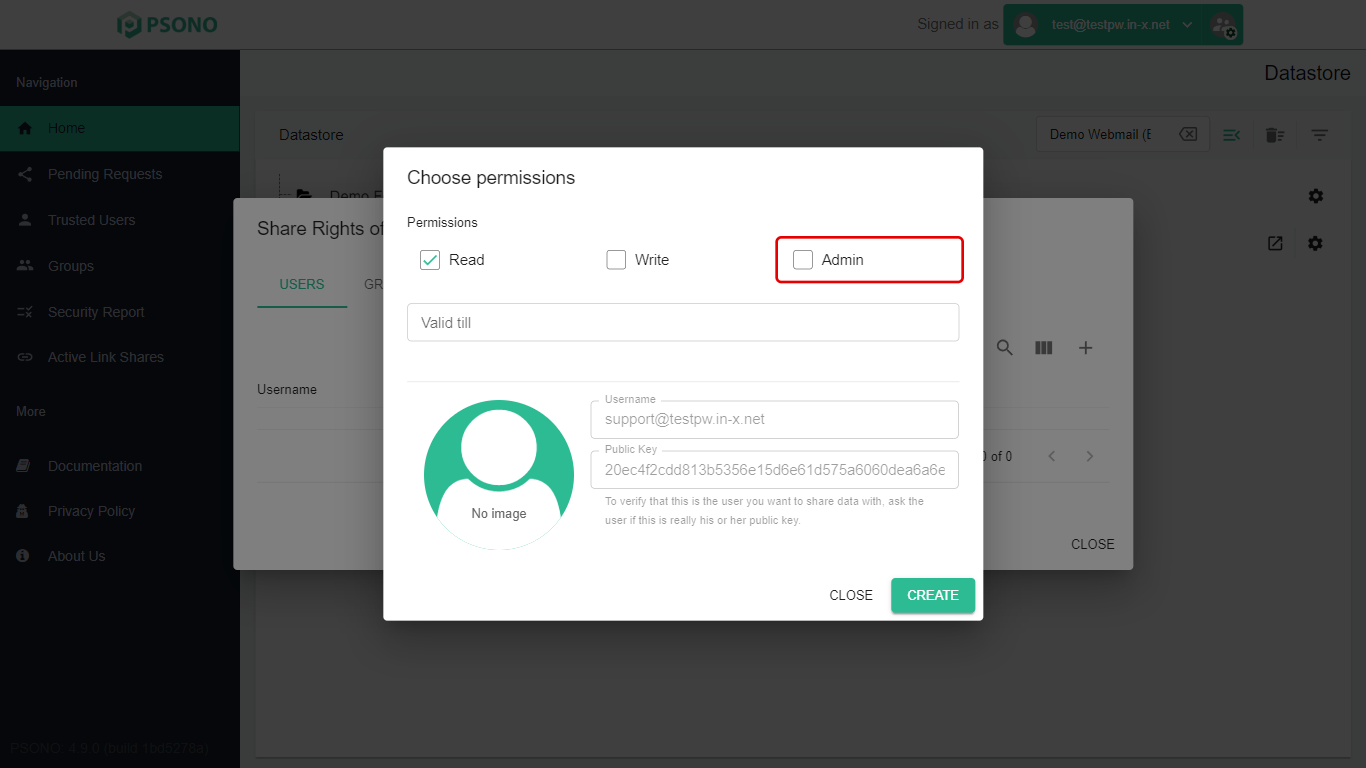
Which should I choose? In most cases leave only Read ticked. Tick Write if the other person should also update the password when it changes. Only give Admin to someone who manages this account with you.
Valid till is optional. Pick a date and time if the person should only have access for a limited time, for example a temp covering a holiday. If you leave it empty, the share never expires.
-
Click Create.
Check who it's shared with
Open Share on the entry again. The person now shows in the list with their permissions.
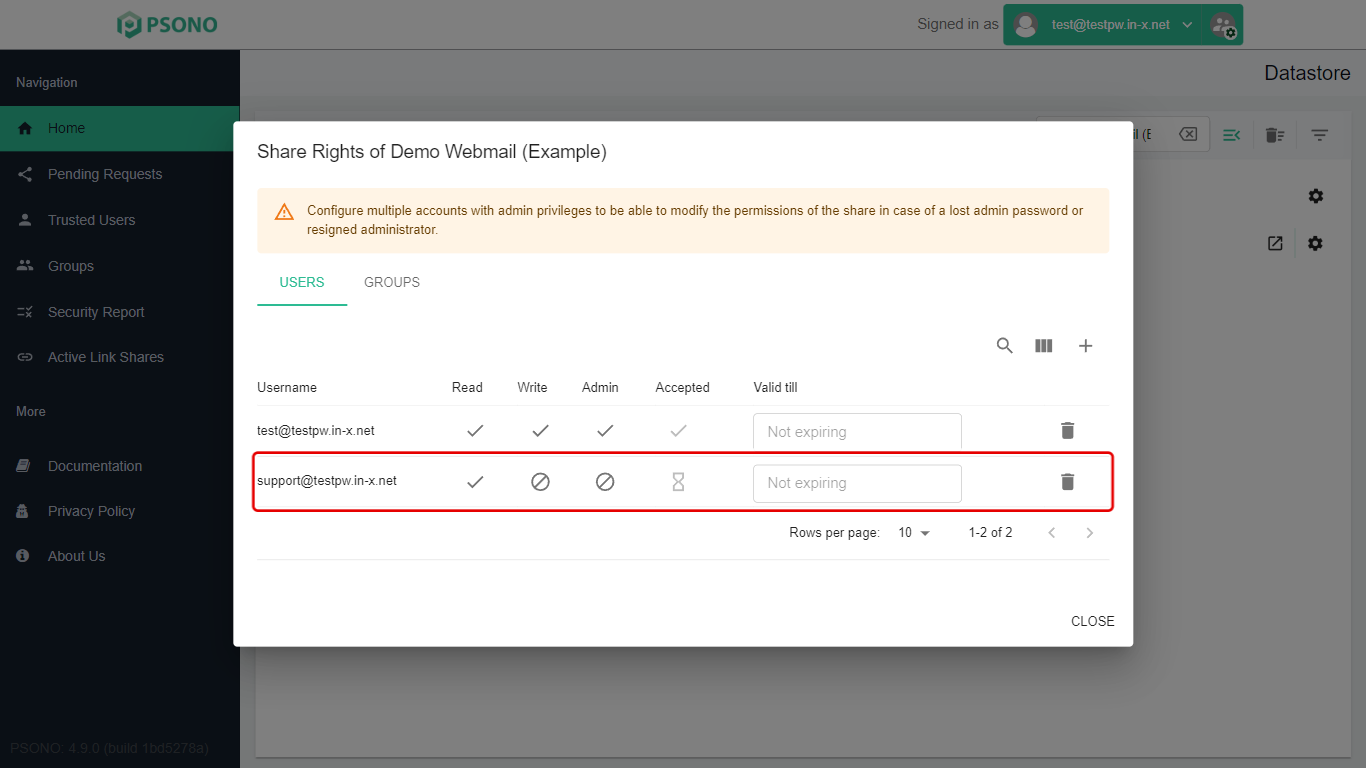
- An hourglass under Accepted means they haven't accepted the share yet.
- To remove their access, click the bin icon at the end of their row.
- You may see an orange message suggesting you give Admin to more than one person. That's so someone can still manage the share if the only admin leaves. You don't have to act on it.
You can come back here at any time to change their permissions or remove their access.
Sharing a password with us (The I.T. Connection)
If we need a password to help you, please don't email it. Share it with us in Psono instead:
- Follow the steps in Share the entry.
- In the Username box, type support. Psono adds your company's part after the @ (for example
support@yourcompany.com). The pictures in this guide show exactly this: sharing with the support account. - Leave only Read ticked, unless we've asked to update the password for you. In that case, tick Write as well.
- Click Create and let us know you've shared it.
When we no longer need it, you can remove our access: open Share on the entry and click the bin icon on the support row.
Sharing with someone who doesn't use Psono (link shares)
A link share makes a web link that shows one entry to anyone who opens it. It's useful for people outside your company, such as a contractor who needs one login. You can limit how many times the link works and for how long.
Use link shares carefully. Anyone who gets the link can open it. Keep Allowed usage low, set Valid till, add a Passphrase, and send the passphrase a different way from the link (for example, the link by email and the passphrase by text message).
Create the link
-
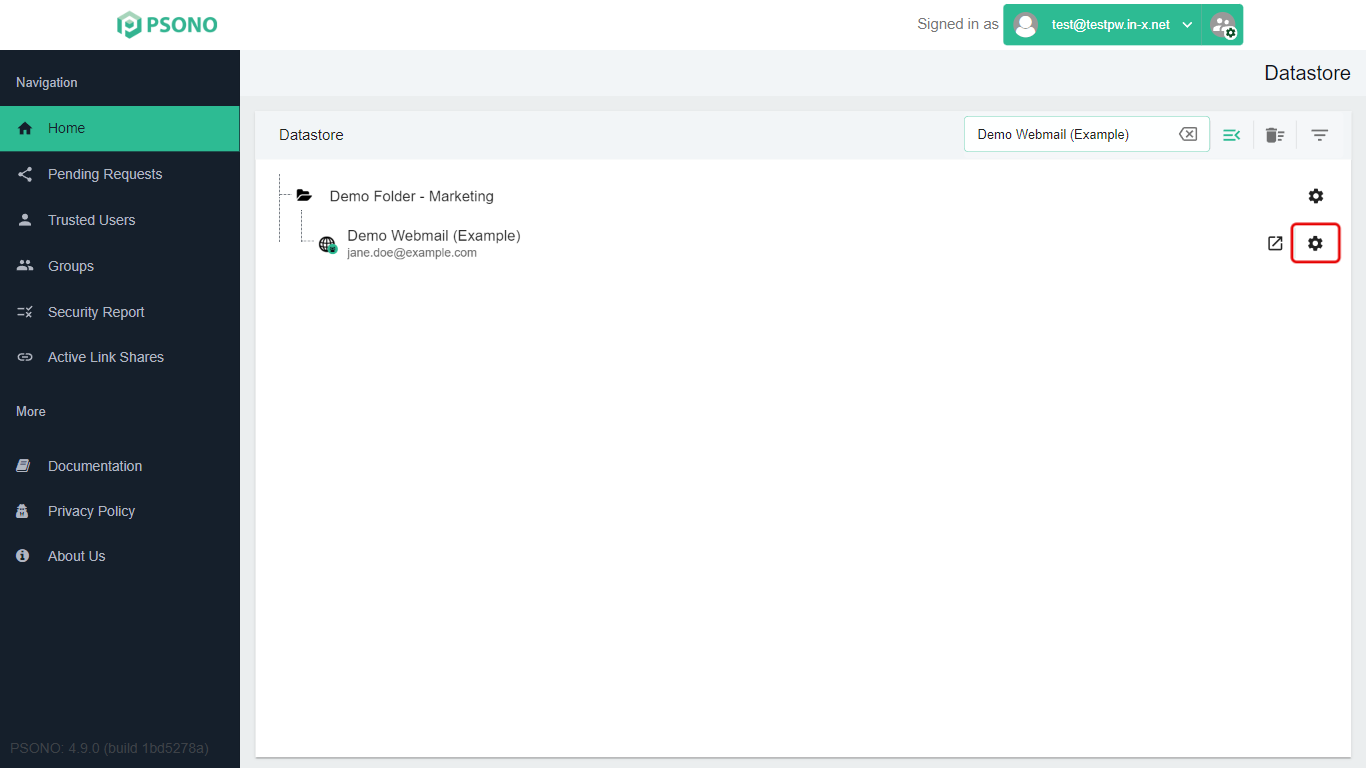
On the Datastore page, find the entry (type part of its name in Search) and click the gear icon on its row.
-
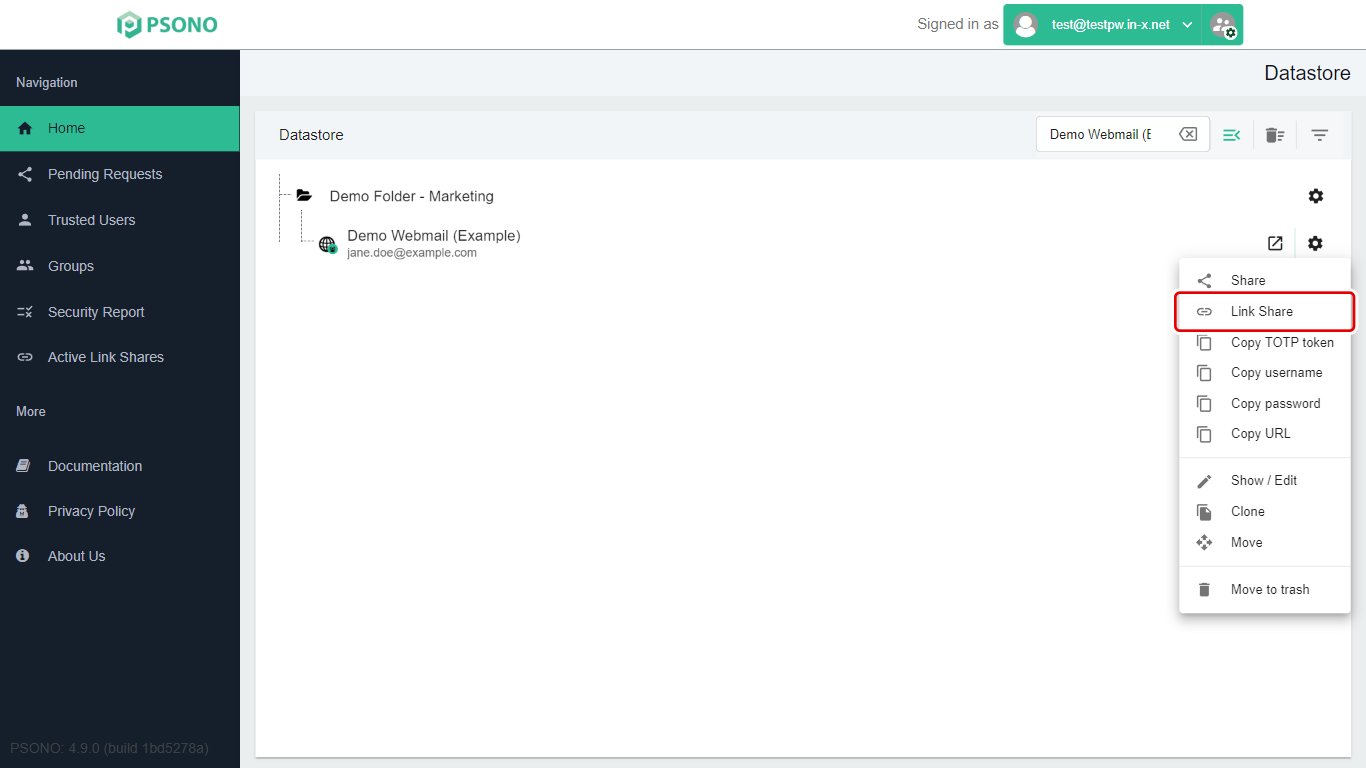
Click Link Share.
-
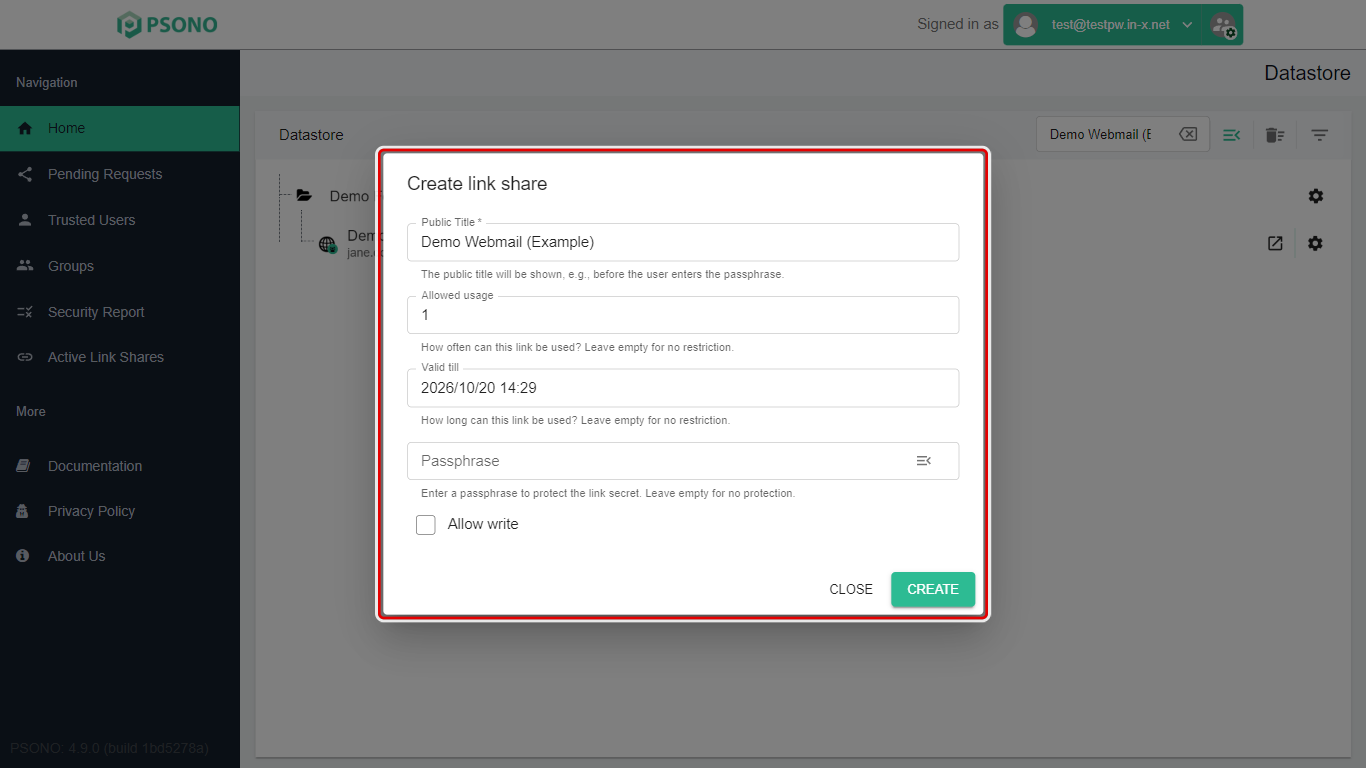
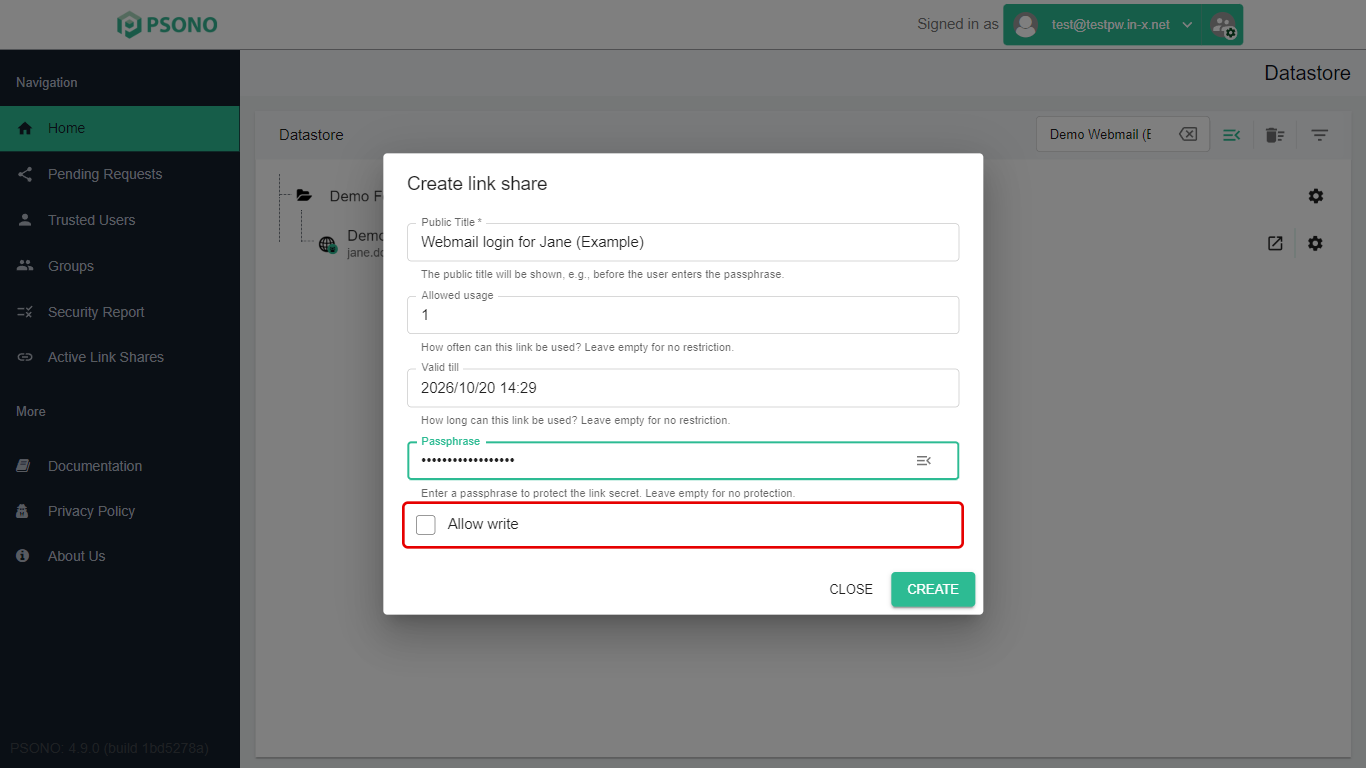
The Create link share window opens.
-
Fill in the details:
-
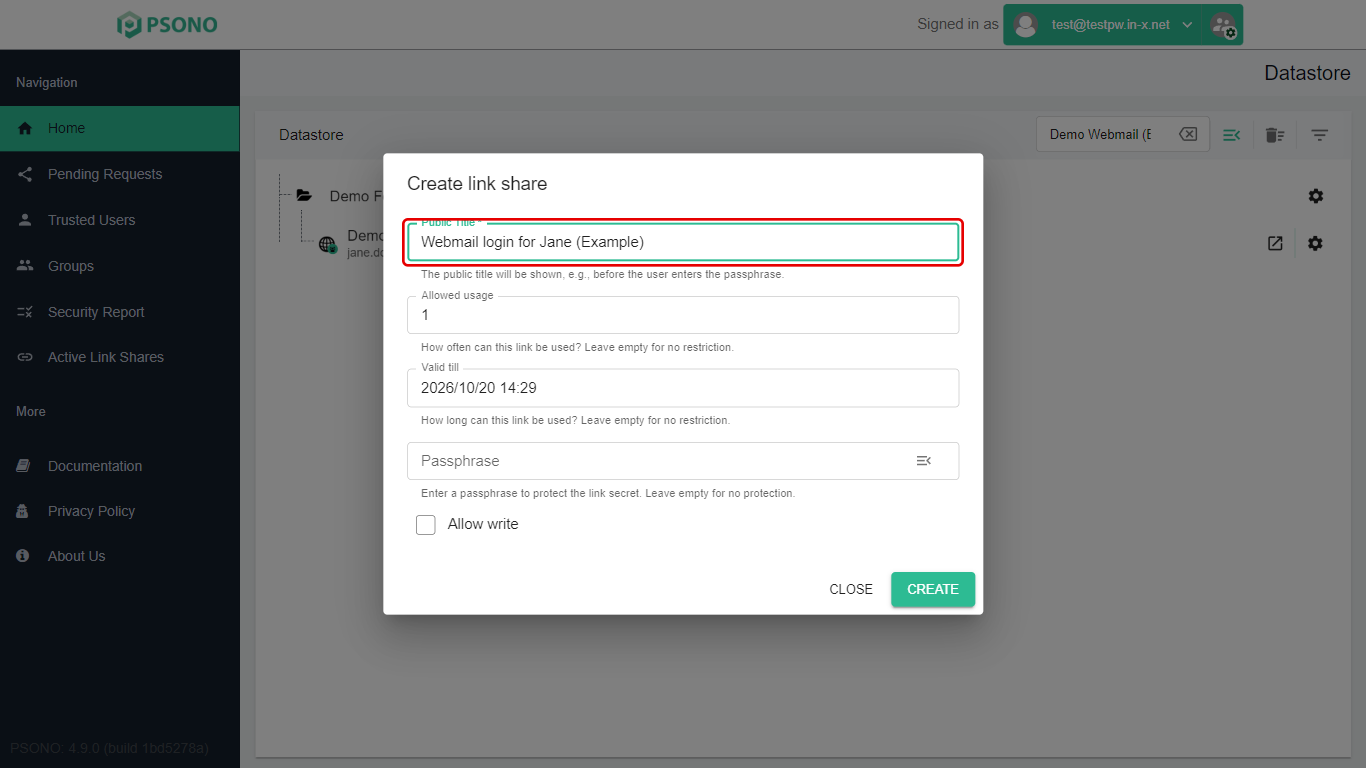
Public Title: what the other person sees before they open the link. It starts as the entry's own title. Change it to something that doesn't give too much away, for example Webmail login for Jane (Example).
-
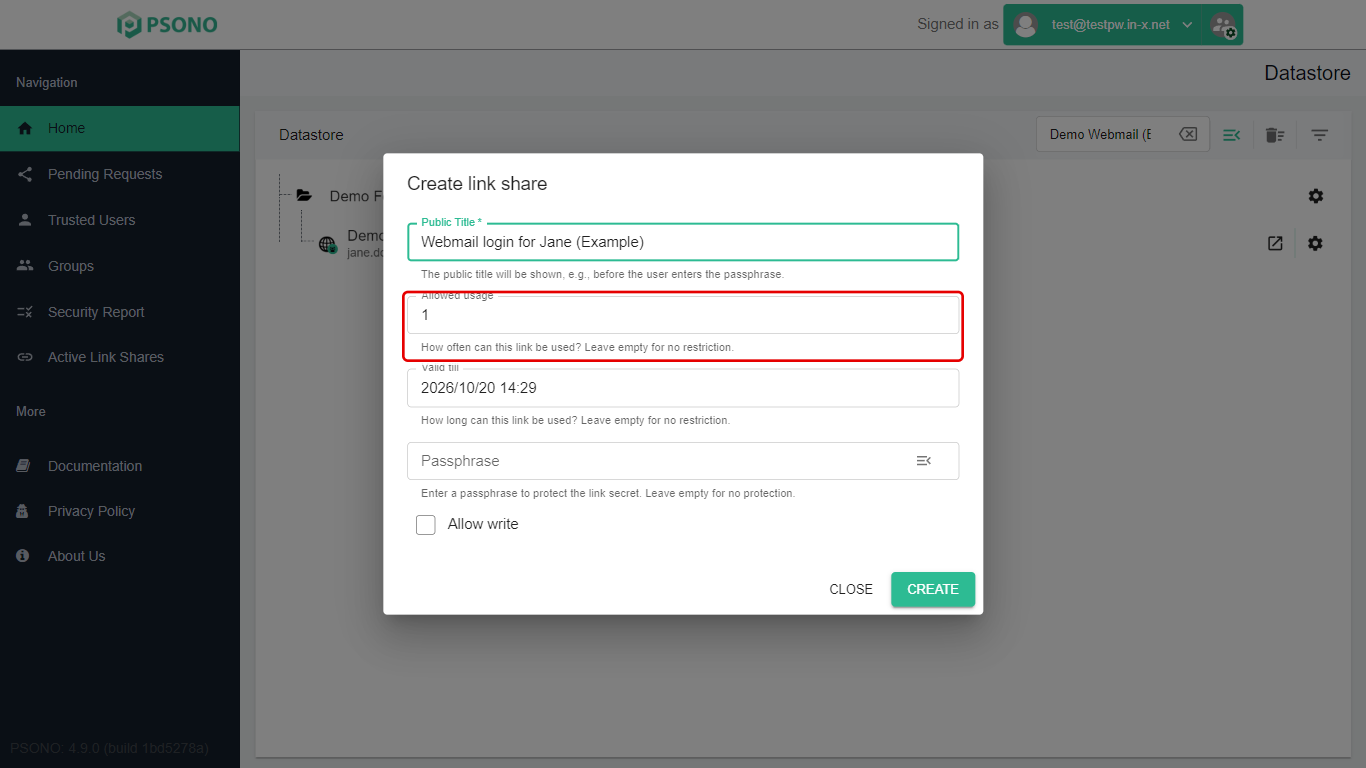
Allowed usage: how many times the link can be opened. It starts at 1, which is usually right. Leave it empty for no limit.
-
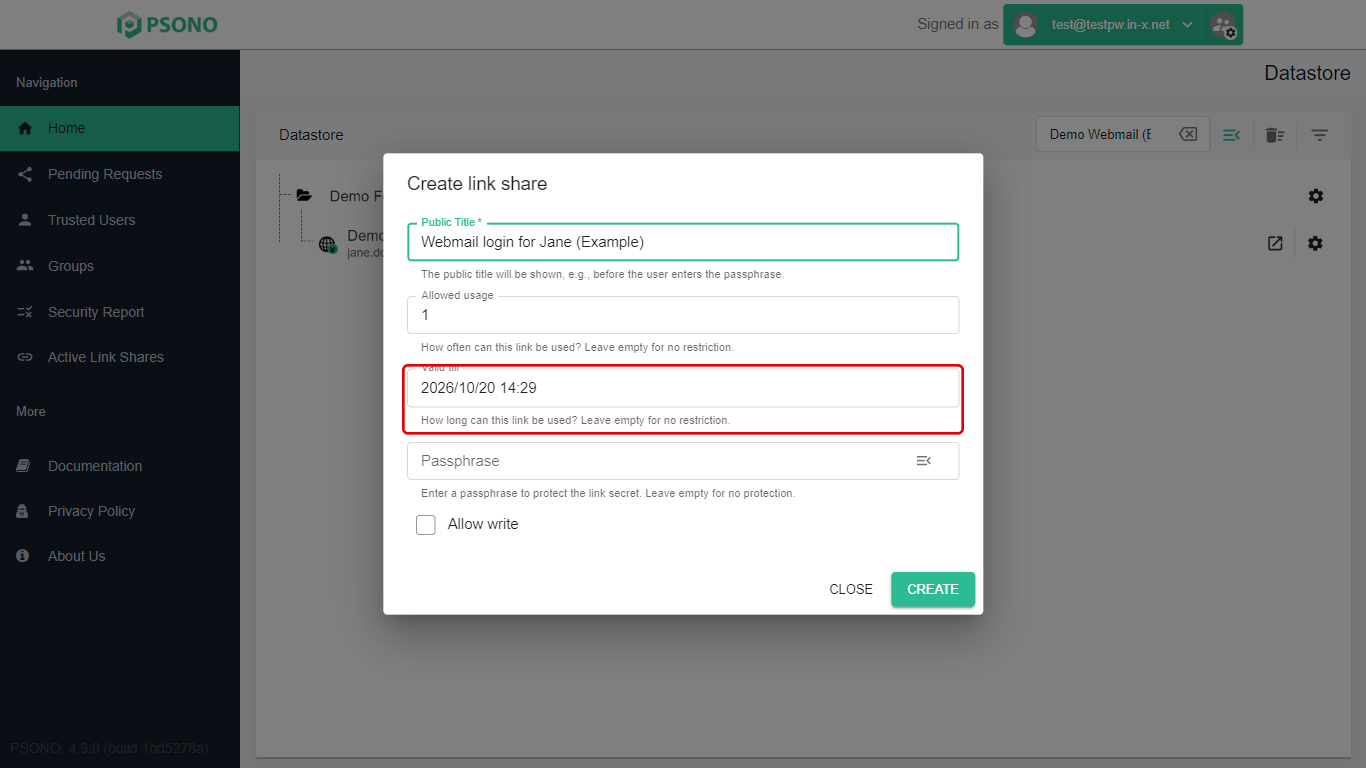
Valid till: when the link stops working. It starts at one day from now. Leave it empty for no time limit.
-
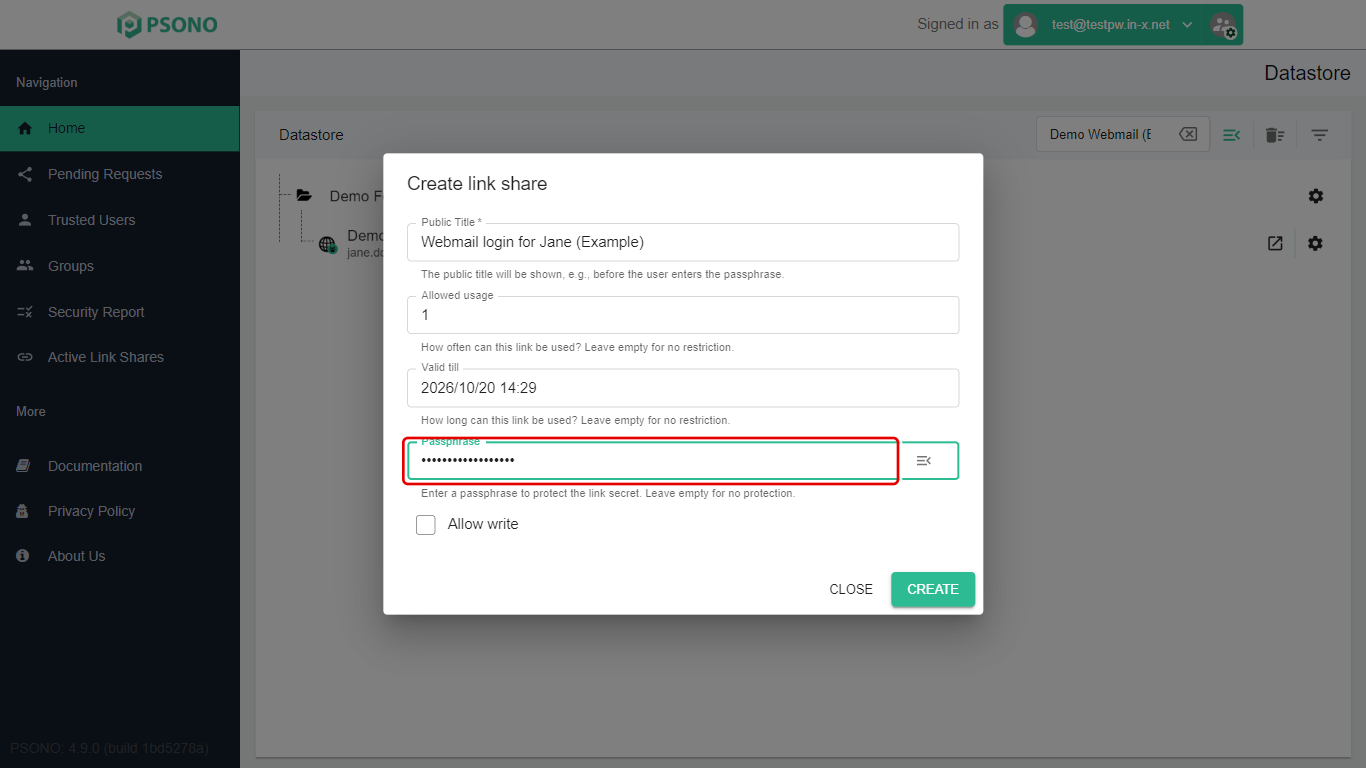
Passphrase: an extra password the other person must type to open the link. It's optional, but we recommend it. Send it to them separately from the link.
-
Allow write: lets the other person change the entry. Leave it off.
-
-
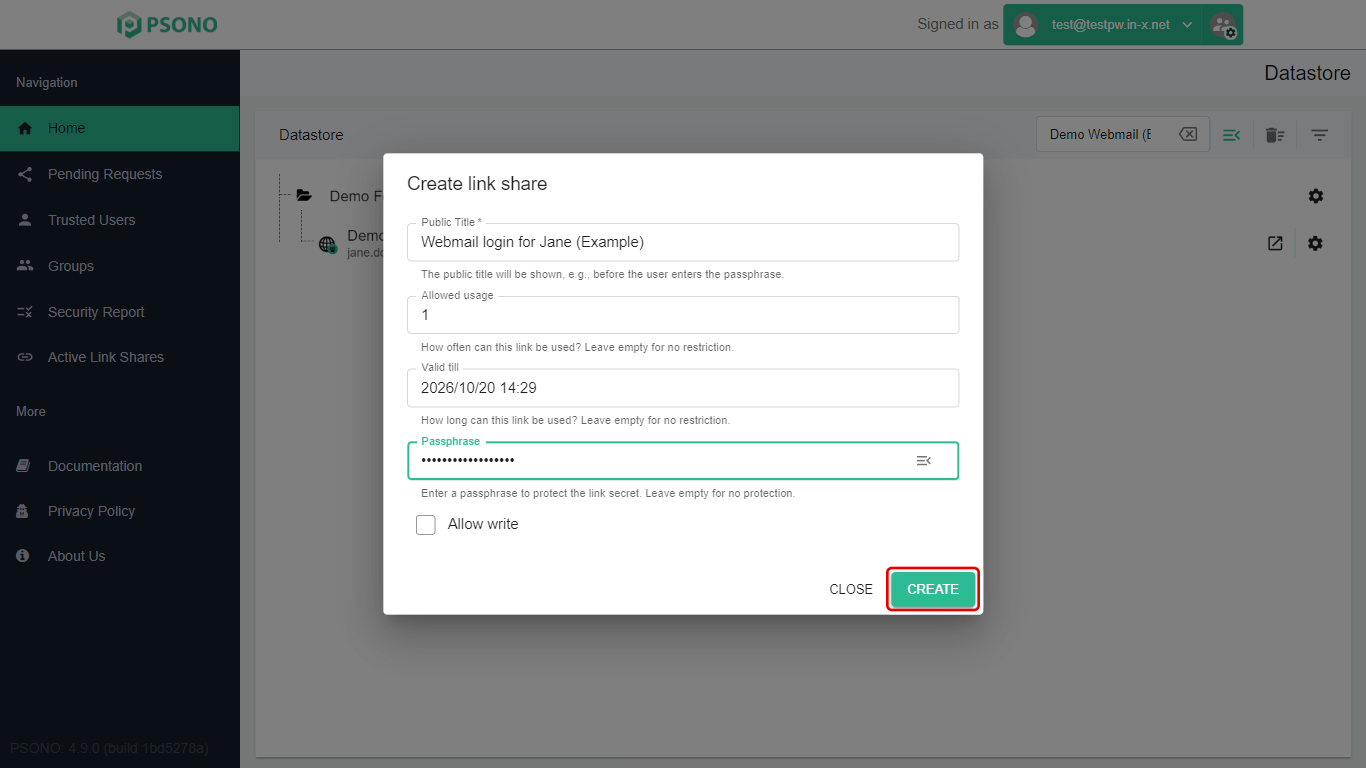
Click Create.
-
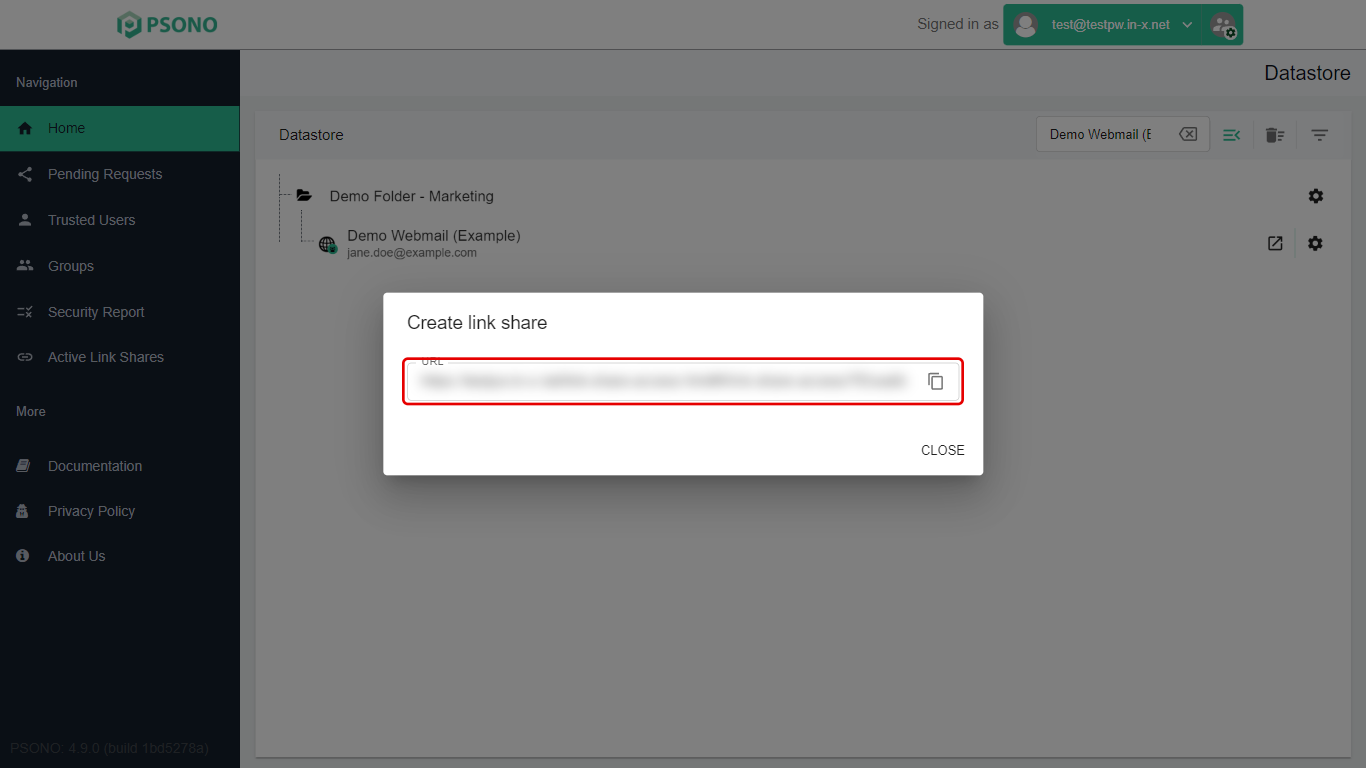
Psono shows the link in the URL box.
-
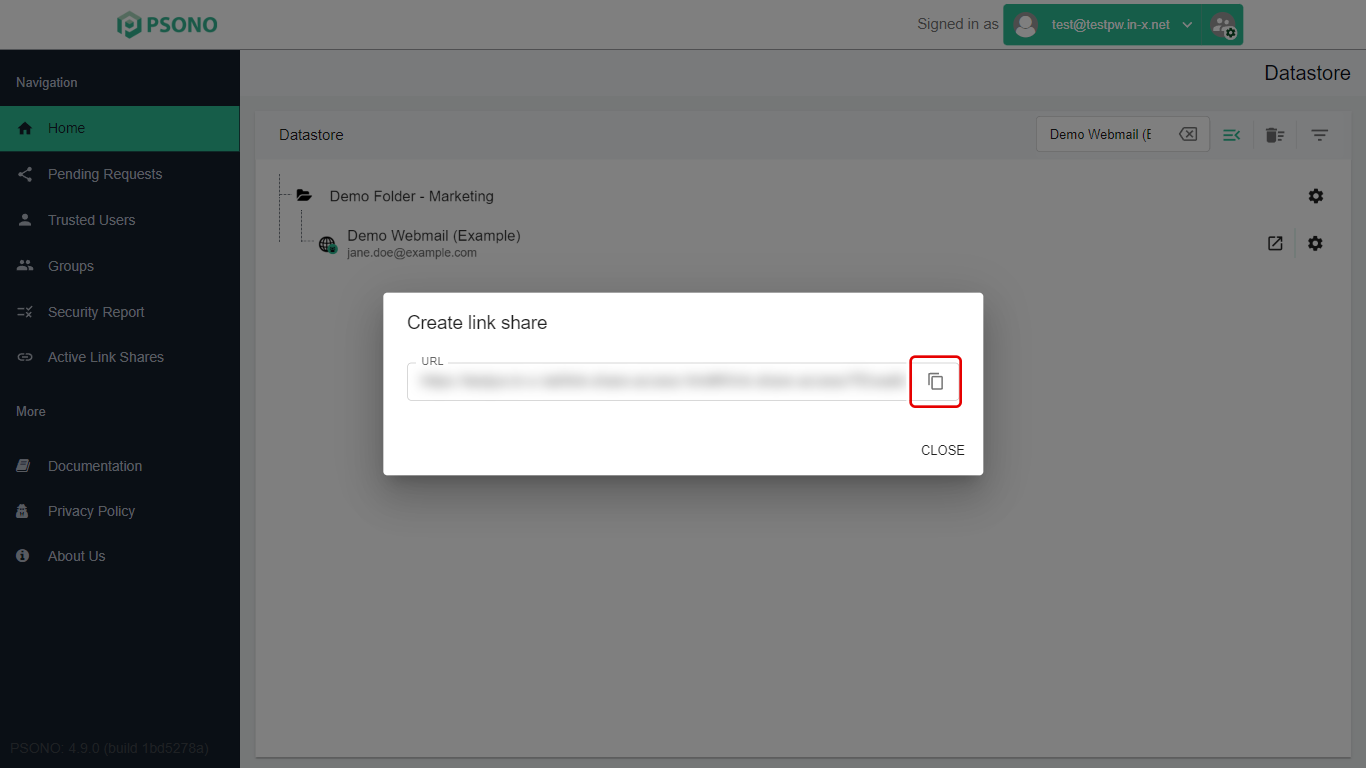
Click the copy button next to it, and paste the link into your email or message.
-
Click Close.
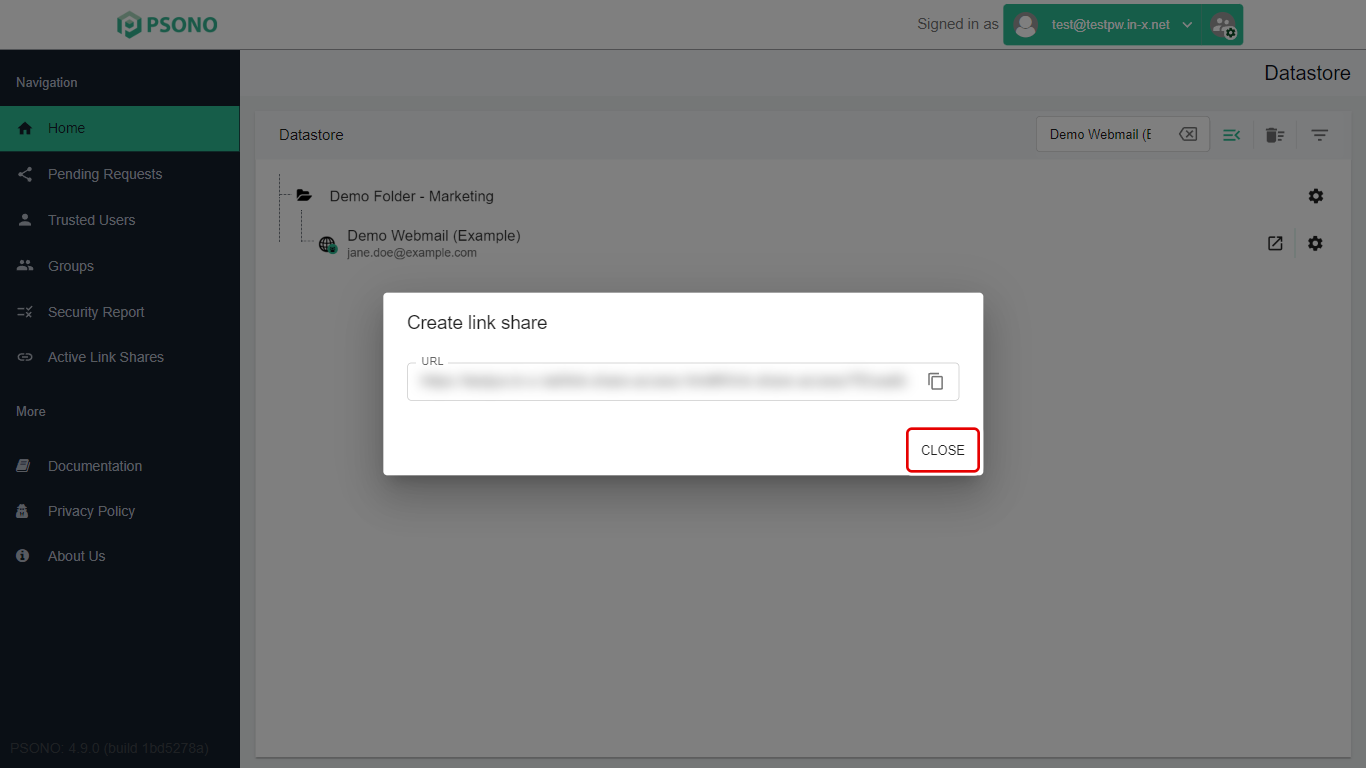
Copy the link before you click Close. If you lose it, delete the link share and make a new one.
See and stop your links
-
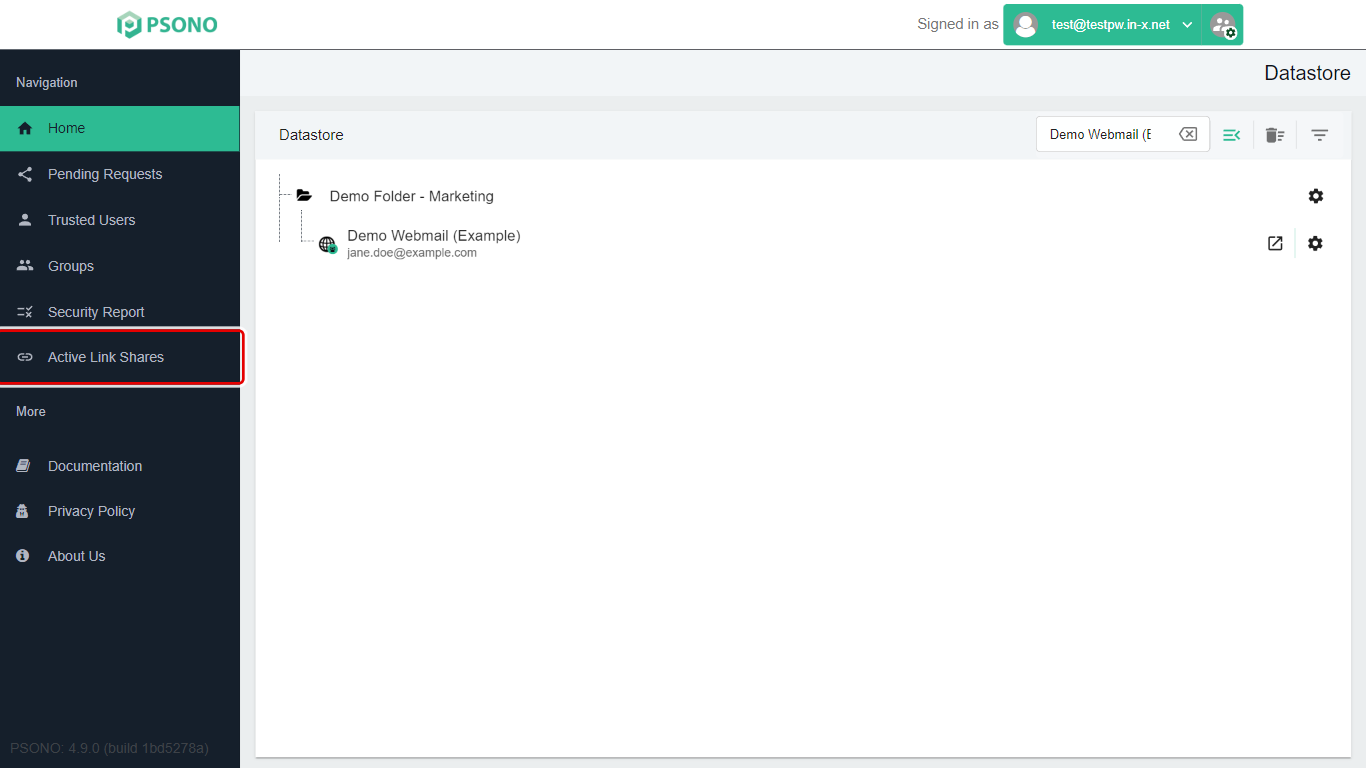
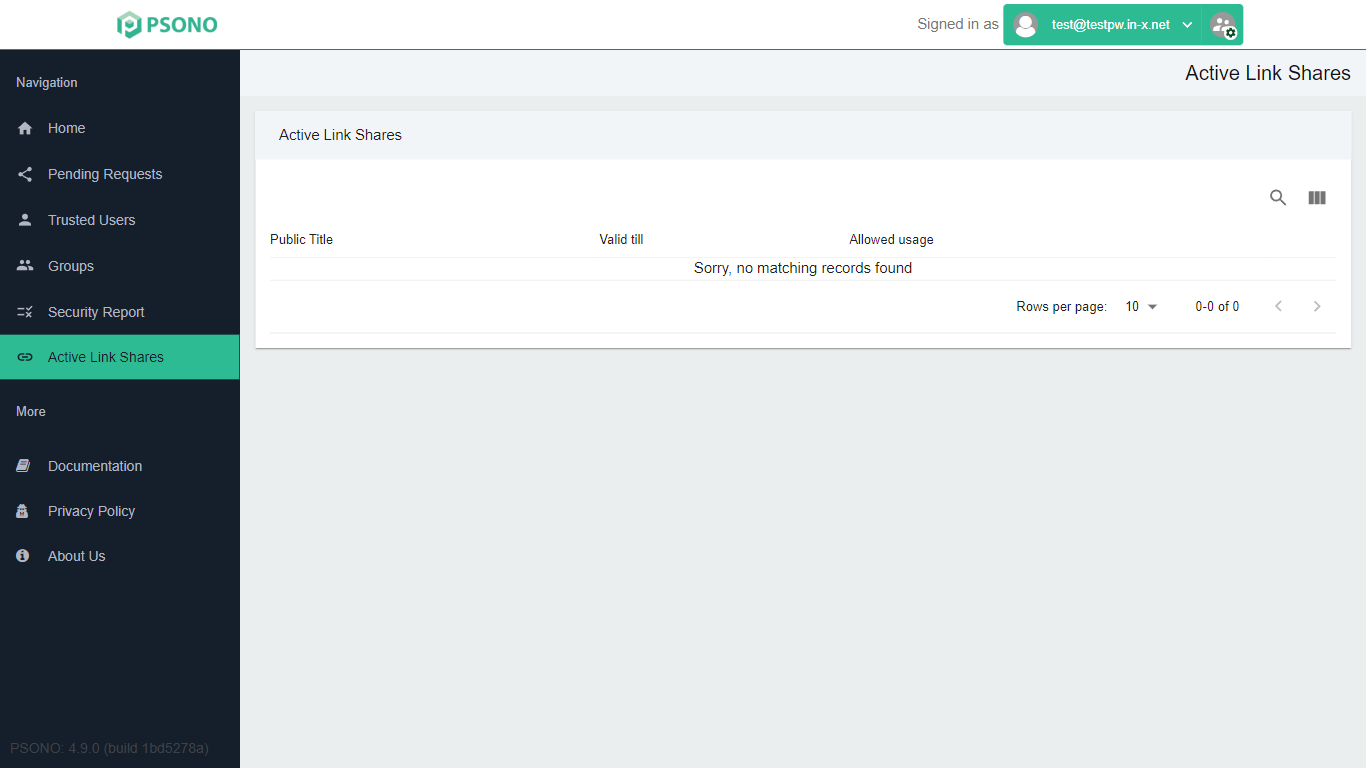
Click Active Link Shares in the menu on the left.
-
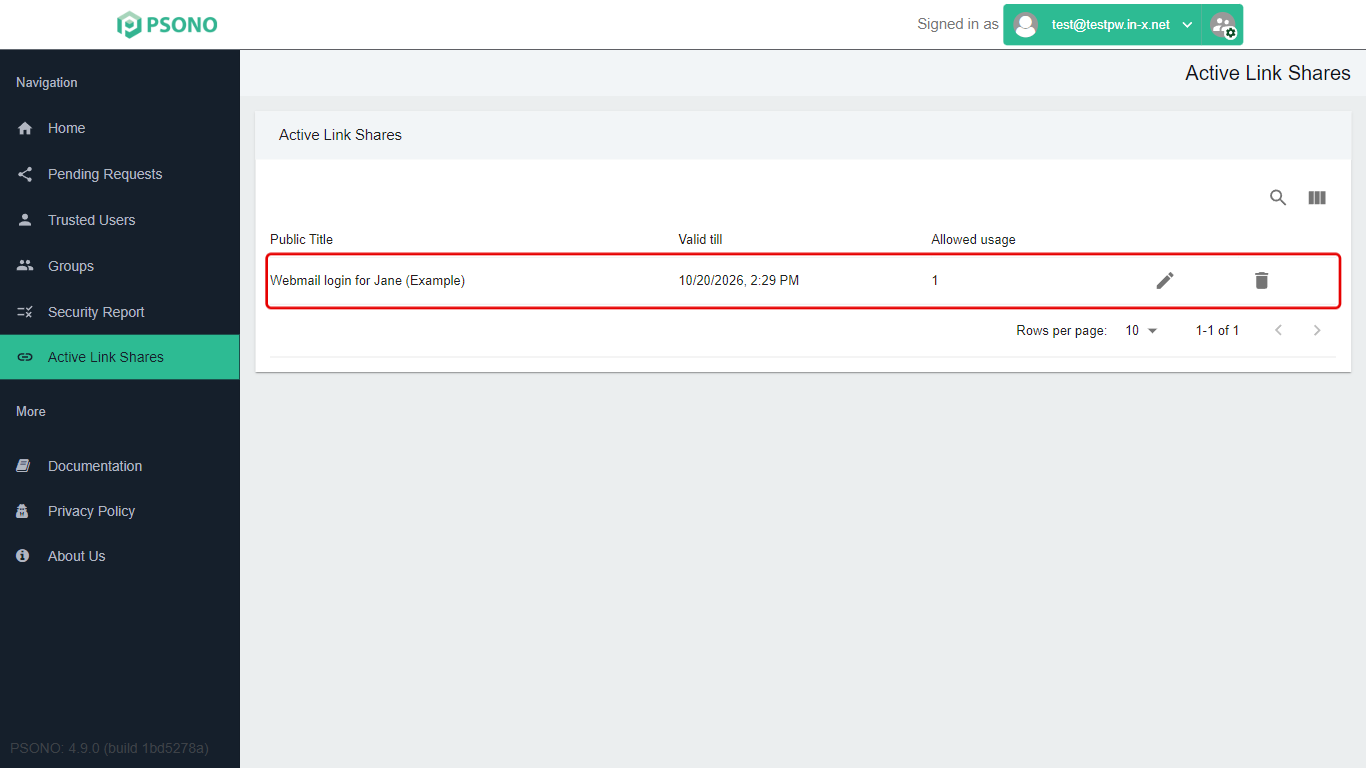
Each link you've made is listed with its Valid till date and Allowed usage. The pencil icon lets you change these.
-
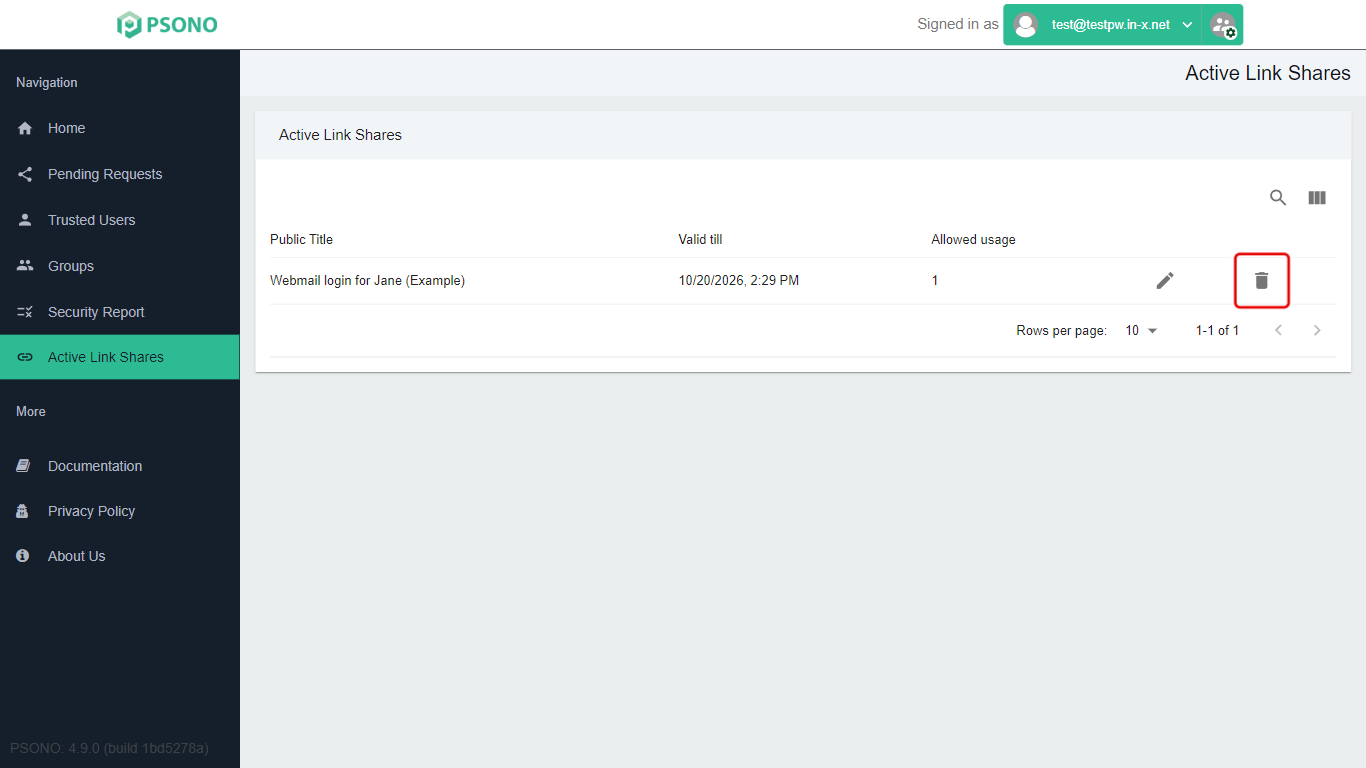
To stop a link working straight away, click the bin icon on its row. Psono deletes it at once without asking, so check you've picked the right one.
Stuck on a step? Email support@the-it-connection.com or call 815-526-3600 and we’ll walk you through it.