
Click any picture to see it full size.
In this guide, the red box in each picture shows what to click.
Why share with a group?
A group is a team, such as "Accounts" or "Front Desk". When you share a folder with a group:
- Everyone in the group gets everything in the folder.
- Anything added to the folder later is shared automatically.
- When someone joins the group, they get access without you sharing each password again.
If your group already exists and you can share with it, skip to Part B.
Part A: Create a group and add people
Usually a manager or team lead does this part once.
-
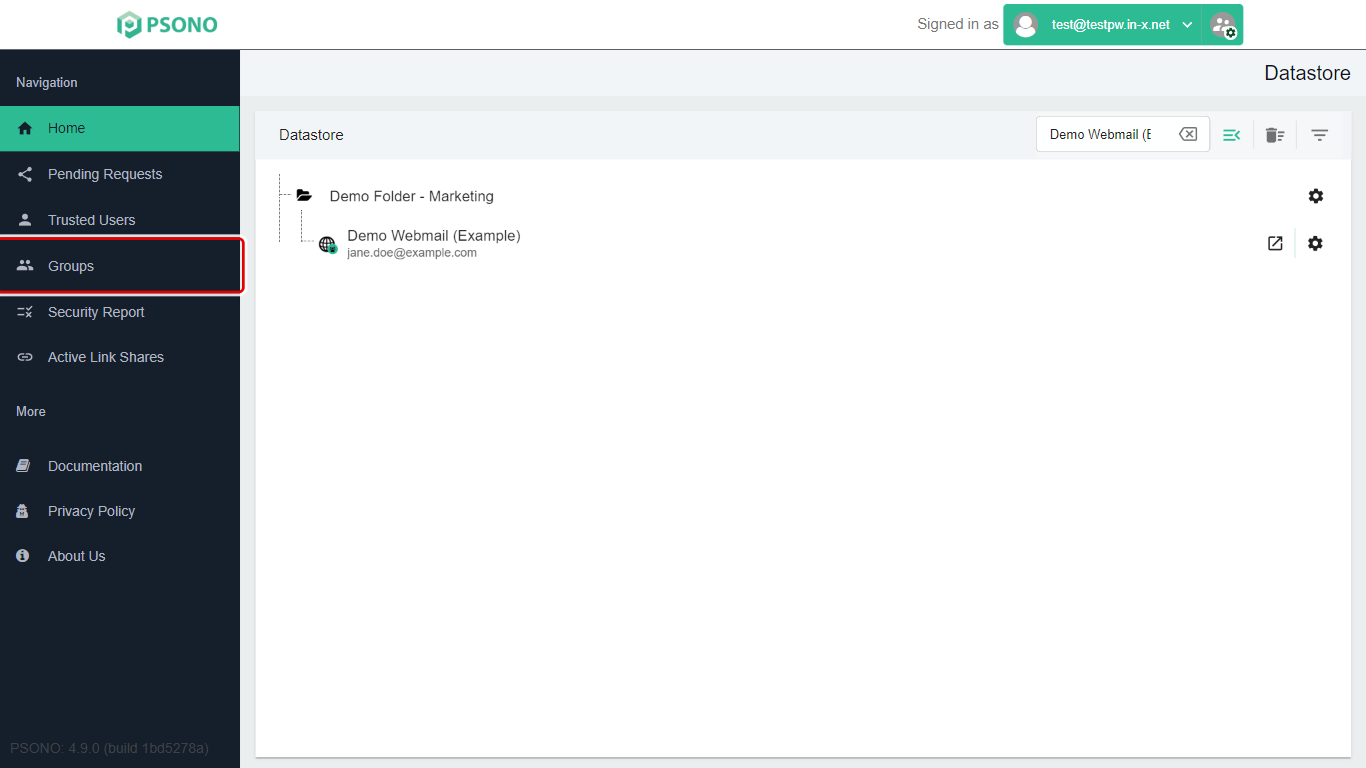
Click Groups in the menu on the left.
-
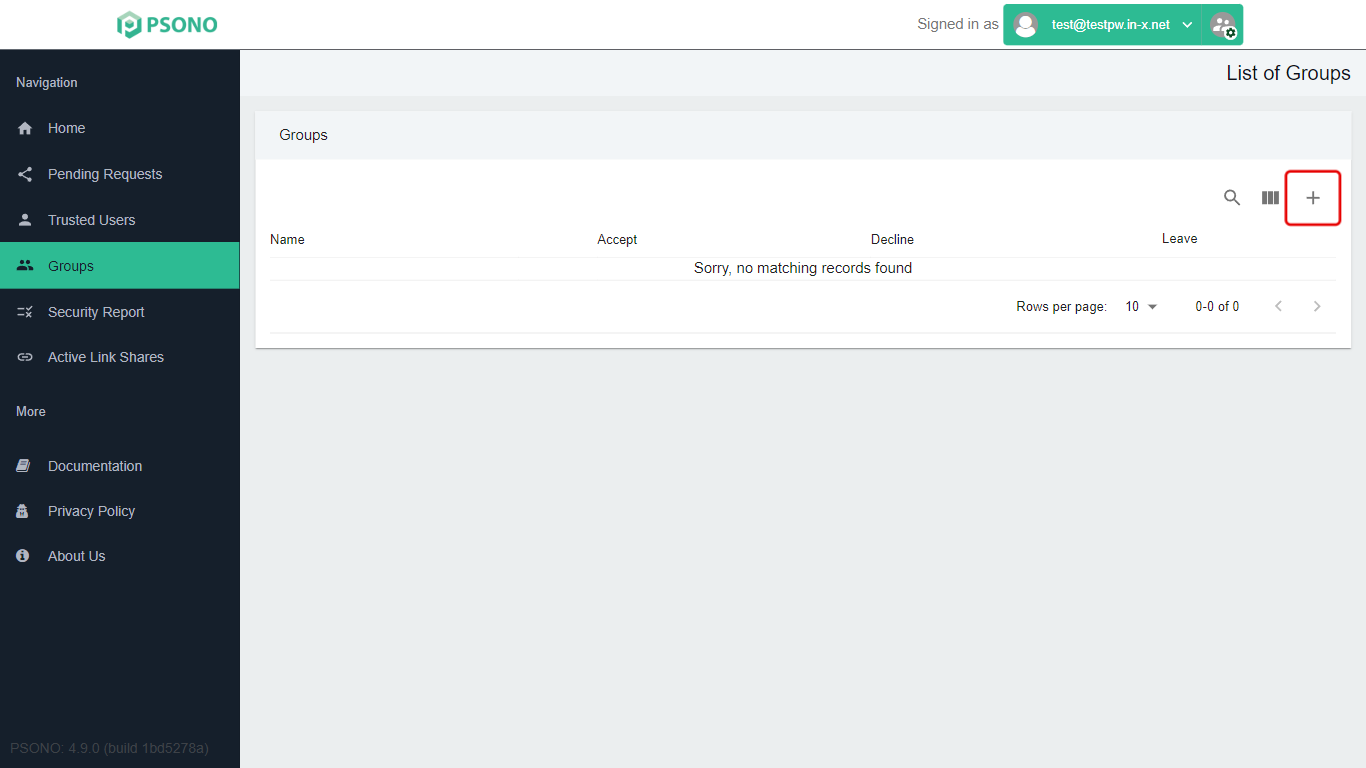
Click the + button.
-
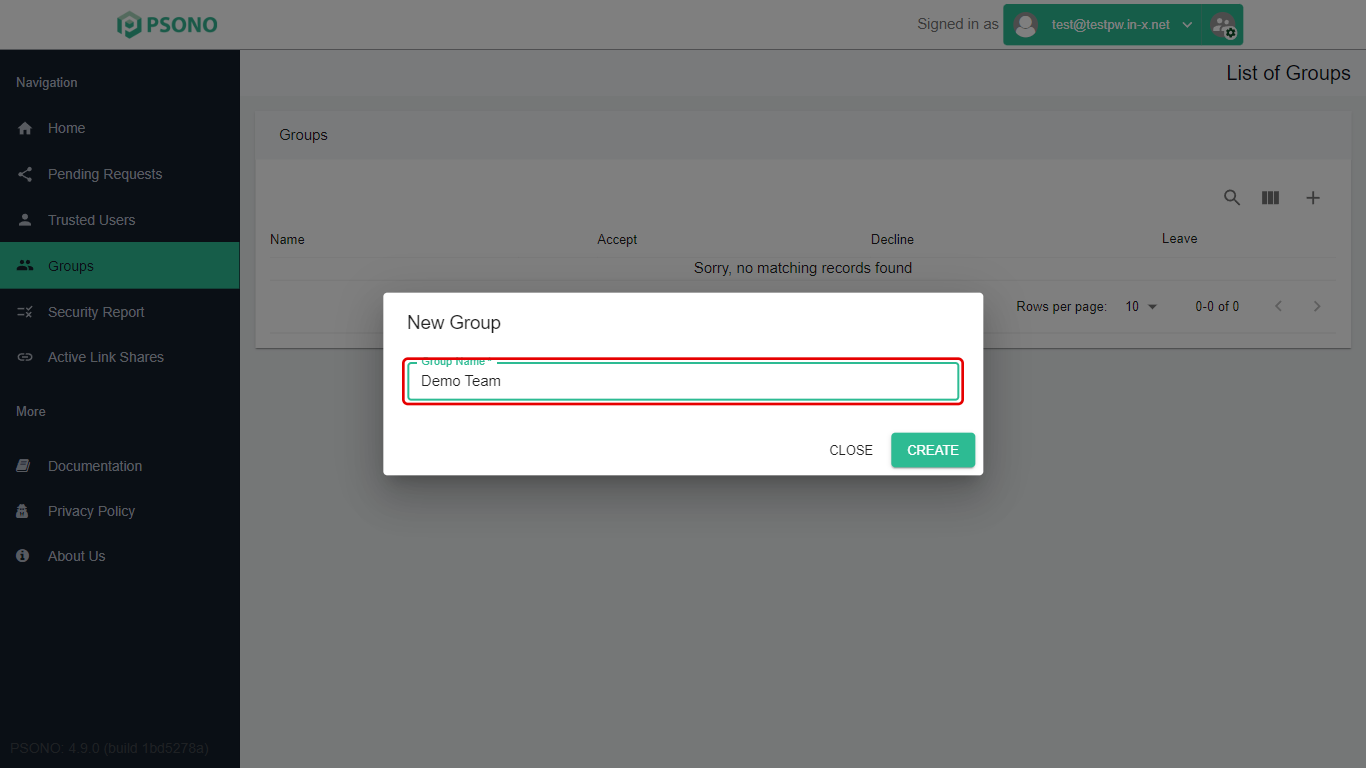
Type a Group Name, for example Demo Team.
-
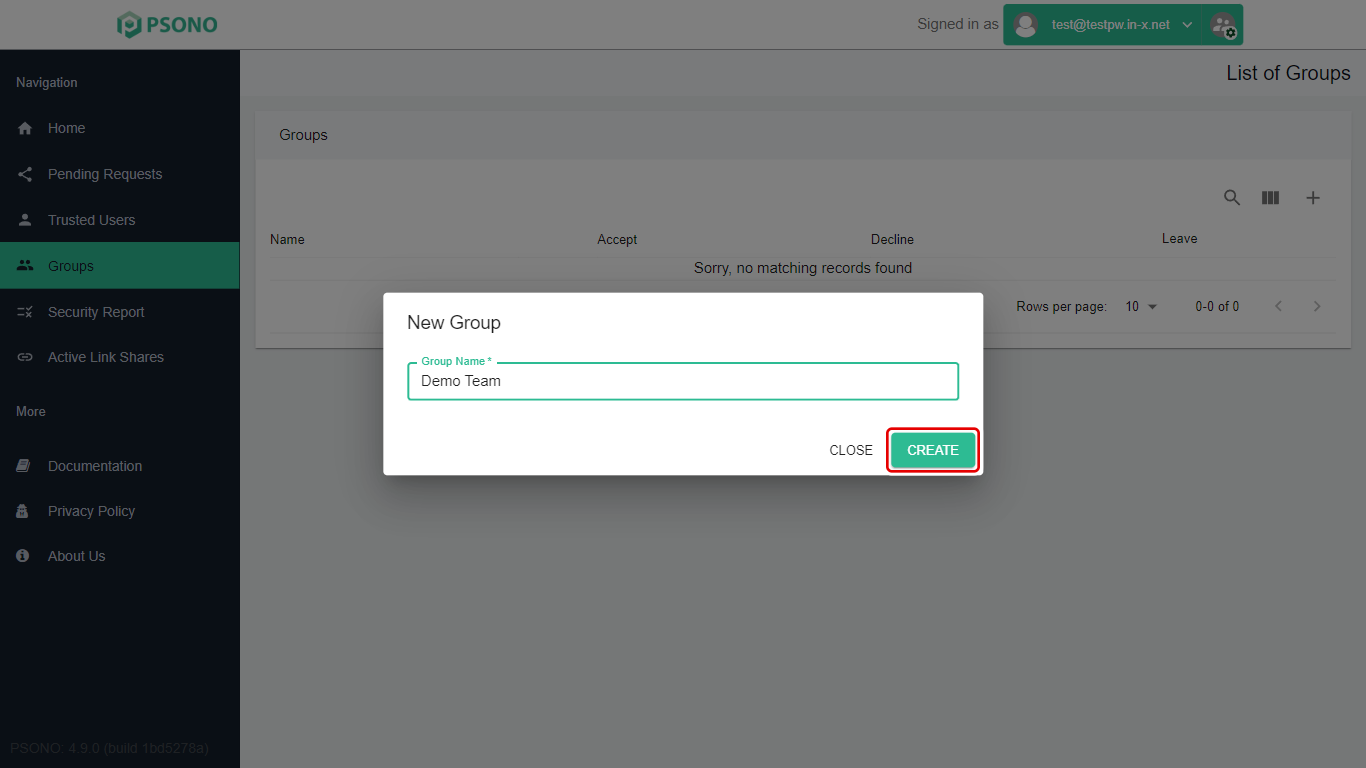
Click Create.
-
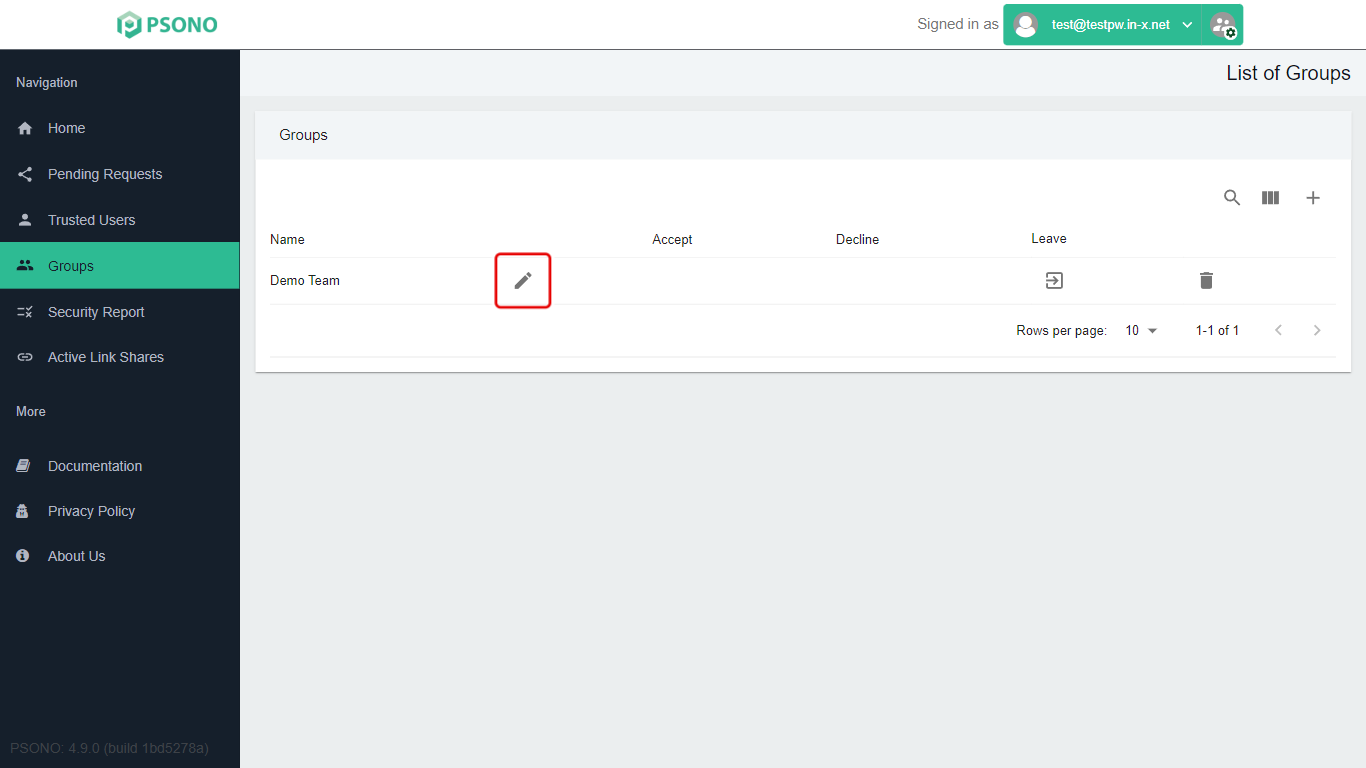
Click the pencil (edit) icon on the group's row.
-
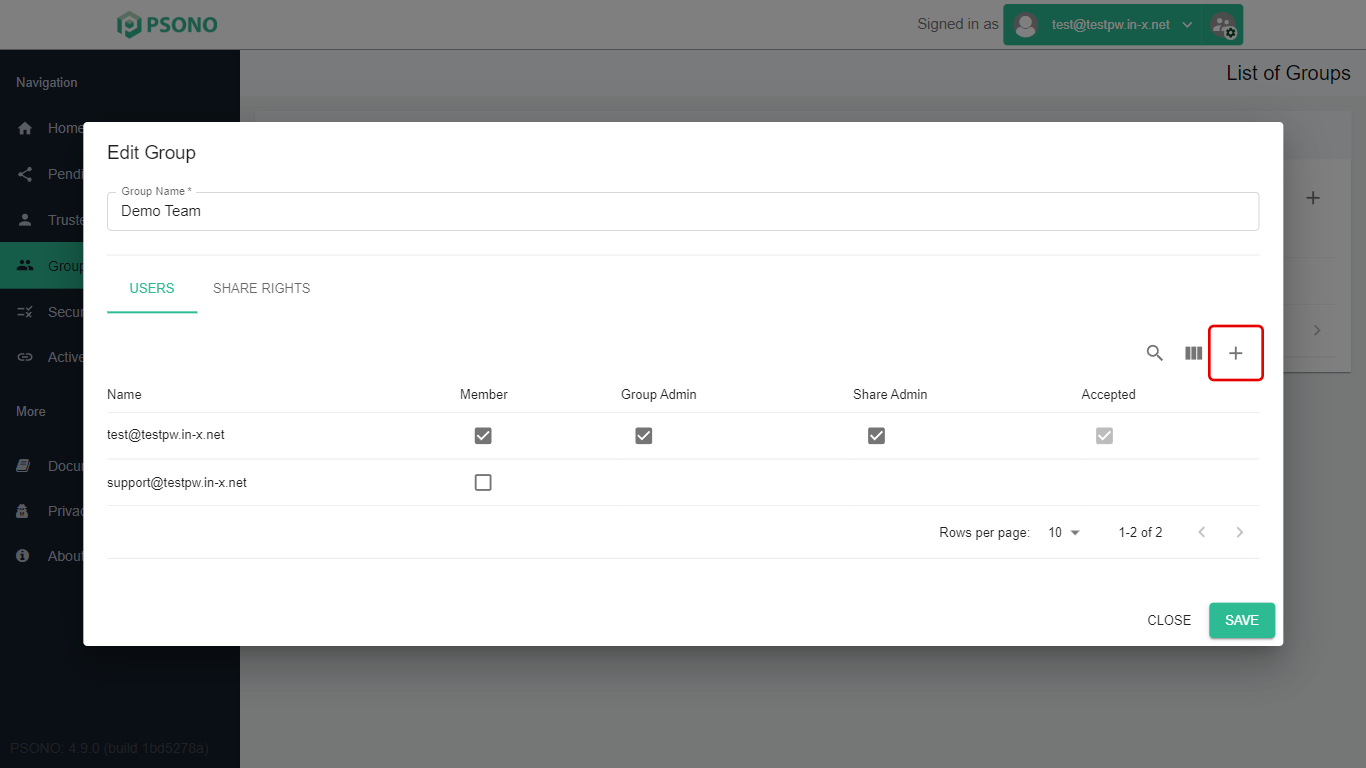
On the Users tab, click the + button.
-
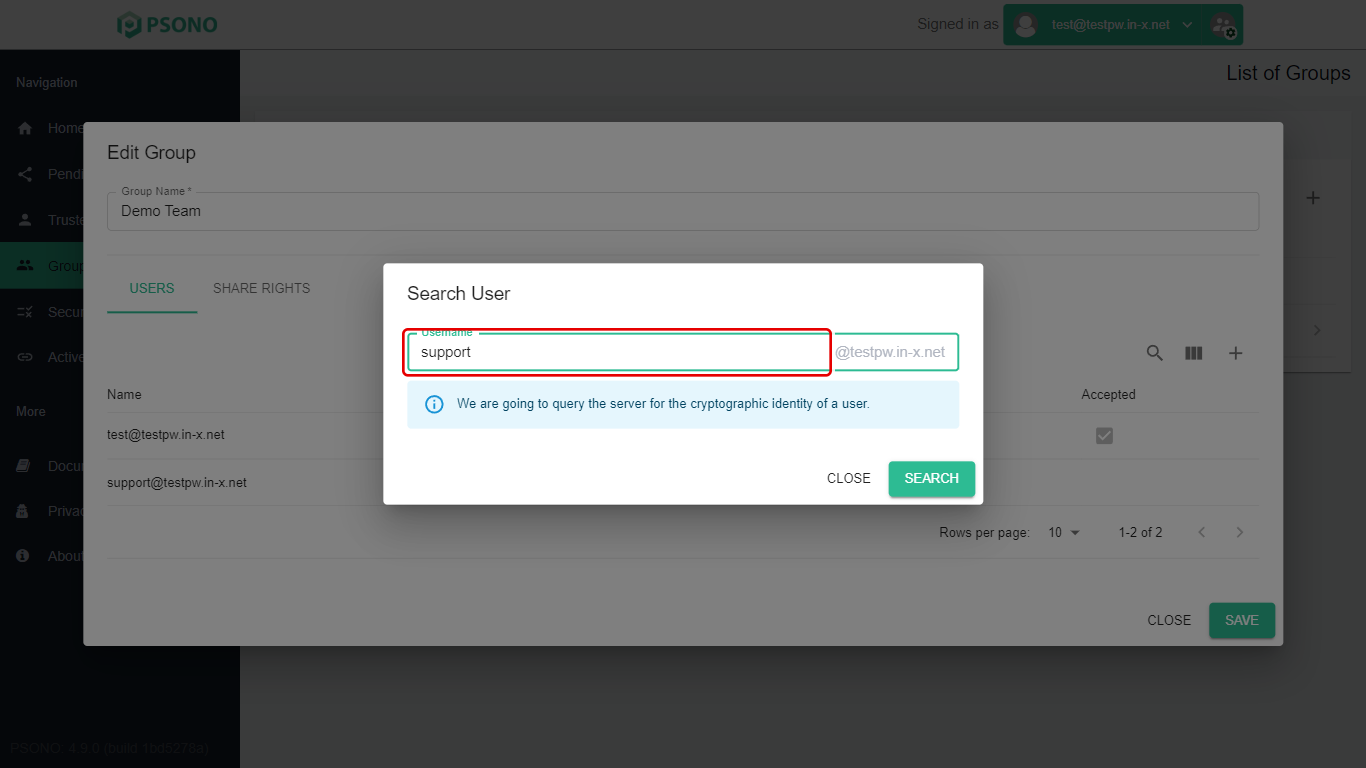
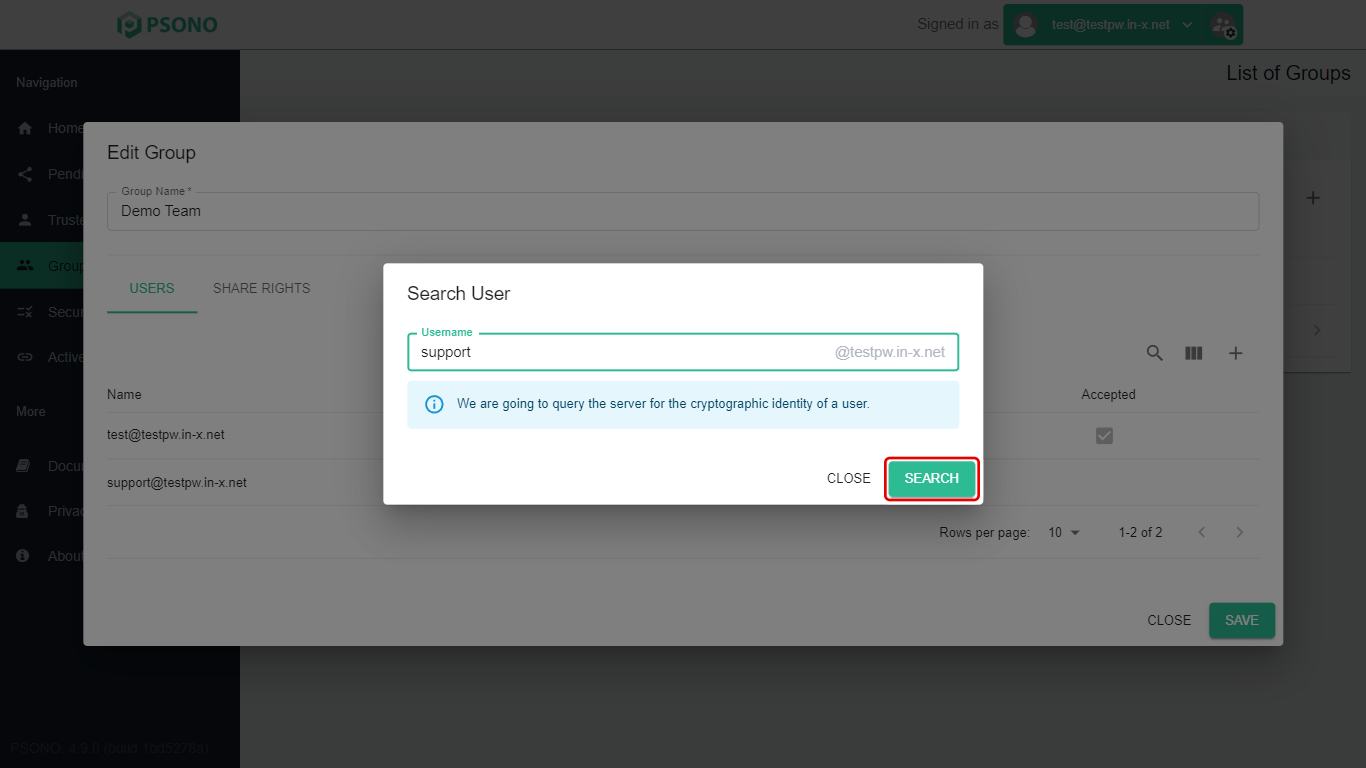
Type the person's username, then click Search.
-
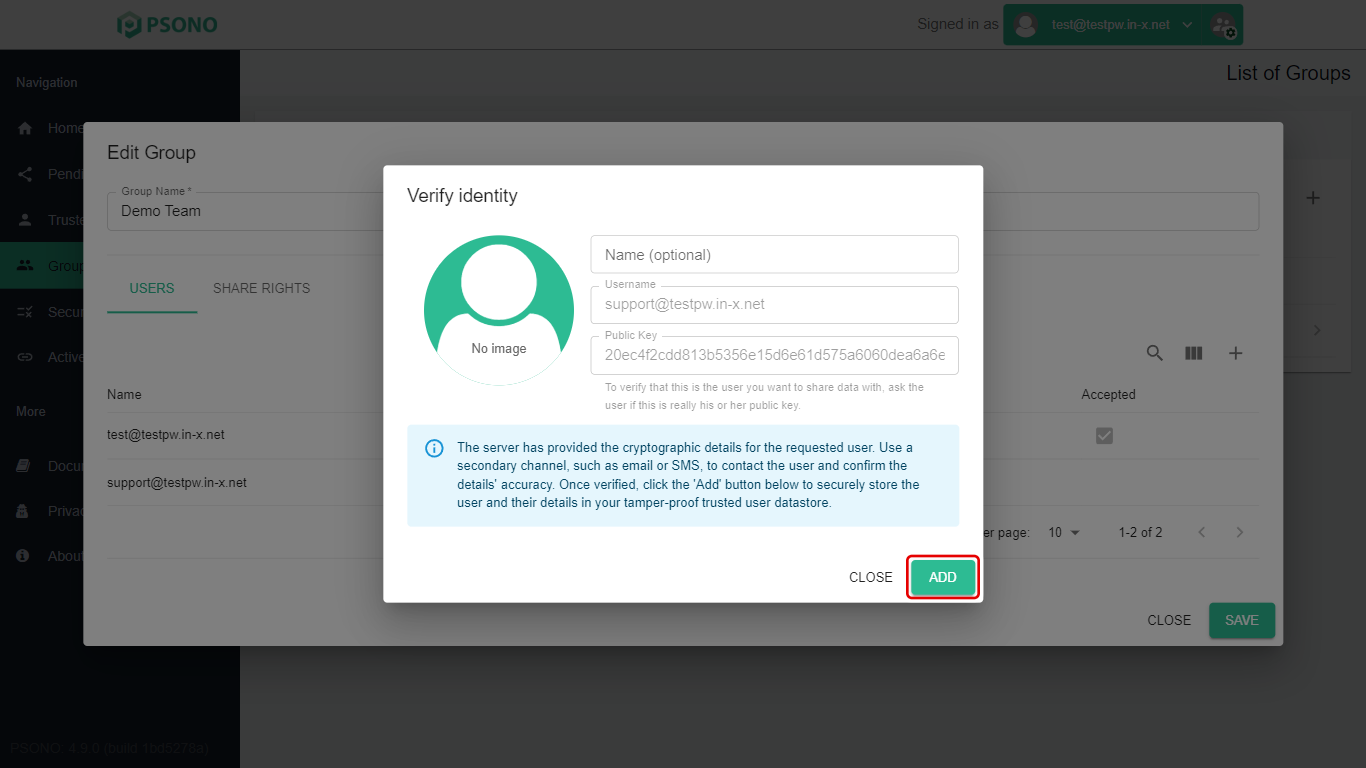
A Verify identity window shows the person Psono found. Check the username, then click Add.
-
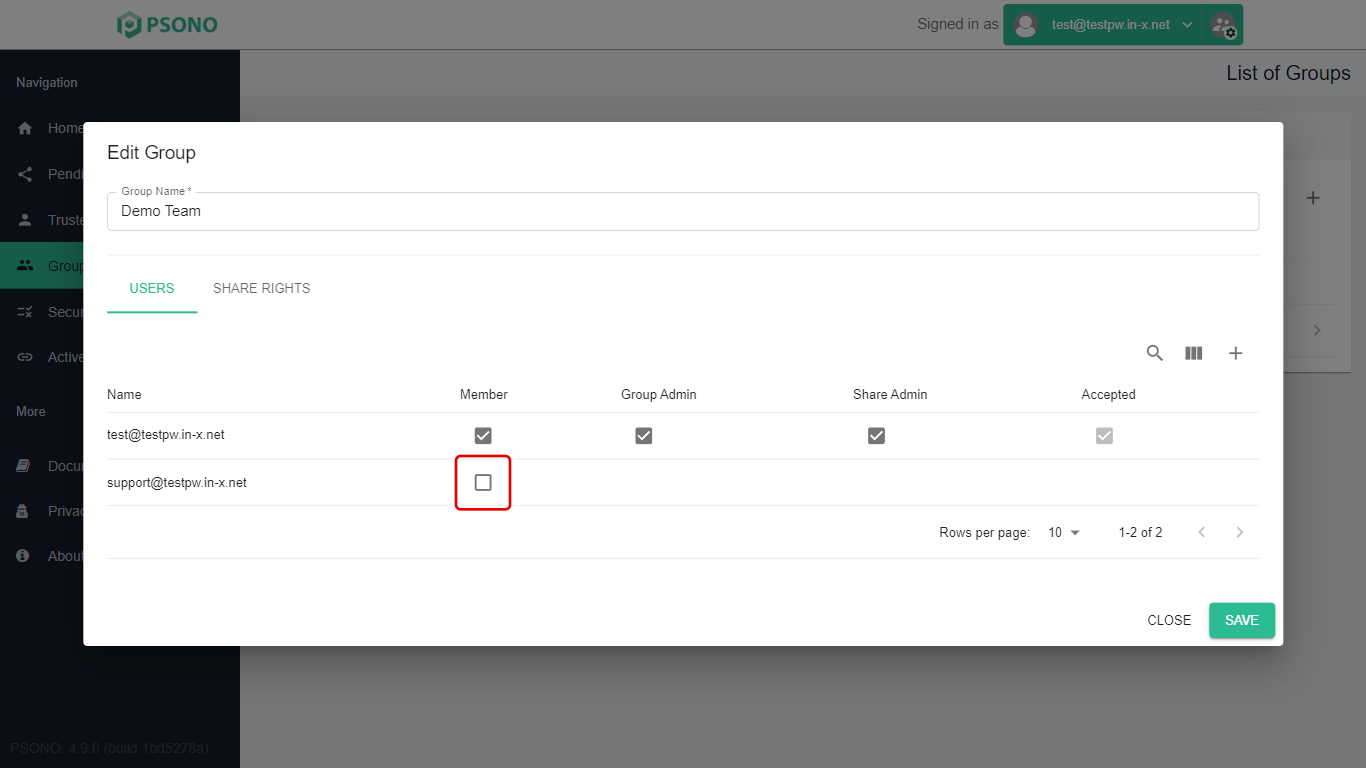
The person now shows in the list, but is not in the group yet. Tick the box in the Member column on their row.
-
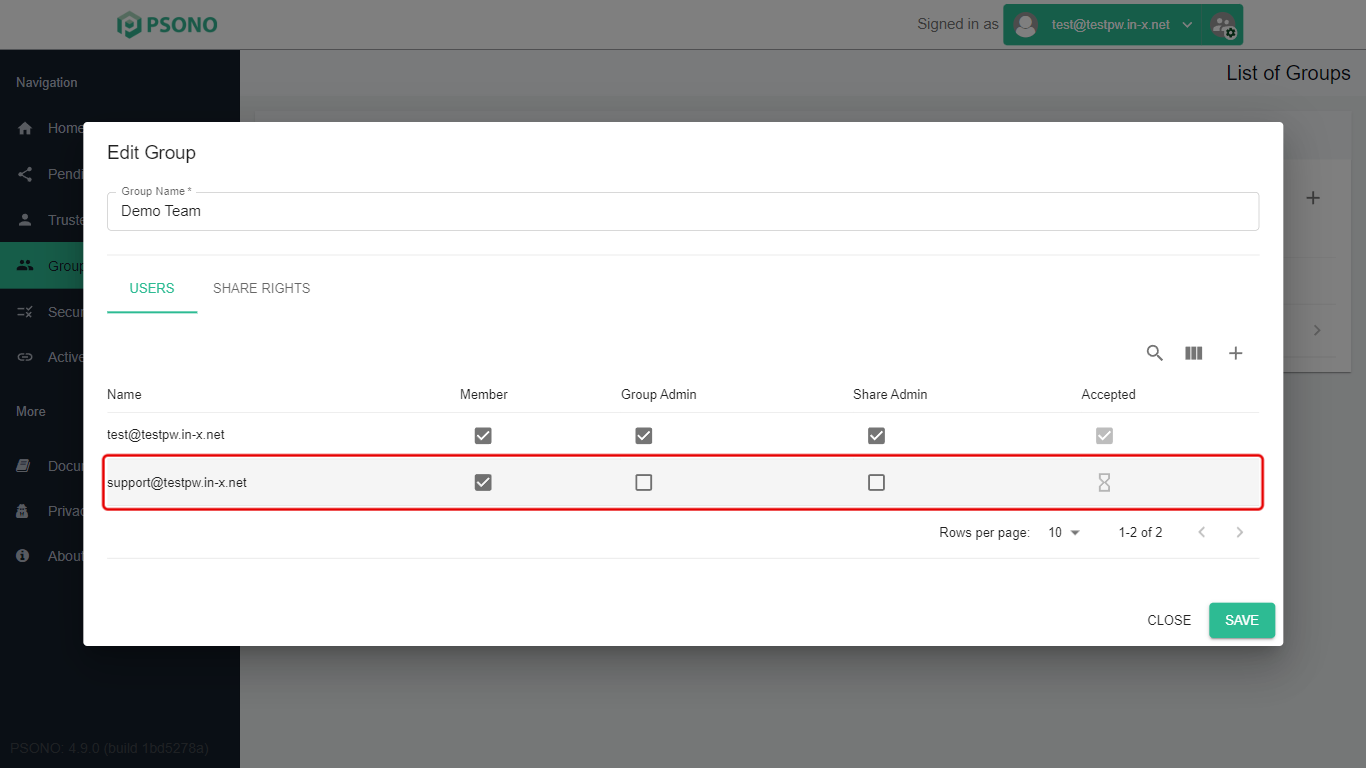
Two more options now show on their row:
- Group Admin: lets them add and remove people in this group.
- Share Admin: lets them share folders and entries with this group.
Leave both off unless the person helps manage the group.
-
Click Close. Member changes are saved as soon as you tick the boxes, so you don't need Save. That button is only for renaming the group.
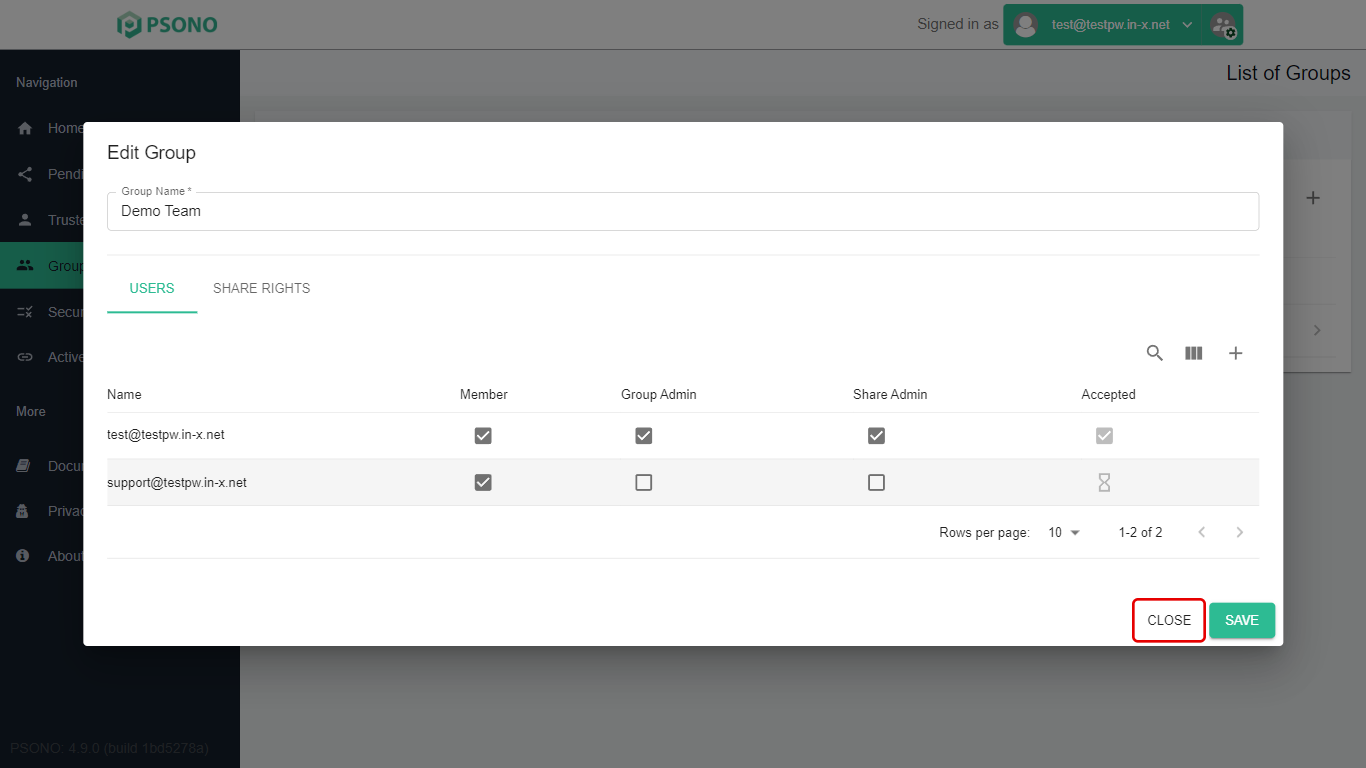
The person gets an invitation. They must accept it before they see anything shared with the group. See Accepting Shared Passwords and Folders.
Part B: Share a folder with the group
You can only share with groups where you are a Share Admin. The person who created the group is one automatically.
-
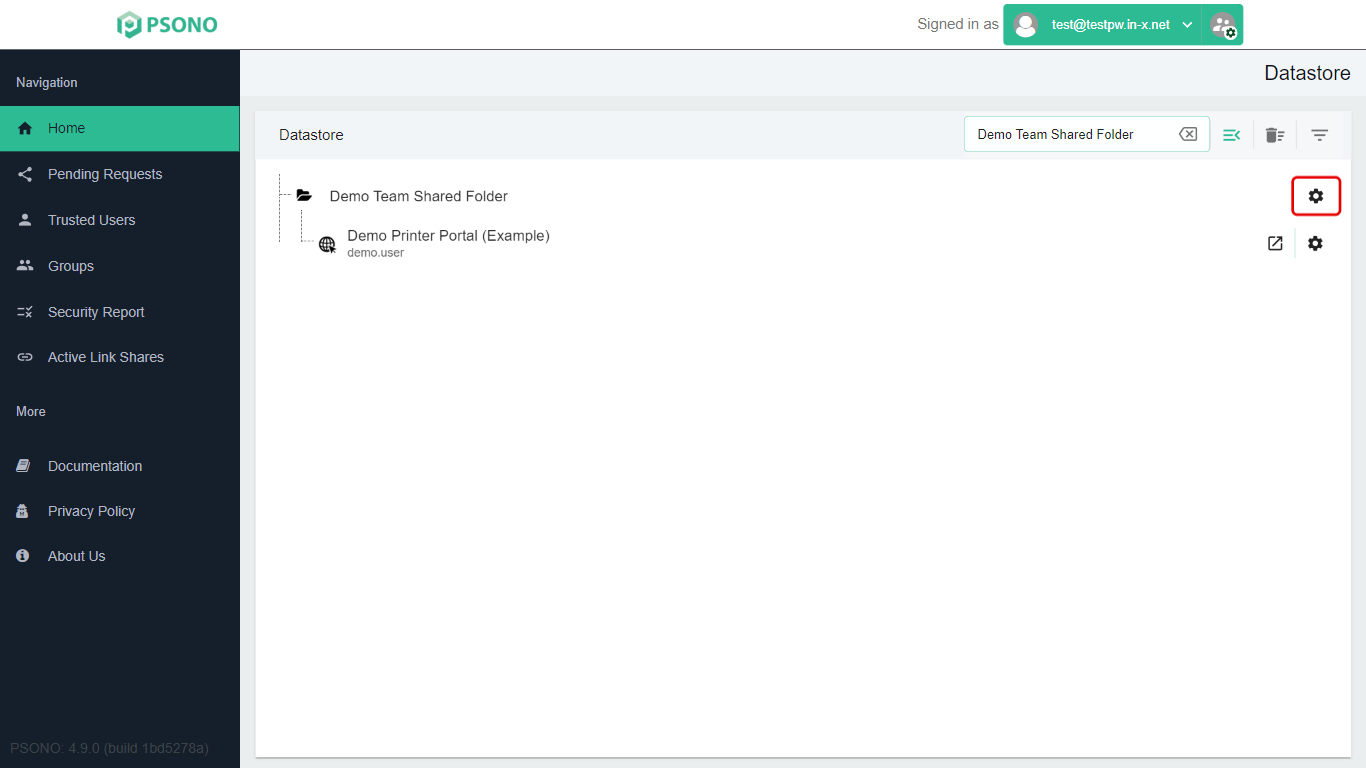
On the Datastore page, click the gear icon at the end of the folder's row. In our example the folder is Demo Team Shared Folder.
-
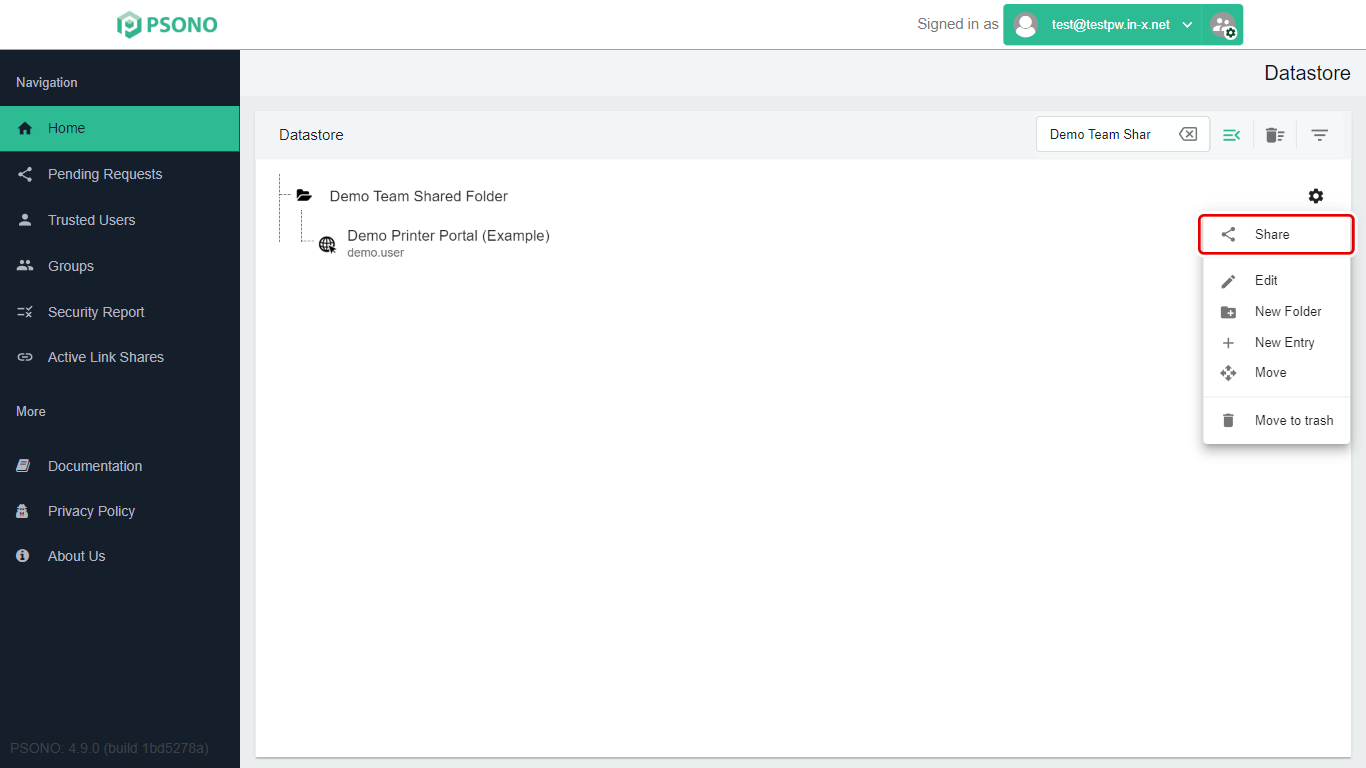
Click Share.
-
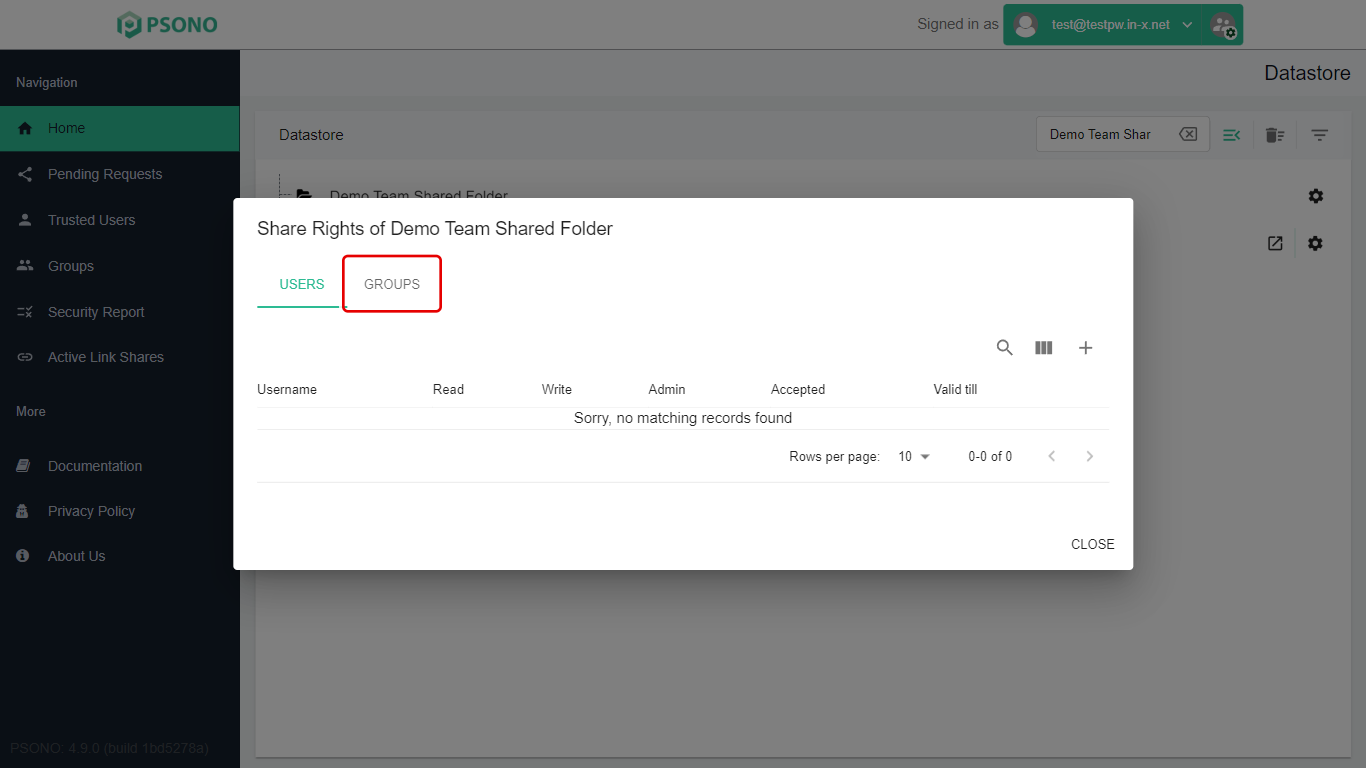
Click the Groups tab.
-
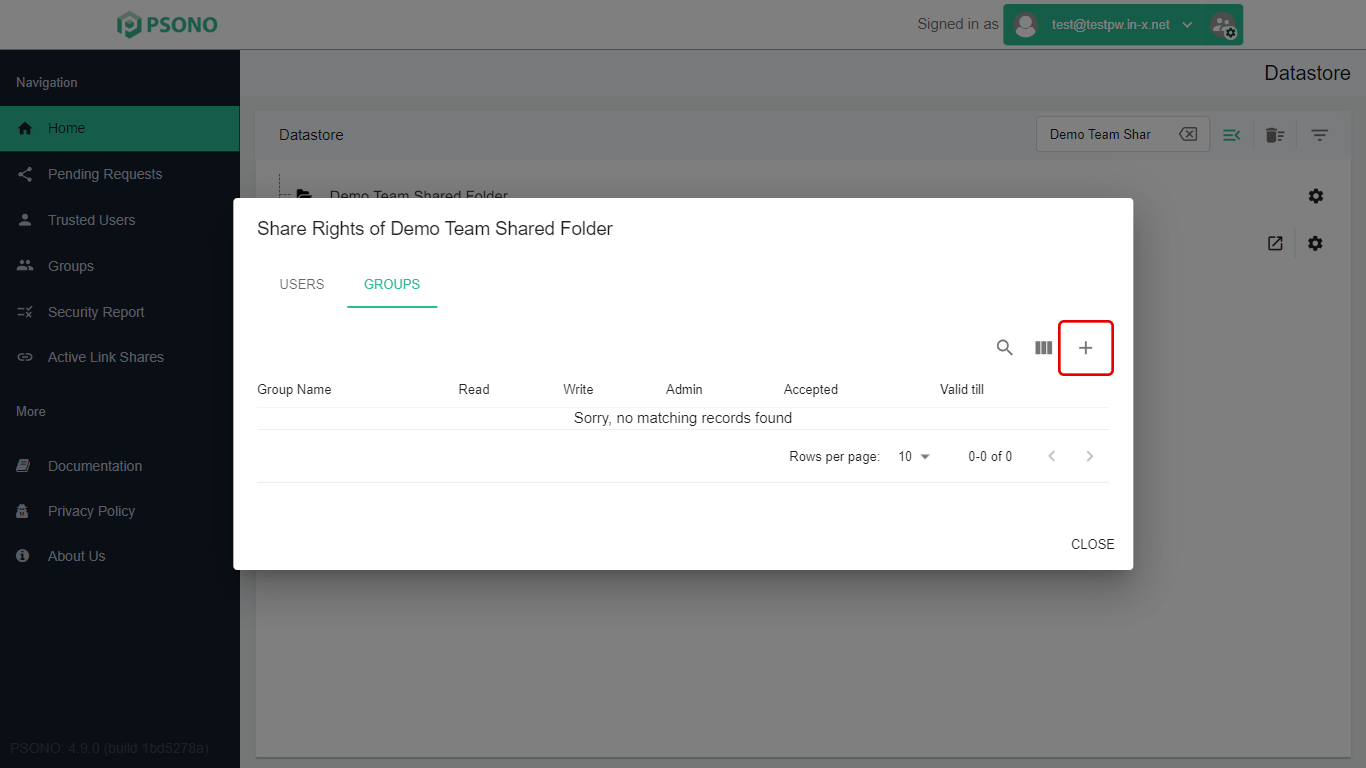
Click the + button.
-
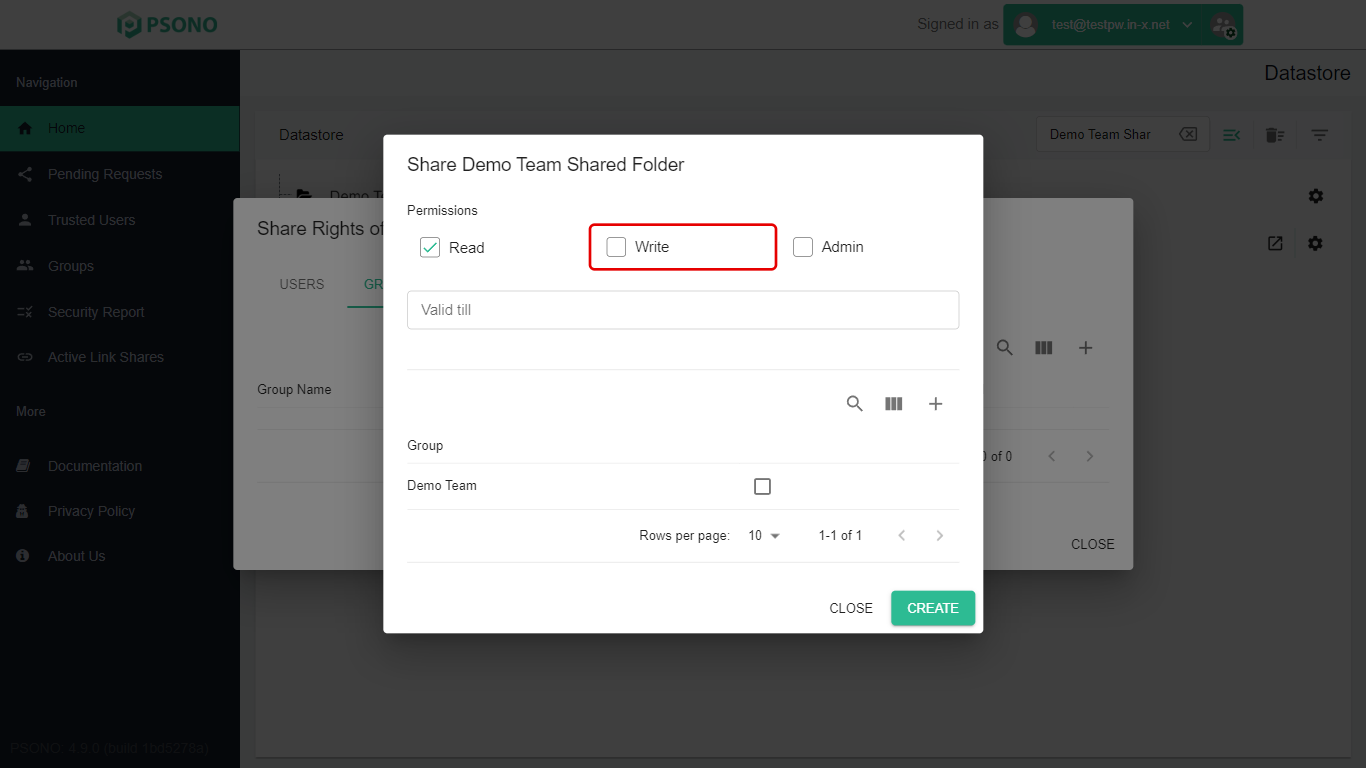
A window opens with the permission choices and a list of your groups.
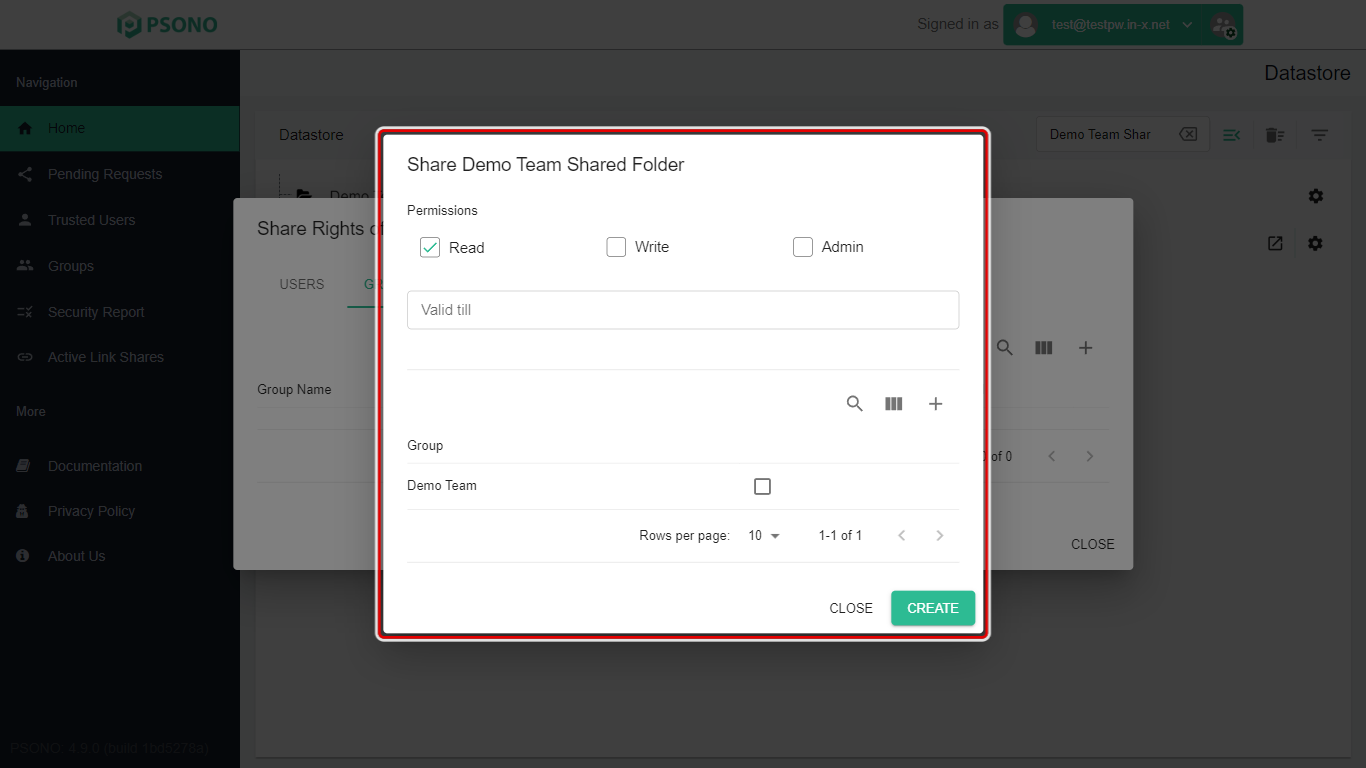
Choose what the group can do
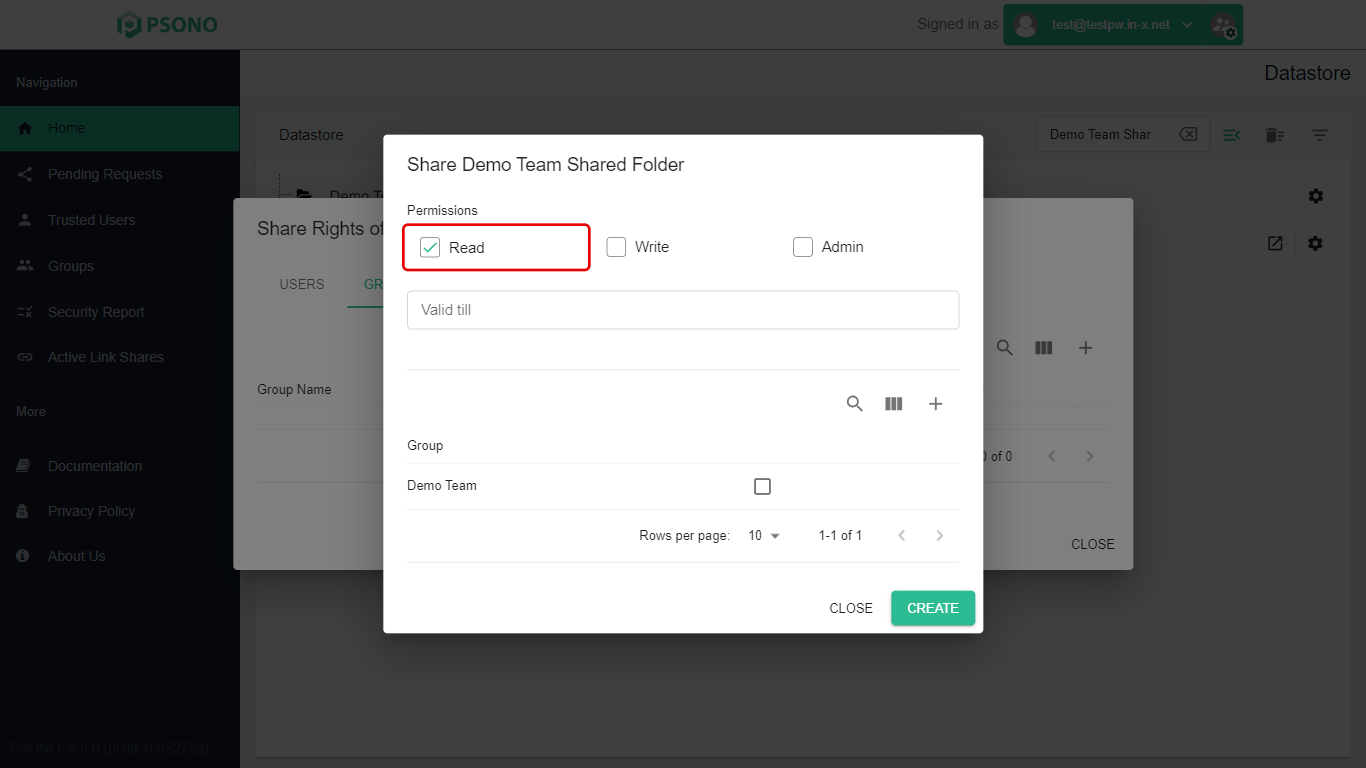
The permissions apply to everything in the folder, including entries added later.
| Permission | What group members can do | Ticked to start with? |
|---|---|---|
| Read | See and use everything in the folder. | Yes |
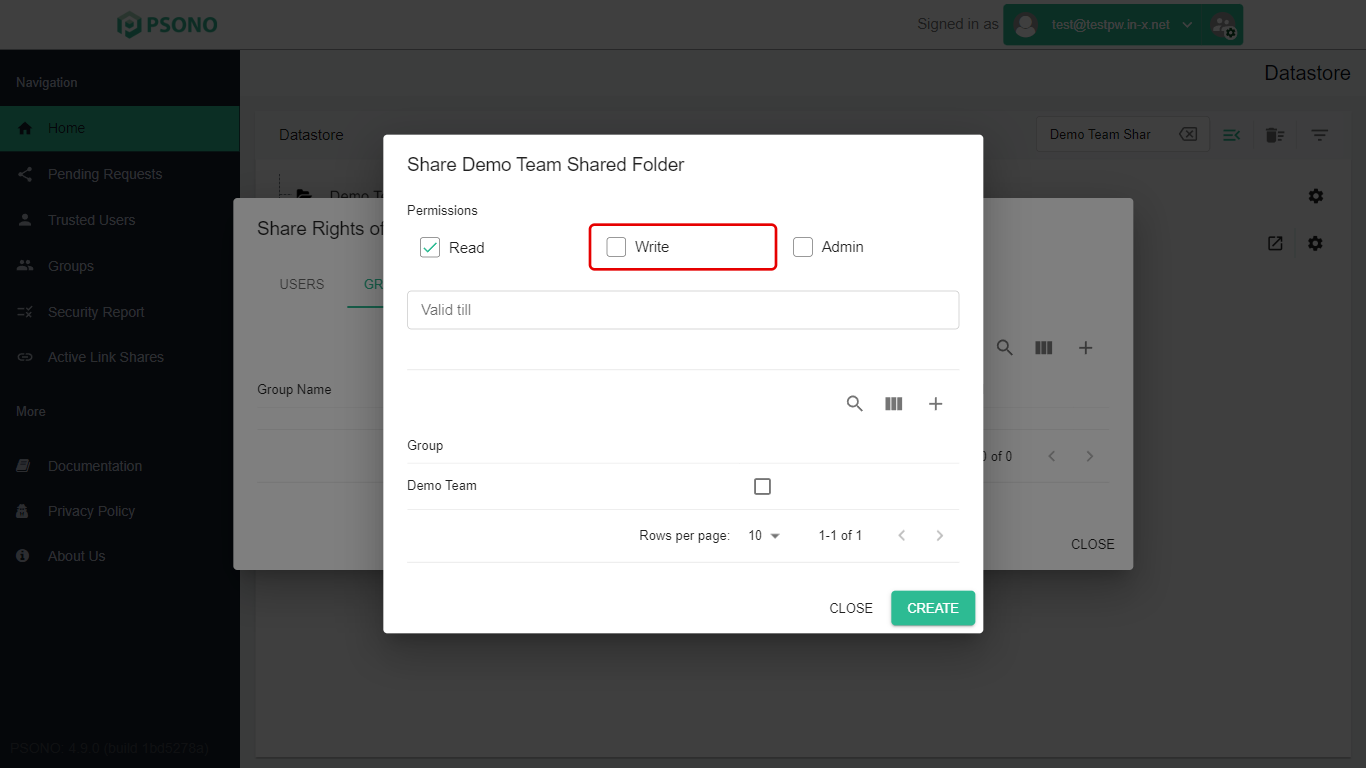
| Write | Add, change, and remove entries in the folder. | No |
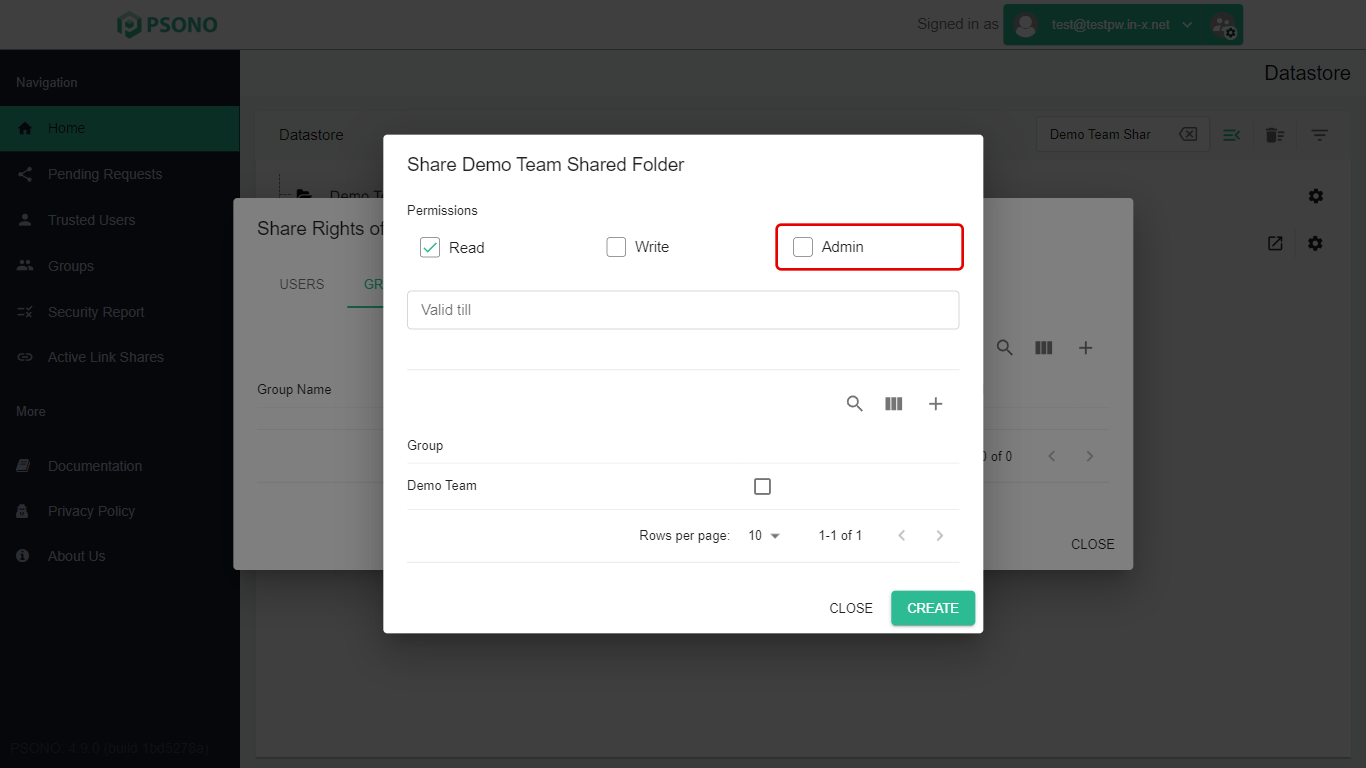
| Admin | Share the folder further and change permissions. | No |
Valid till is optional, the same as when sharing with a person. Leave it empty for a share that never expires.
In this example the team should be able to update passwords too, so we tick Write:
-
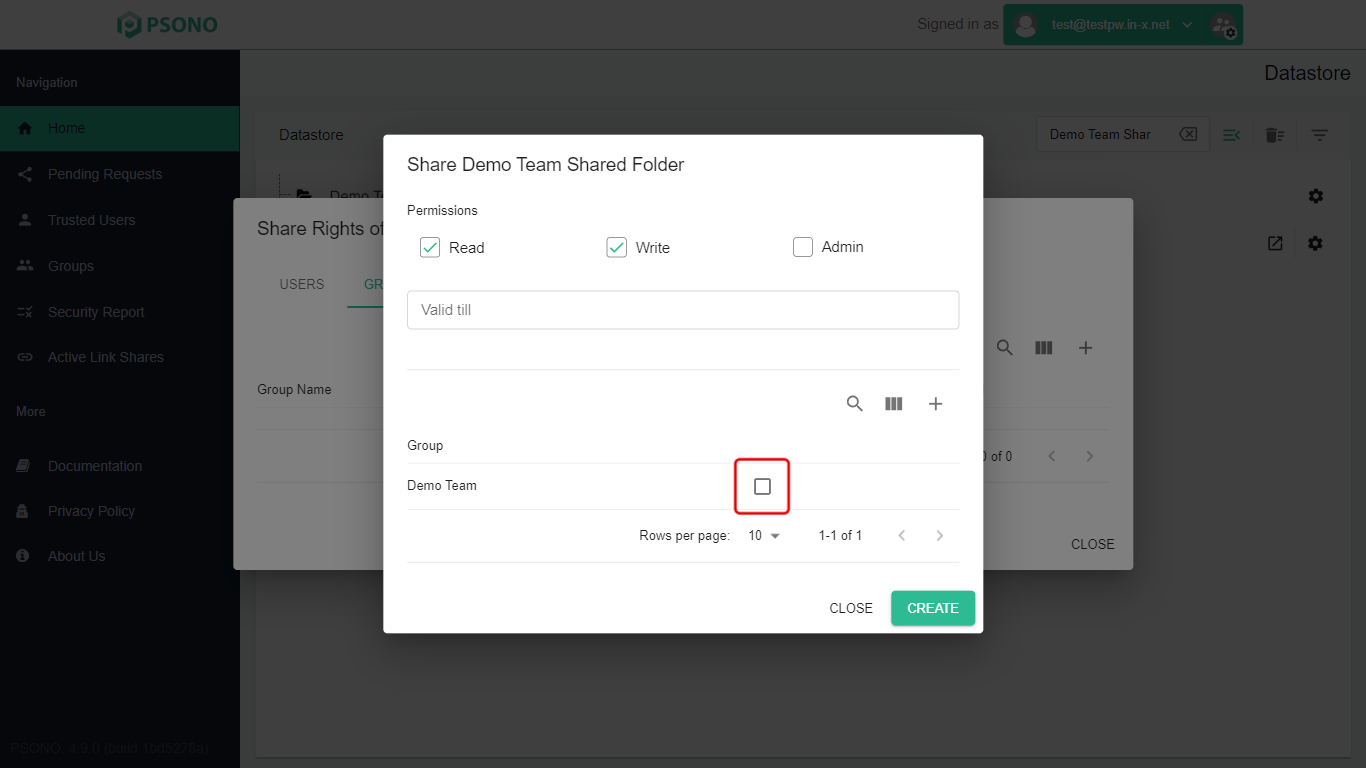
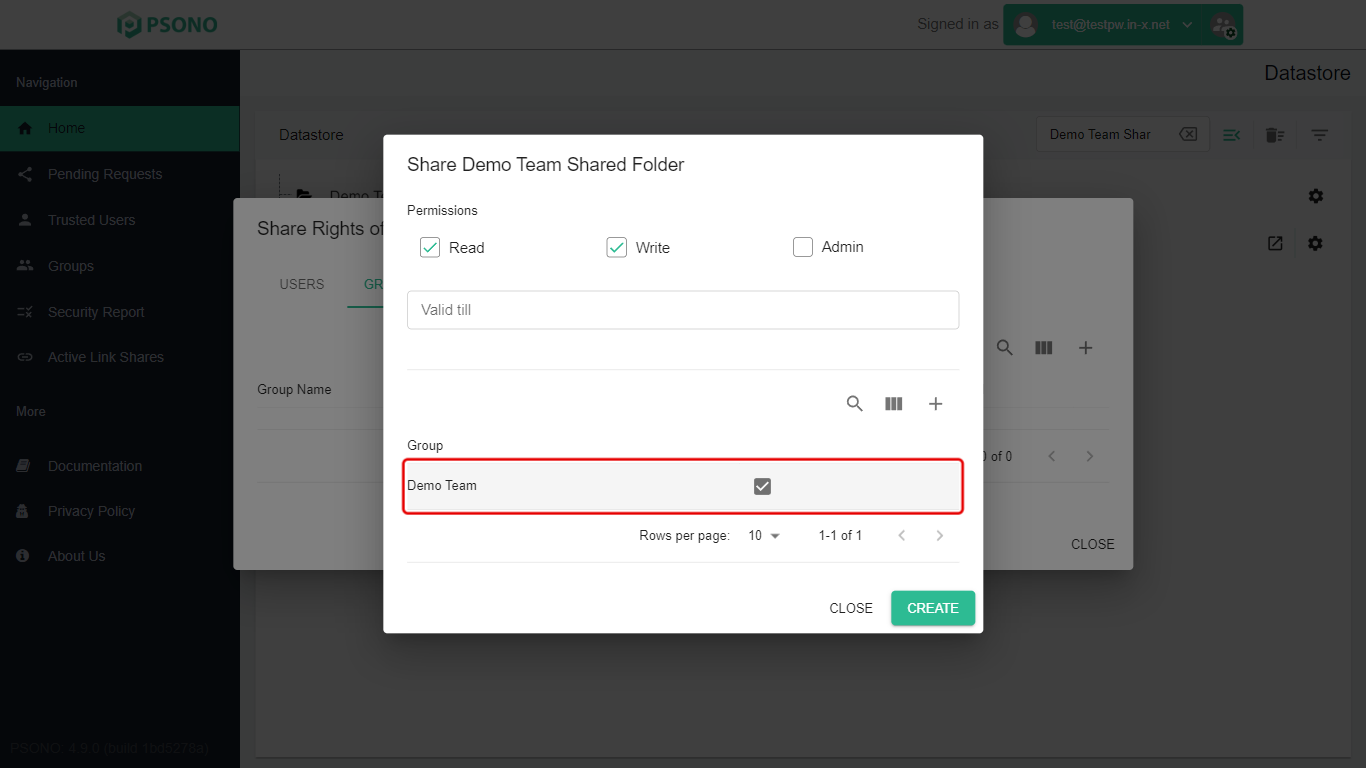
In the group list, tick the box next to the group's name.
-
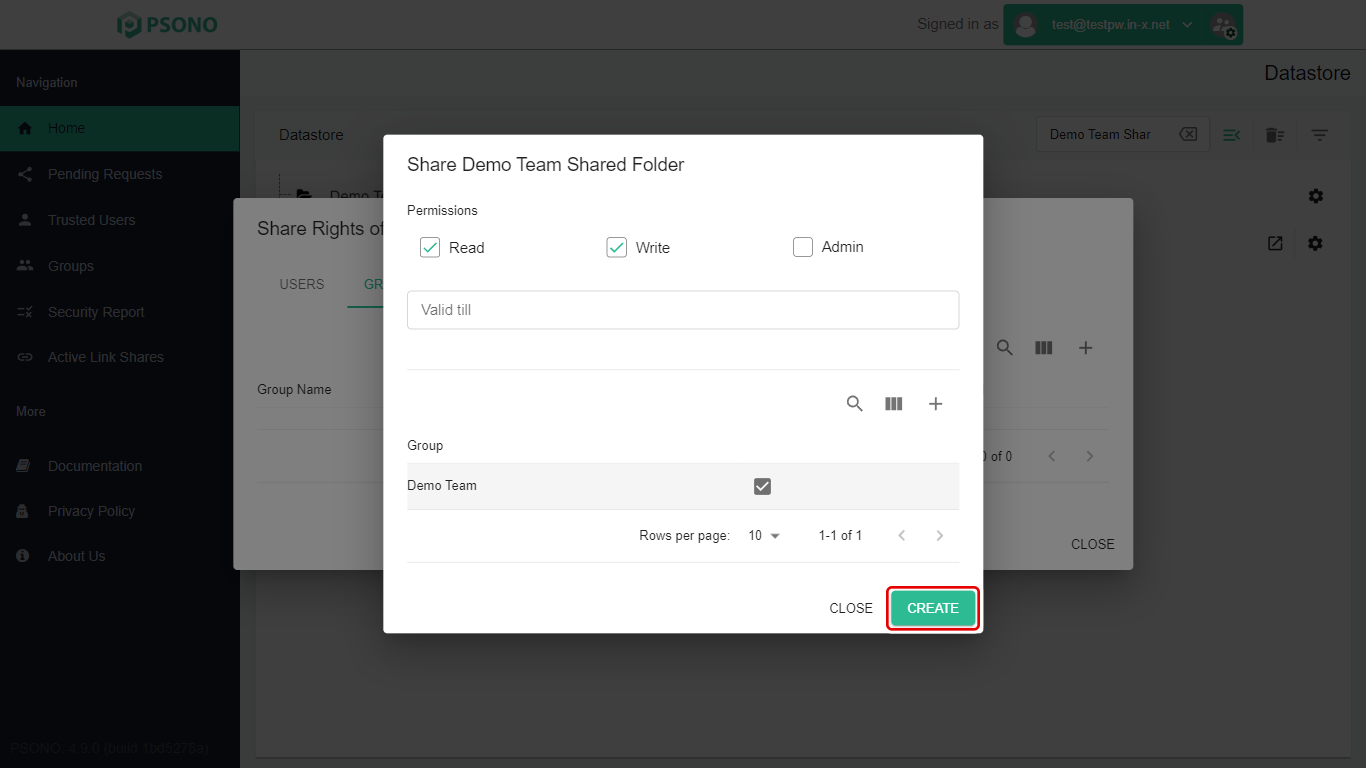
Click Create.
-
To check it worked, open Share on the folder again and click the Groups tab. The group should be listed with the permissions you chose.
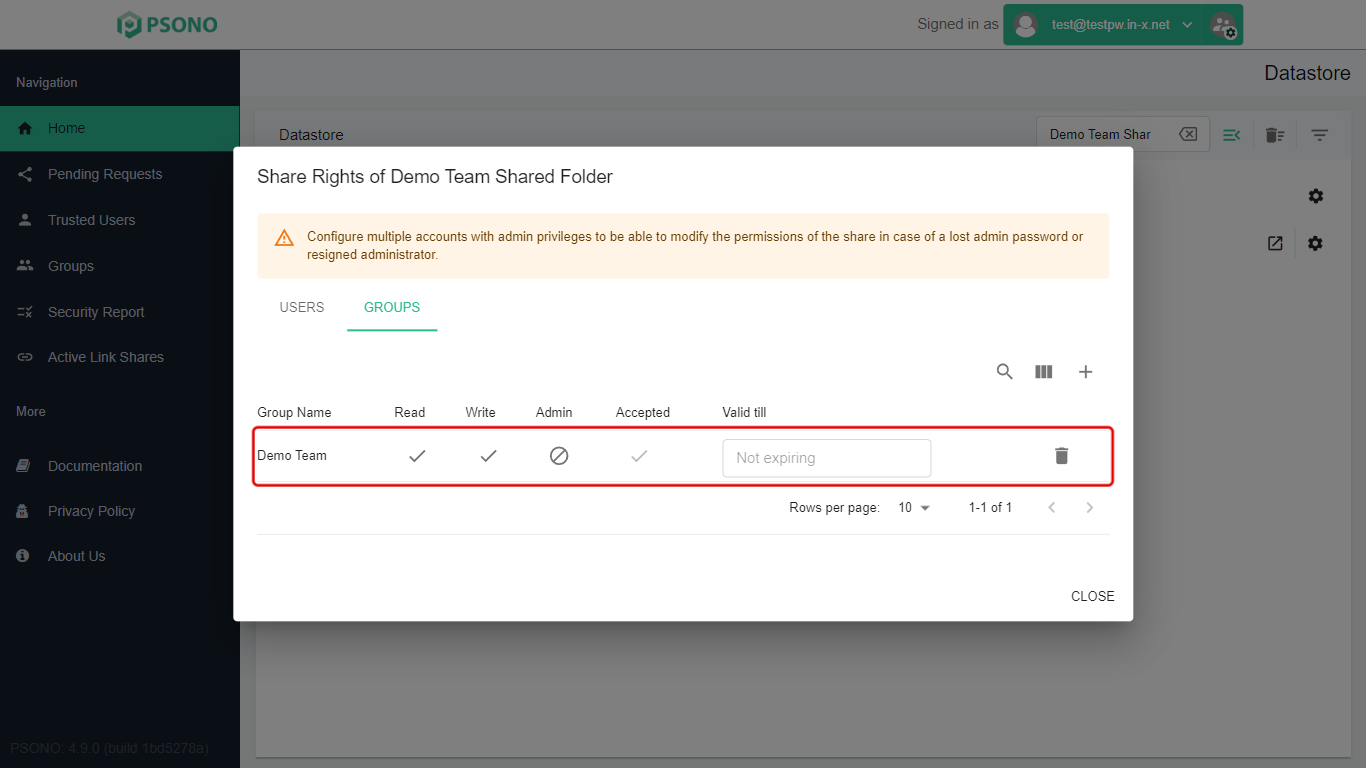
Note: If you click Create without ticking a group, nothing is shared. That's why it's worth checking.
Everyone in the group gets an invitation. Once they accept it, the folder shows up in their Datastore. See Accepting Shared Passwords and Folders.
Stuck on a step? Email support@the-it-connection.com or call 815-526-3600 and we’ll walk you through it.