
Click any picture to see it full size.
In this guide, the red box in each picture shows what to click.
Before you start
You'll need your Quick Reference Document from us. It has your company's Psono address and the server fingerprint you'll check during sign-in.
If your company's Psono sign-in page has a button such as Microsoft 365 or SSO, skip to Single sign-on (SSO).
Register
-
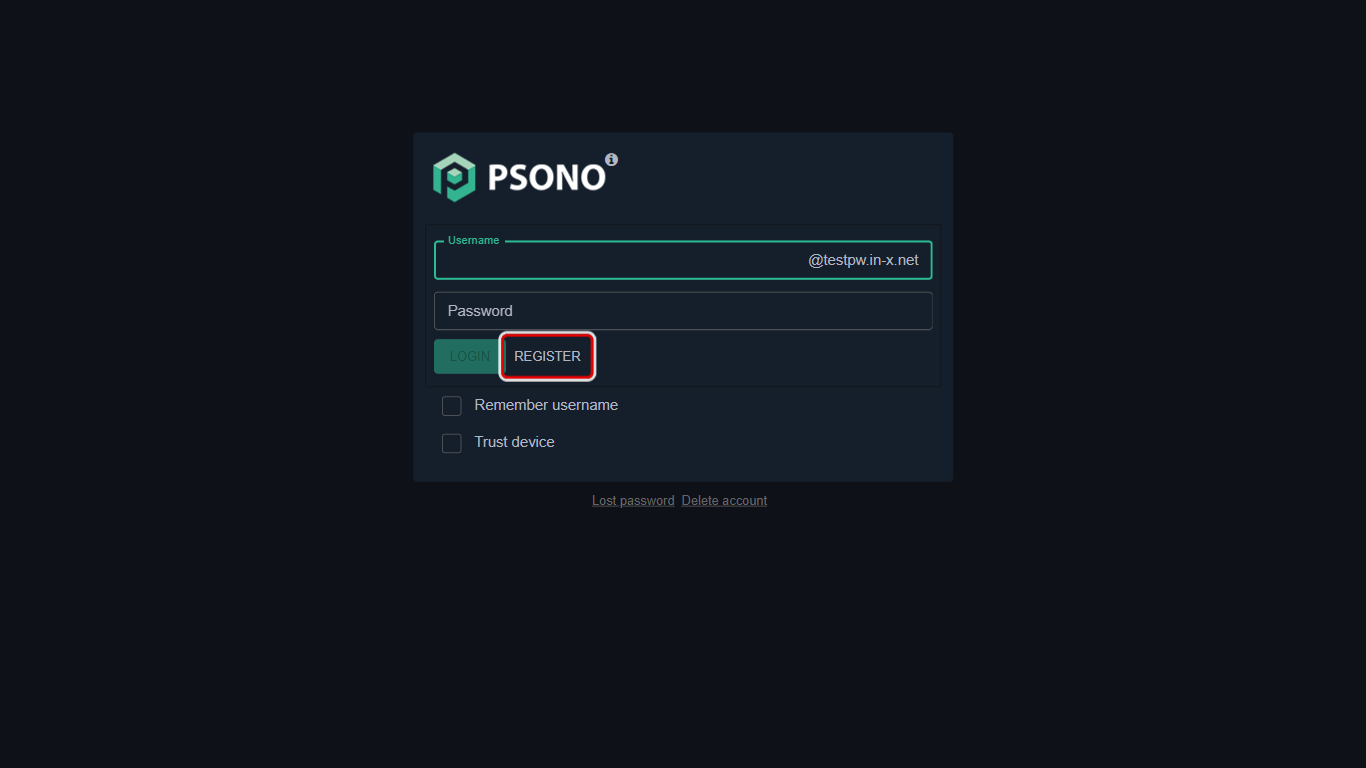
Go to your company's Psono page (the address is in your Quick Reference Document) and click Register.
-
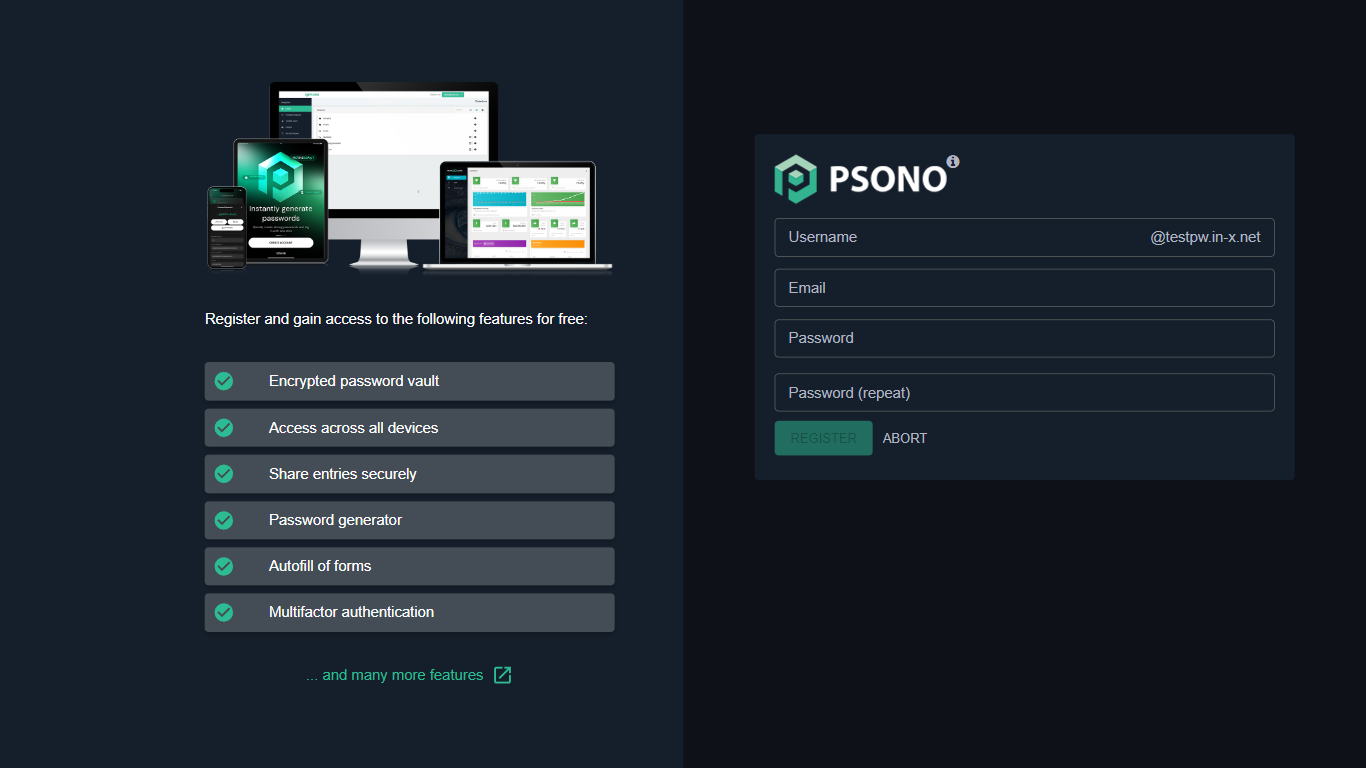
The registration page opens.
-
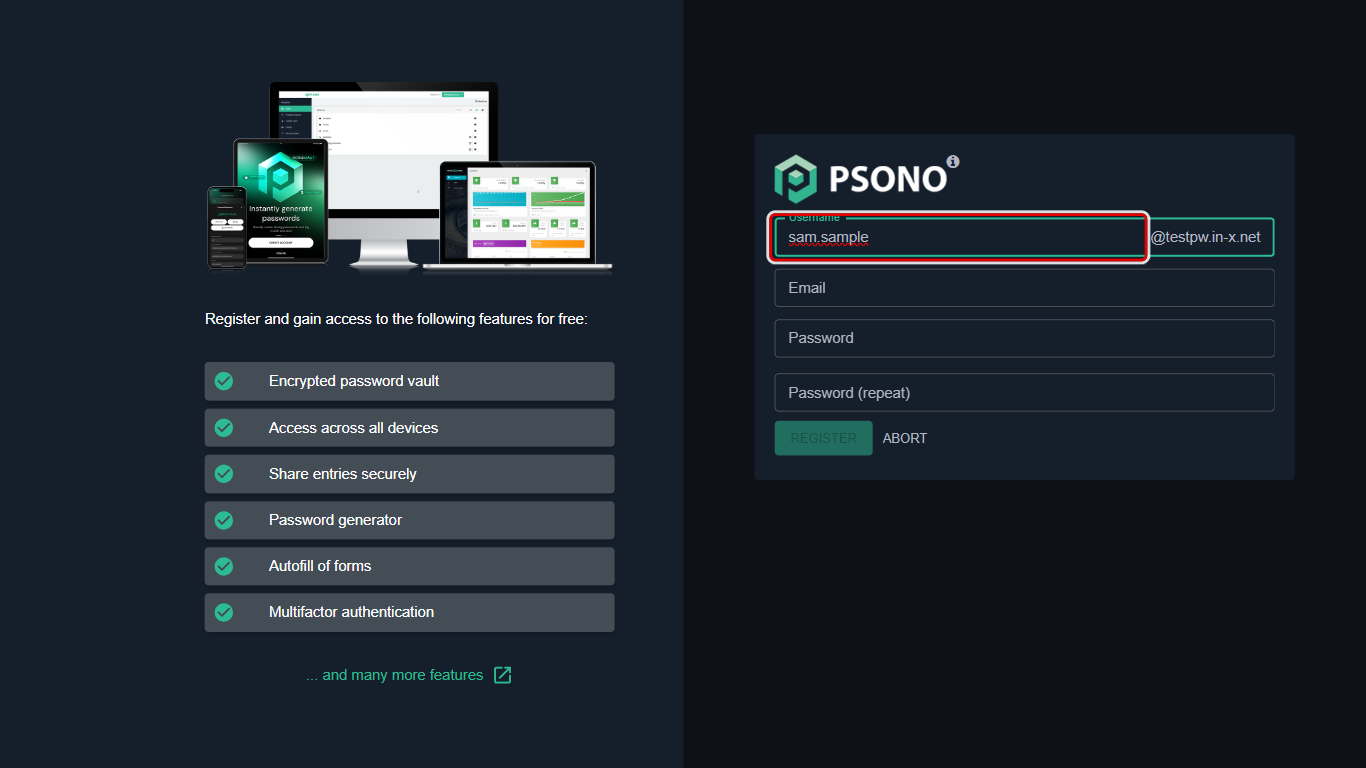
Type a Username. The part after the @ is added for you. Use the first part of your work email address if you can, for example jane.doe. Usernames can only contain letters, numbers, dots and dashes.
-
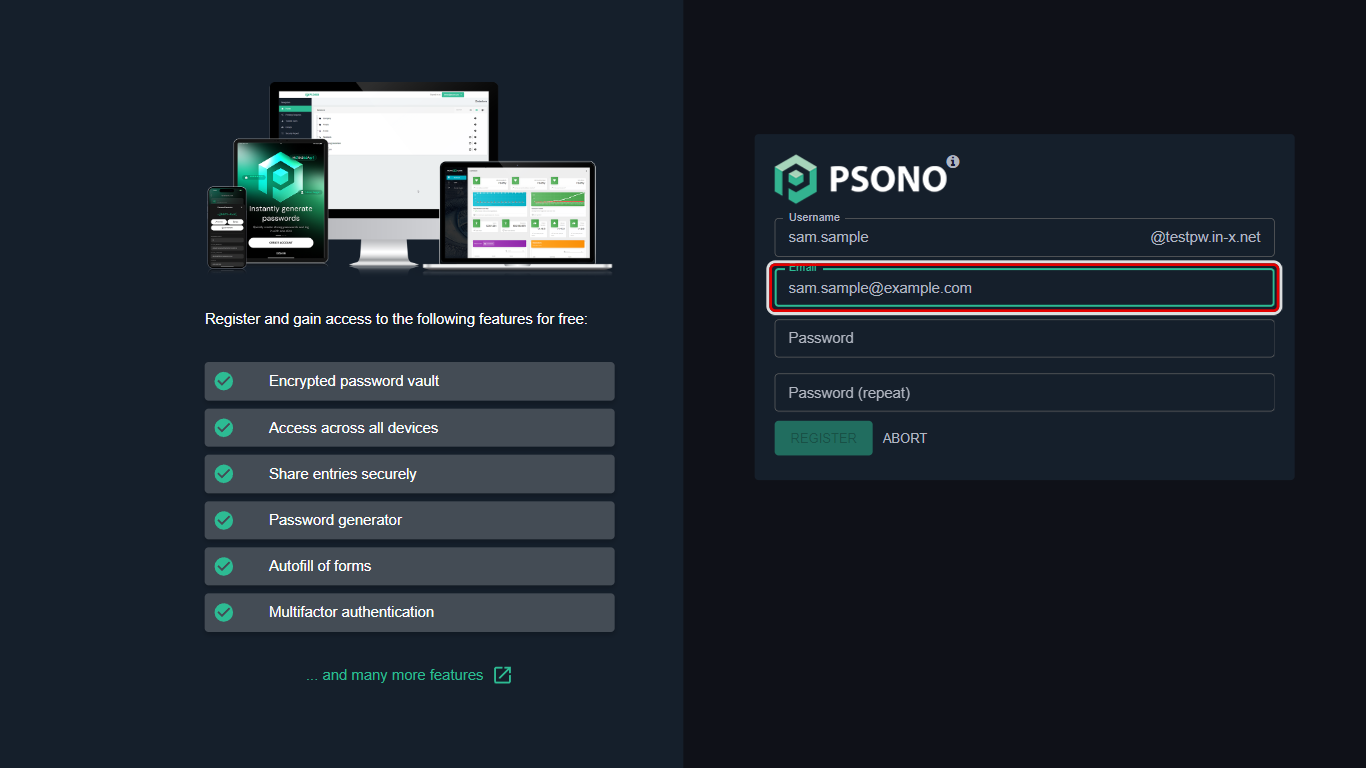
Type your work email address in Email. Psono sends your activation link there. Use your work address: your company's Psono may refuse any other (see your Quick Reference Document).
-
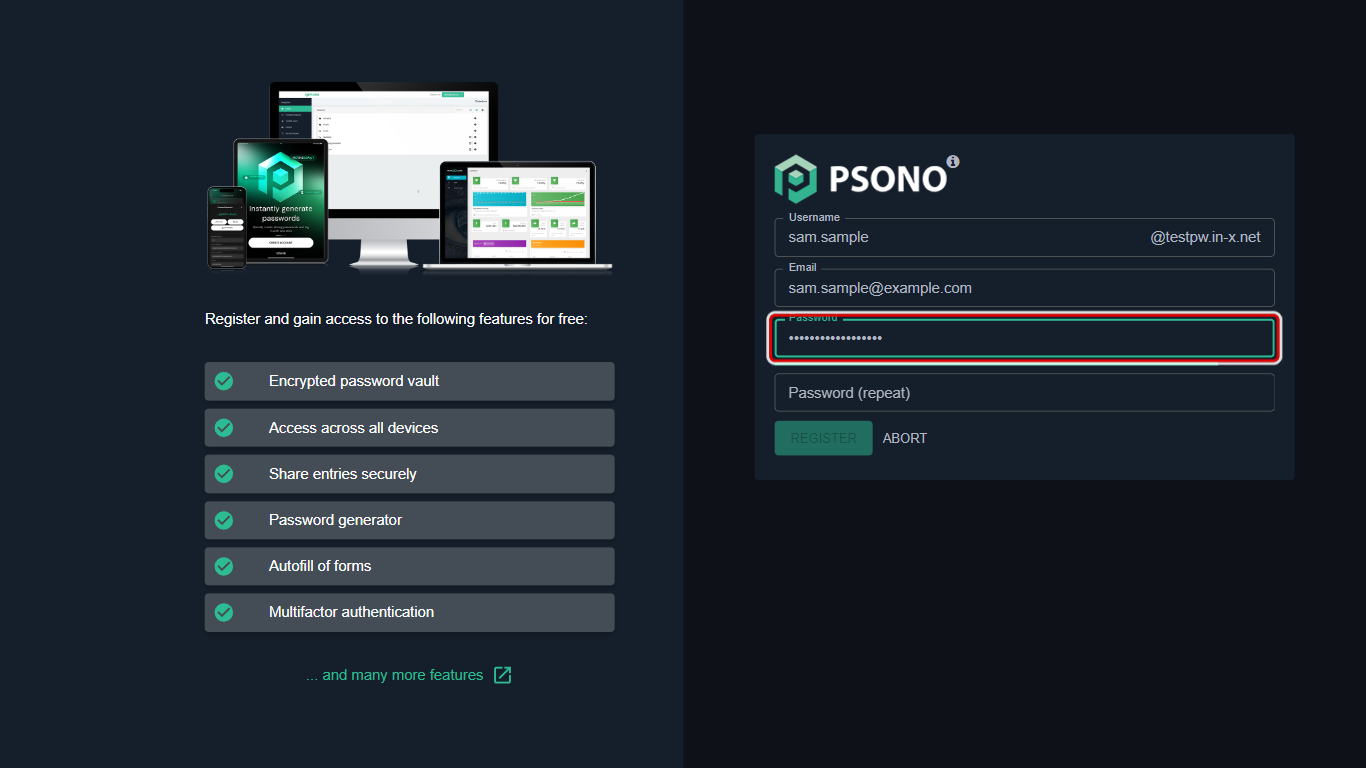
Choose a Password. This is the one password you'll need to remember from now on, so make it long and memorable. A short sentence works well, for example Blue-kettle-on-Tuesday-42. A coloured bar under the box shows how strong it is (you can see it in the next picture). If it's too short or too simple, Psono tells you when you click Register.
-
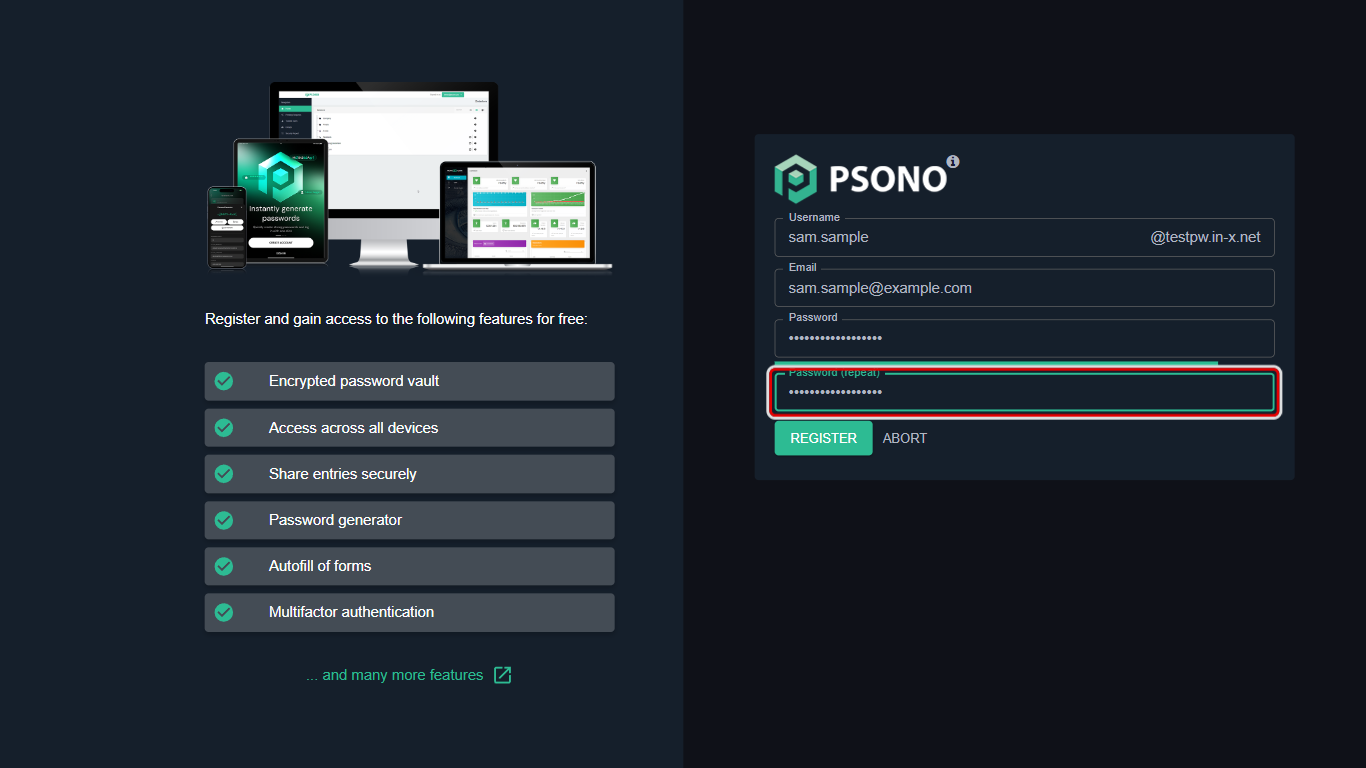
Type the same password again in Password (repeat).
-
Click Register.
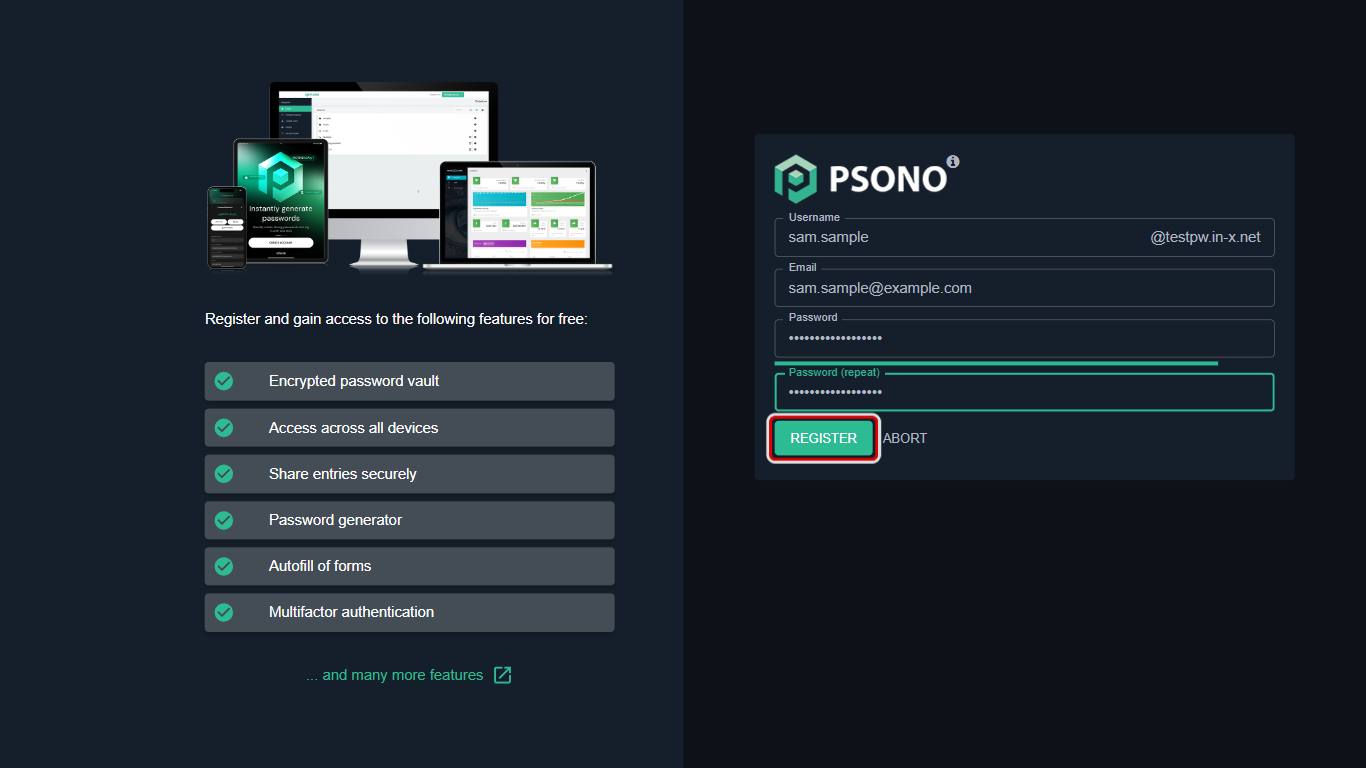
Your Psono password can't be reset by us. If you forget it, the only way back in is a recovery code. See Make a recovery code.
Activate your account
-
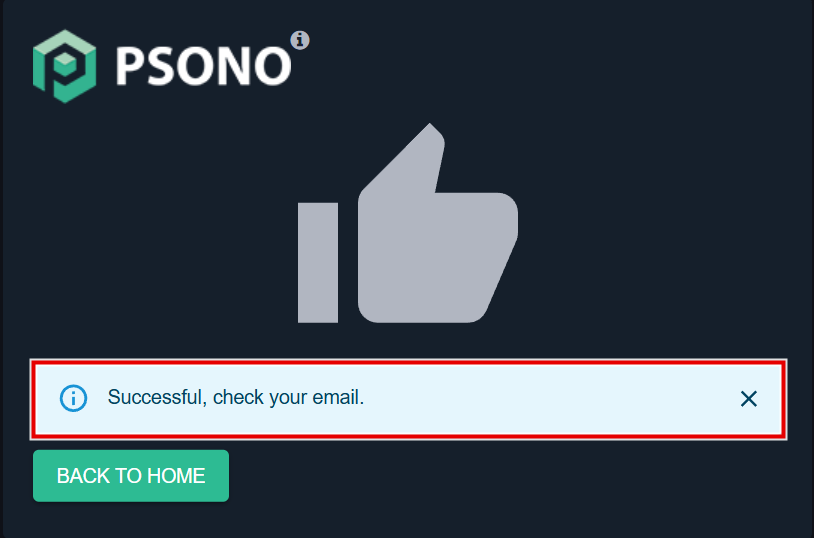
Psono shows Successful, check your email.
-
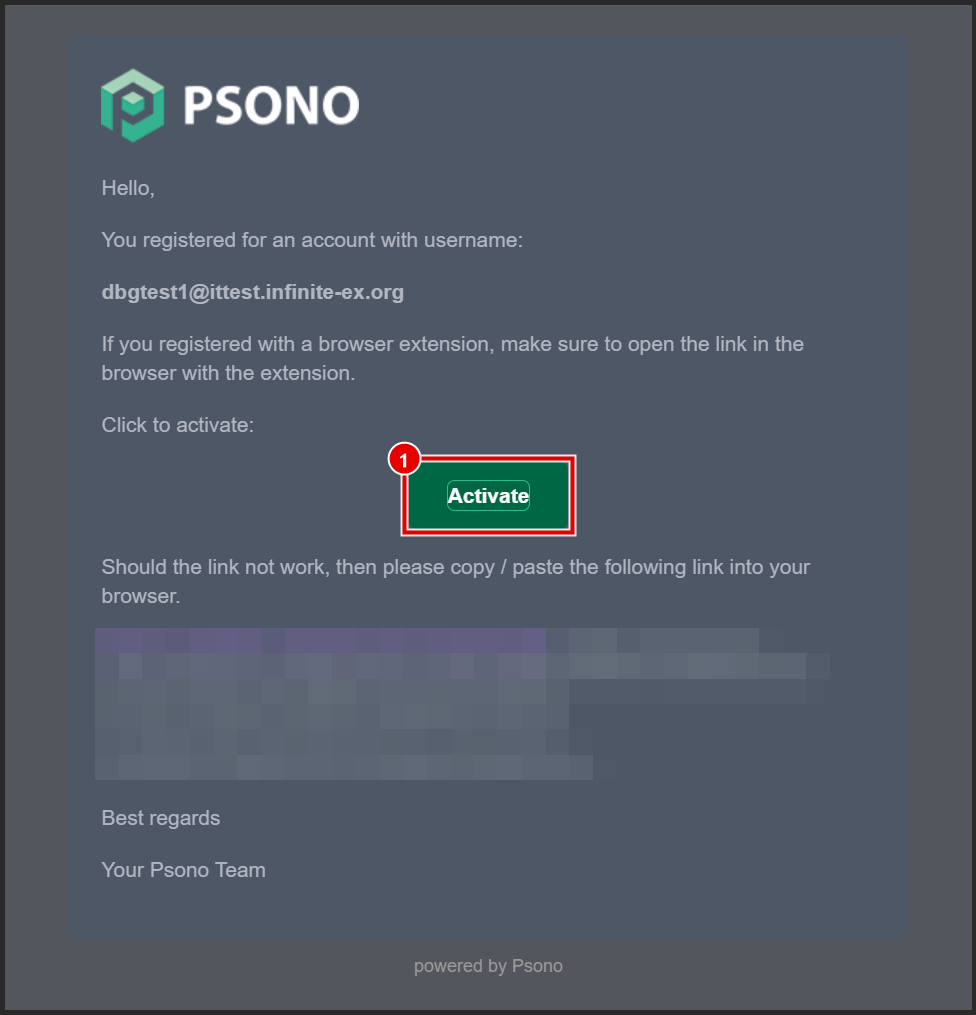
Open the email from Psono and click Activate. If you registered from the browser extension, open the link in that same browser.
-
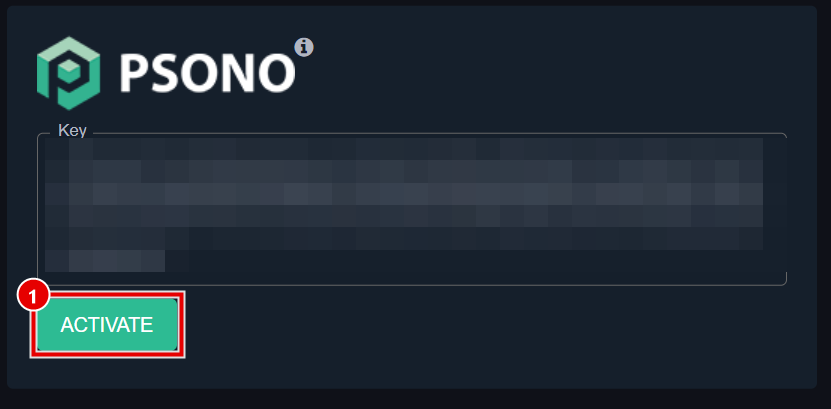
A page opens with a long Key already filled in. Click Activate.
-
You'll see Successfully activated. Click Login to sign in.
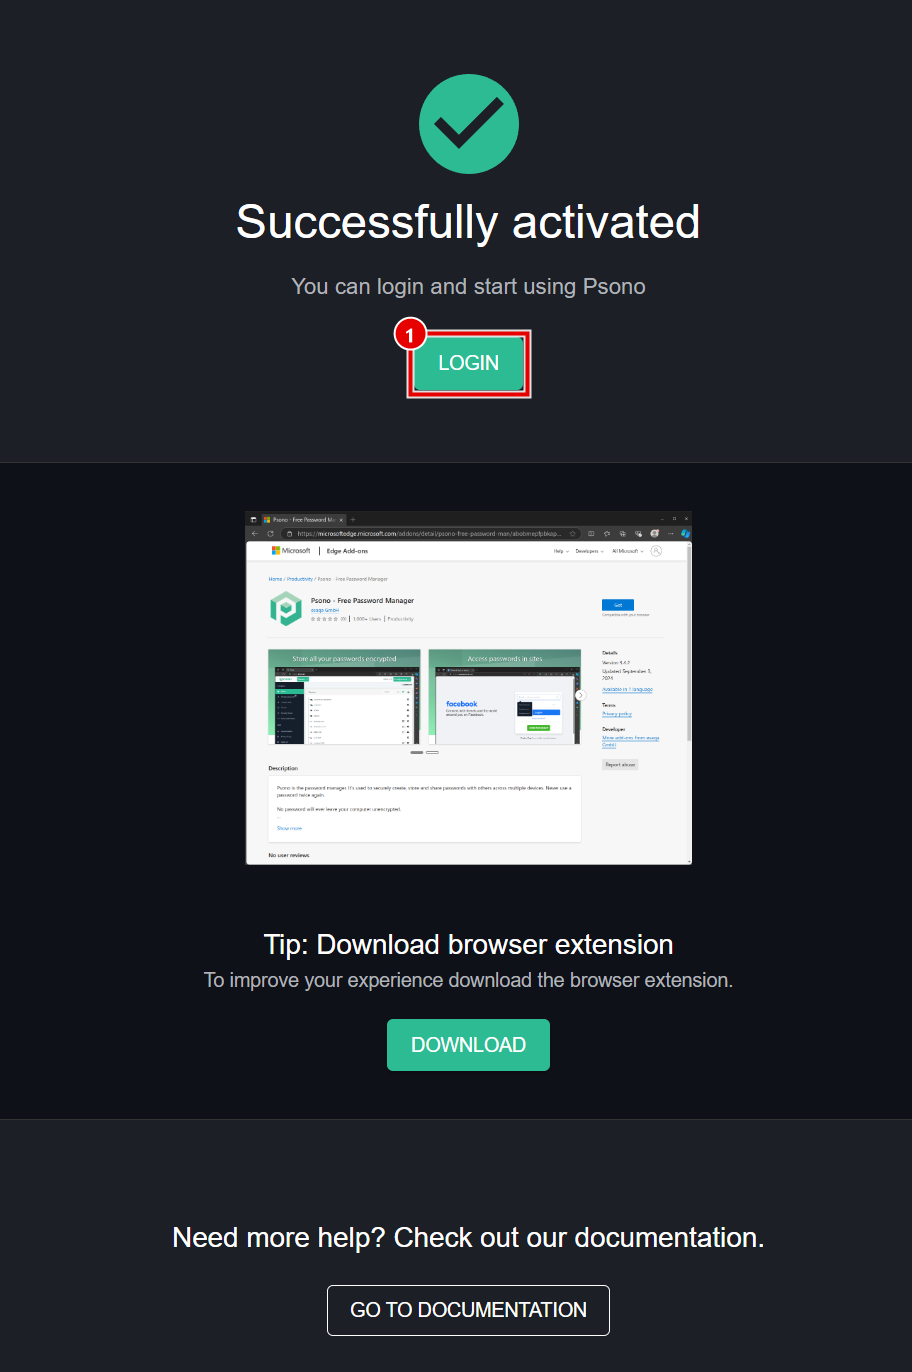
The pictures in this section have the activation code blurred. Yours will be clear.
Sign in for the first time
-
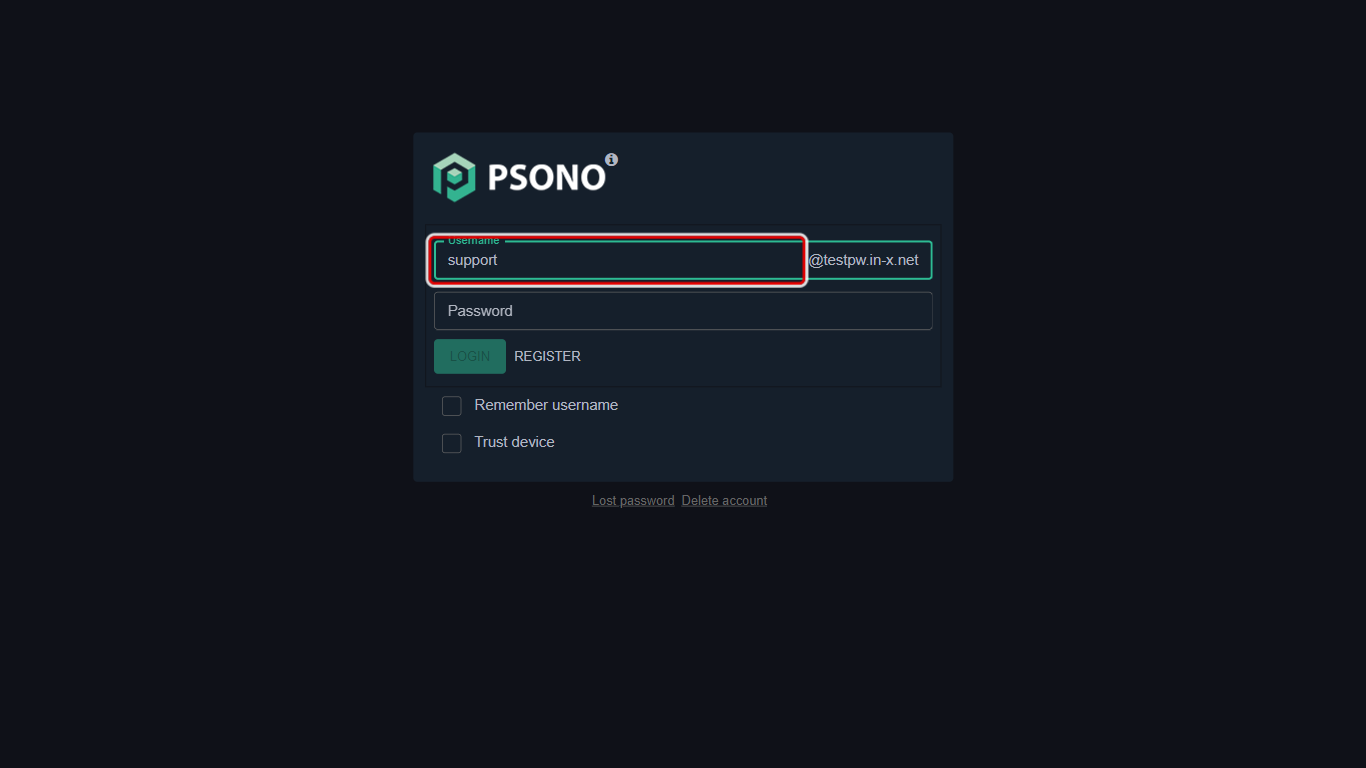
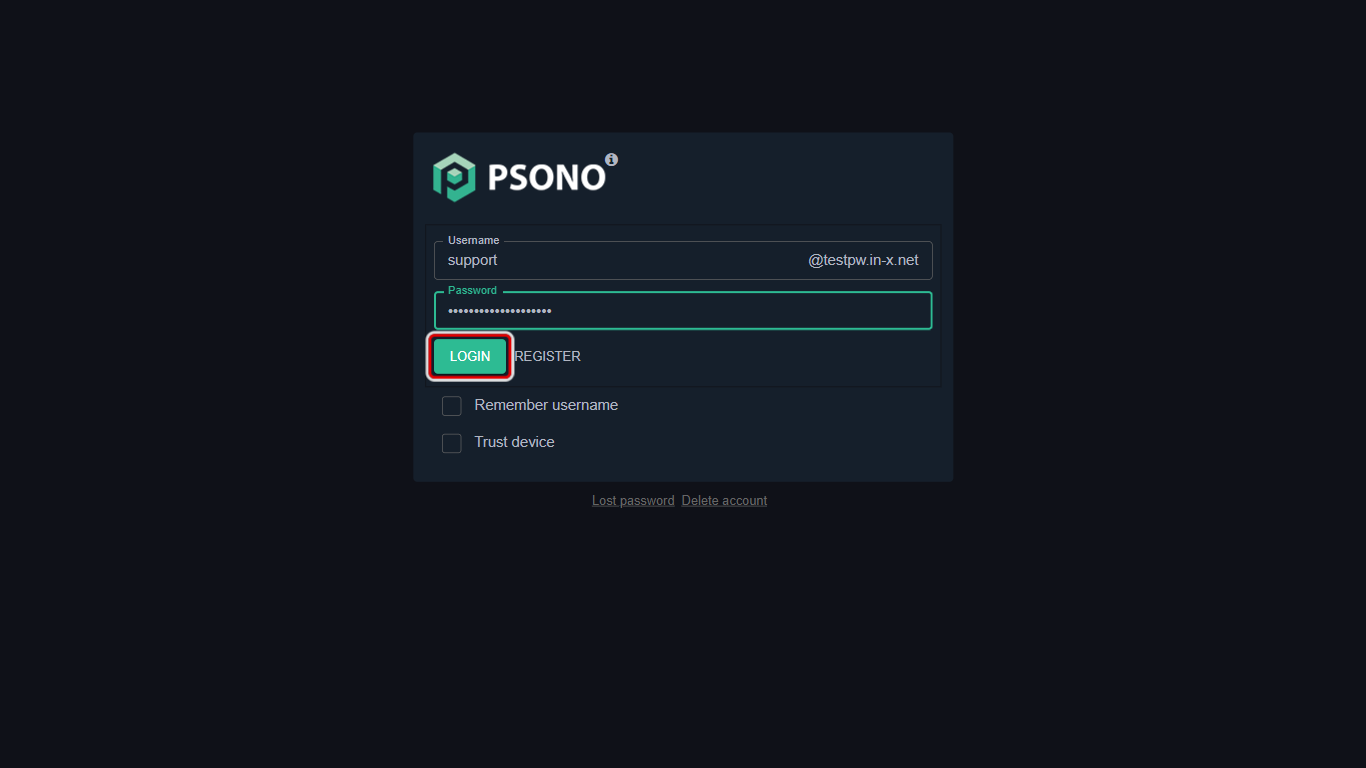
On your company's Psono page, type your Username (only the part before the @) and your Password, then click Login.
-
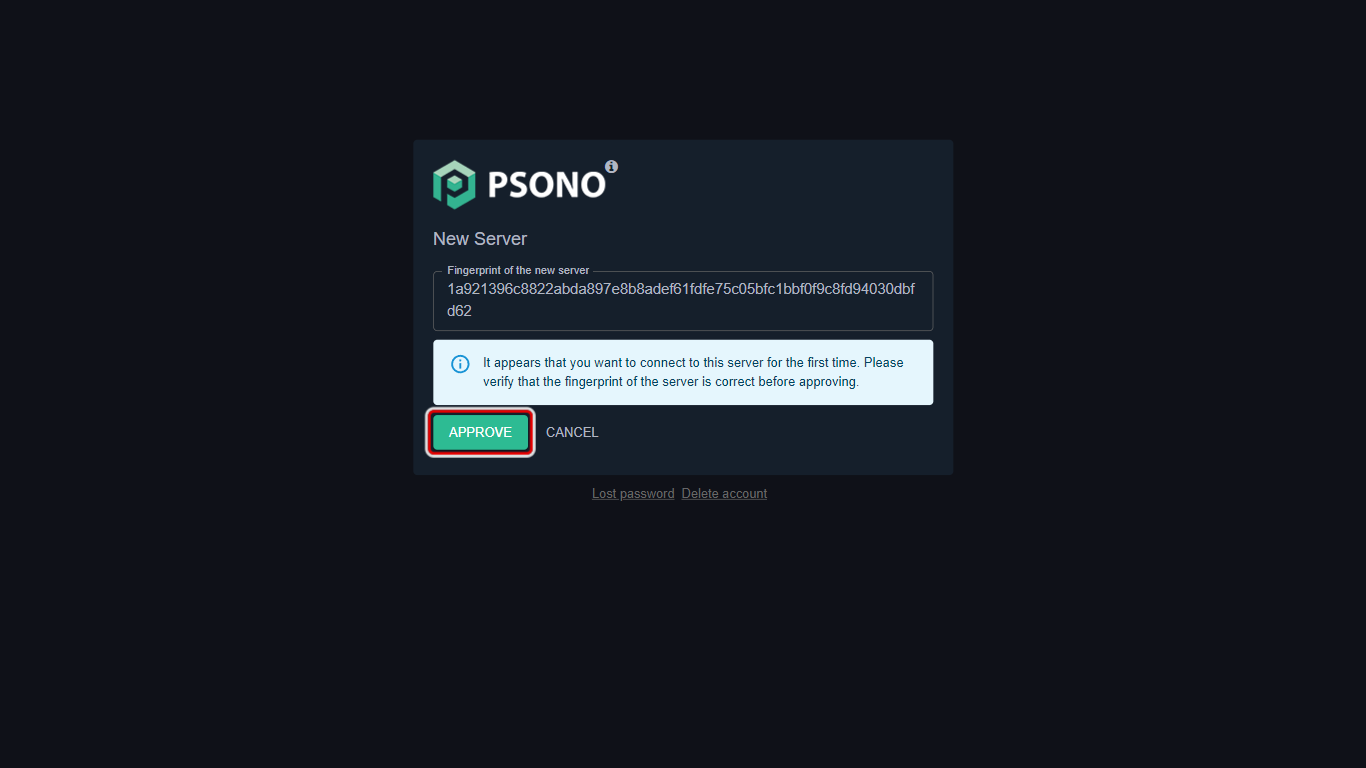
The first time you sign in on a computer, Psono shows a New Server page. Check that the long code under Fingerprint of the new server matches the Psono Fingerprint in your Quick Reference Document, then click Approve. If it doesn't match, click Cancel and contact us.
-
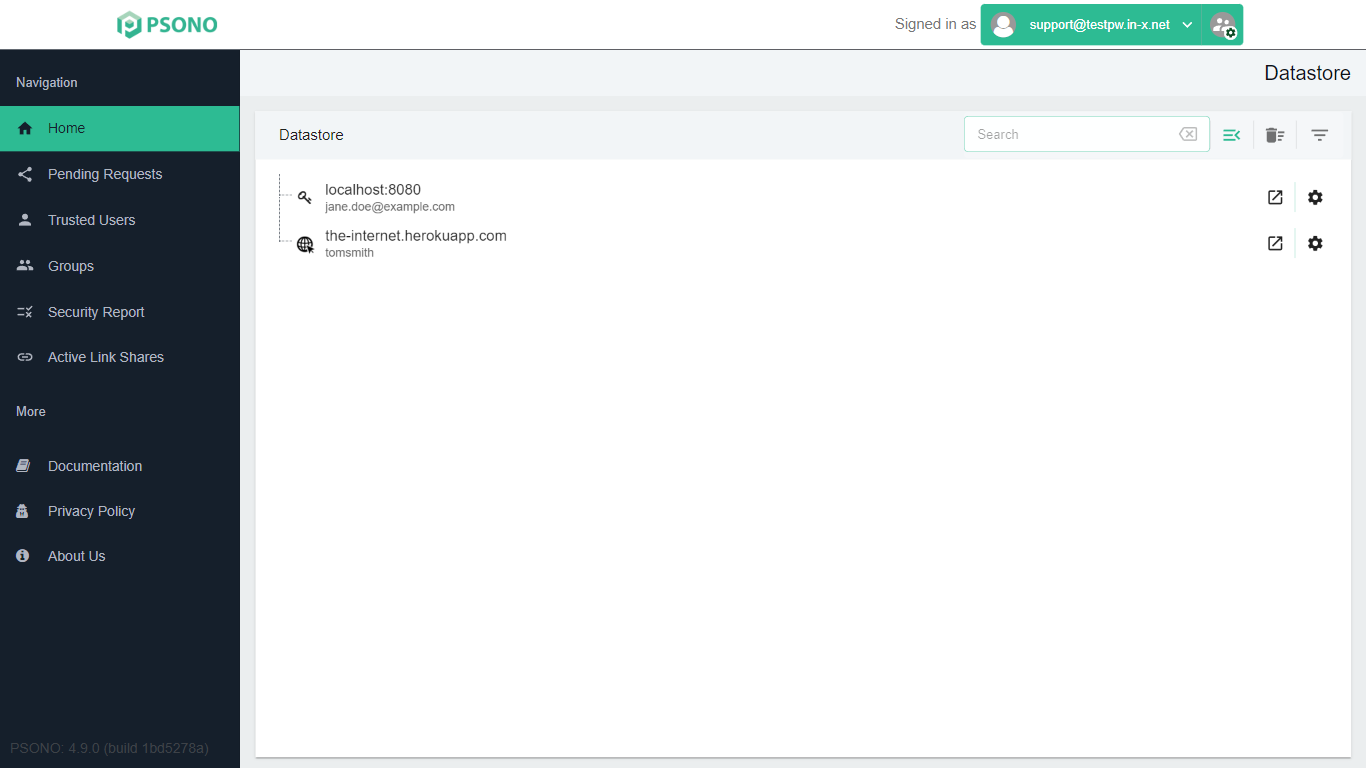
You're in. This is your Datastore, where all your passwords live.
On your own computer only, you can tick Remember username and Trust device on the sign-in page so you don't have to approve the server again.
Single sign-on (SSO)
If your company uses single sign-on, you don't register or make a separate Psono password. You sign in with your normal work account instead.
-
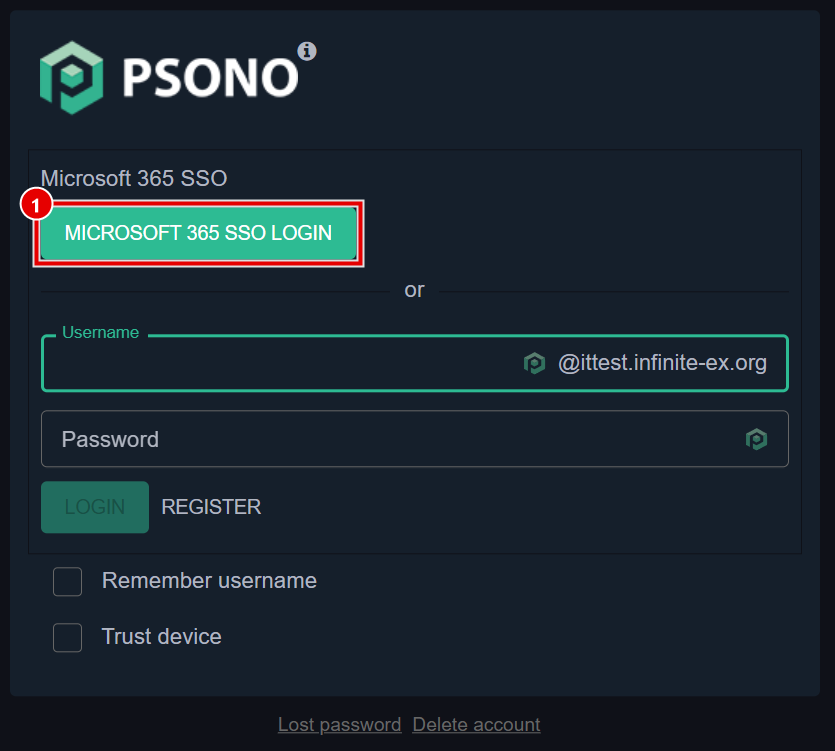
On your company's Psono page, click the SSO button, for example Microsoft 365 SSO Login. Don't fill in the Username and Password boxes below it.
-
If Psono shows a New Server page, check the fingerprint against your Quick Reference Document and click Approve (see Sign in for the first time).
-
Your company's sign-in page opens, for example Microsoft 365. Sign in with your usual work email address and password.
-
You're taken back to Psono and signed in.
Set up two-factor sign-in
Two-factor sign-in means Psono asks for a 6-digit code from your phone as well as your password. You'll need an authenticator app on your phone, such as Microsoft Authenticator or Google Authenticator.
If your company requires two-factor sign-in, Psono asks you to set it up straight after your first sign-in (including SSO sign-ins). Choose the same option described below (TOTP, or Duo if your company uses it) and follow the steps from step 4.
-
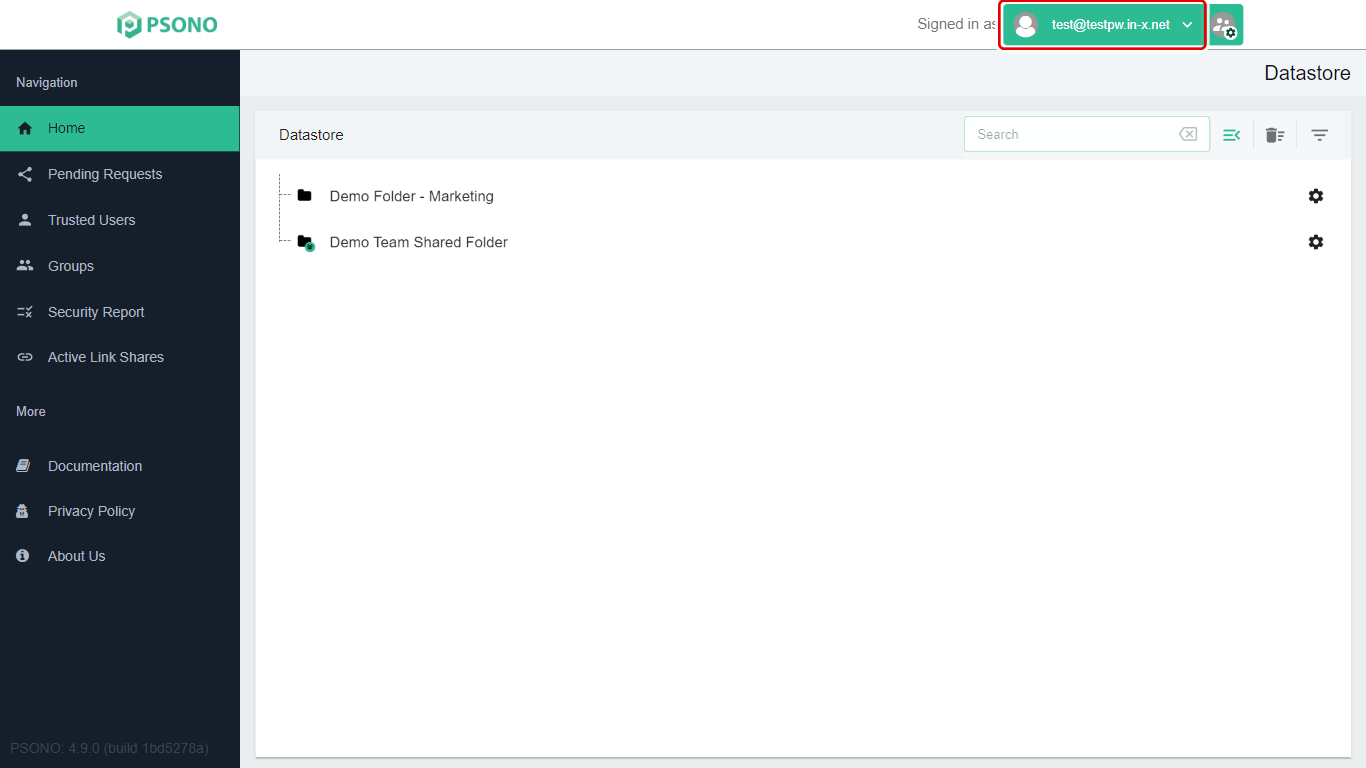
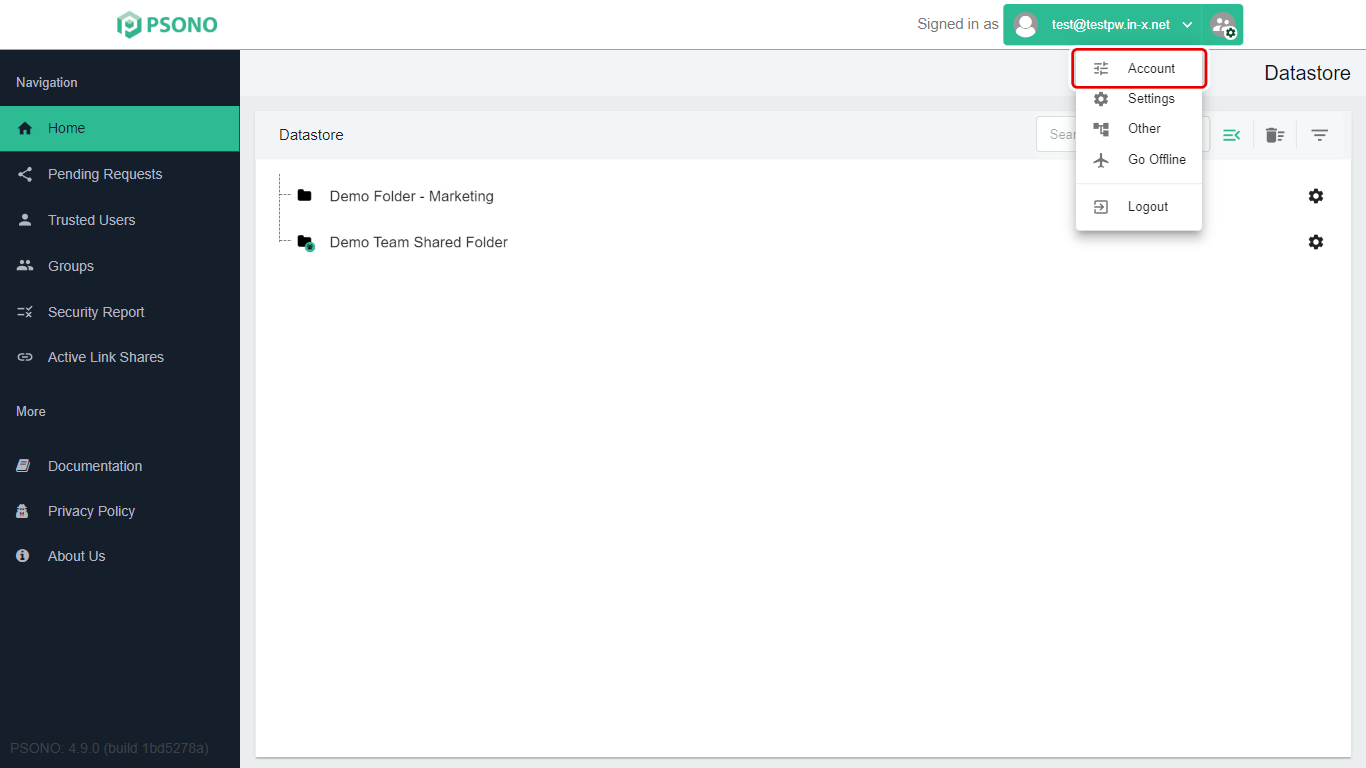
Click your name at the top right (Signed in as …), then Account.
-
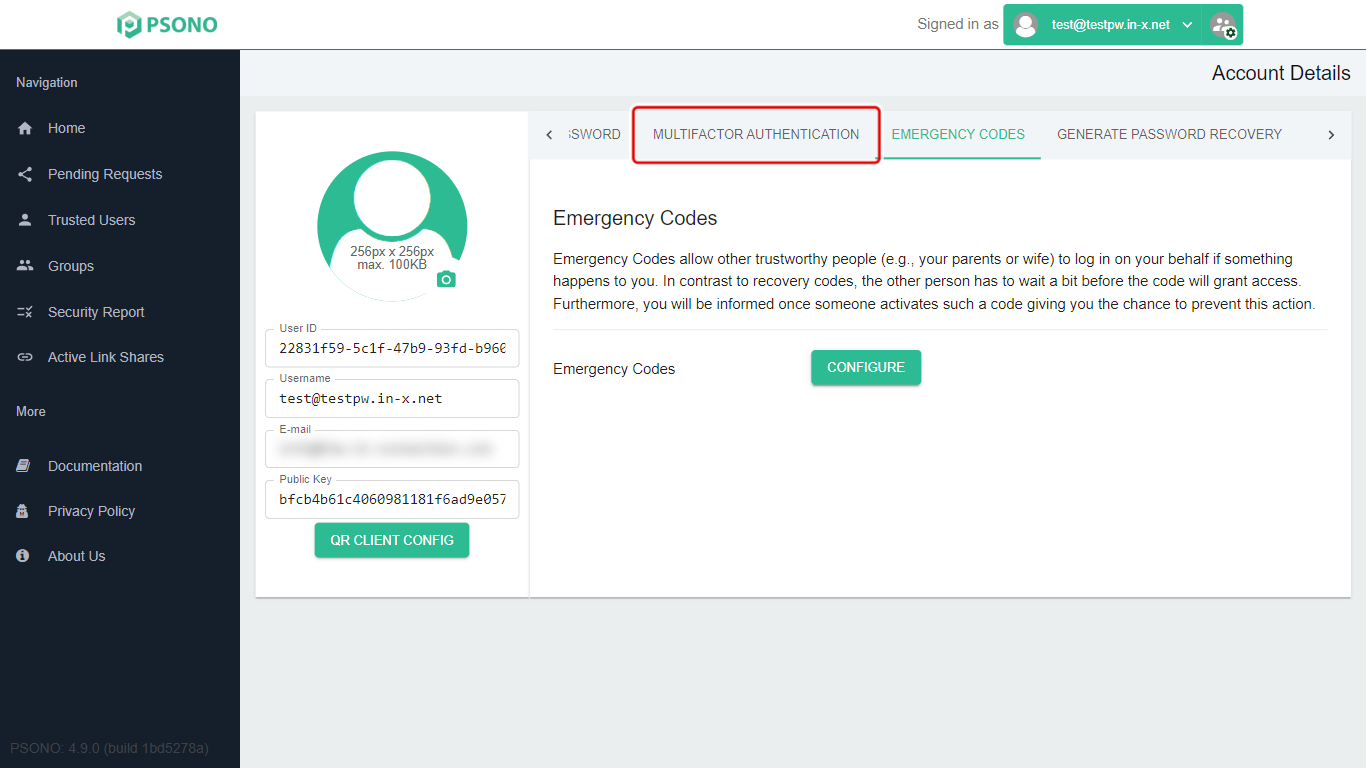
Click the Multifactor Authentication tab.
-
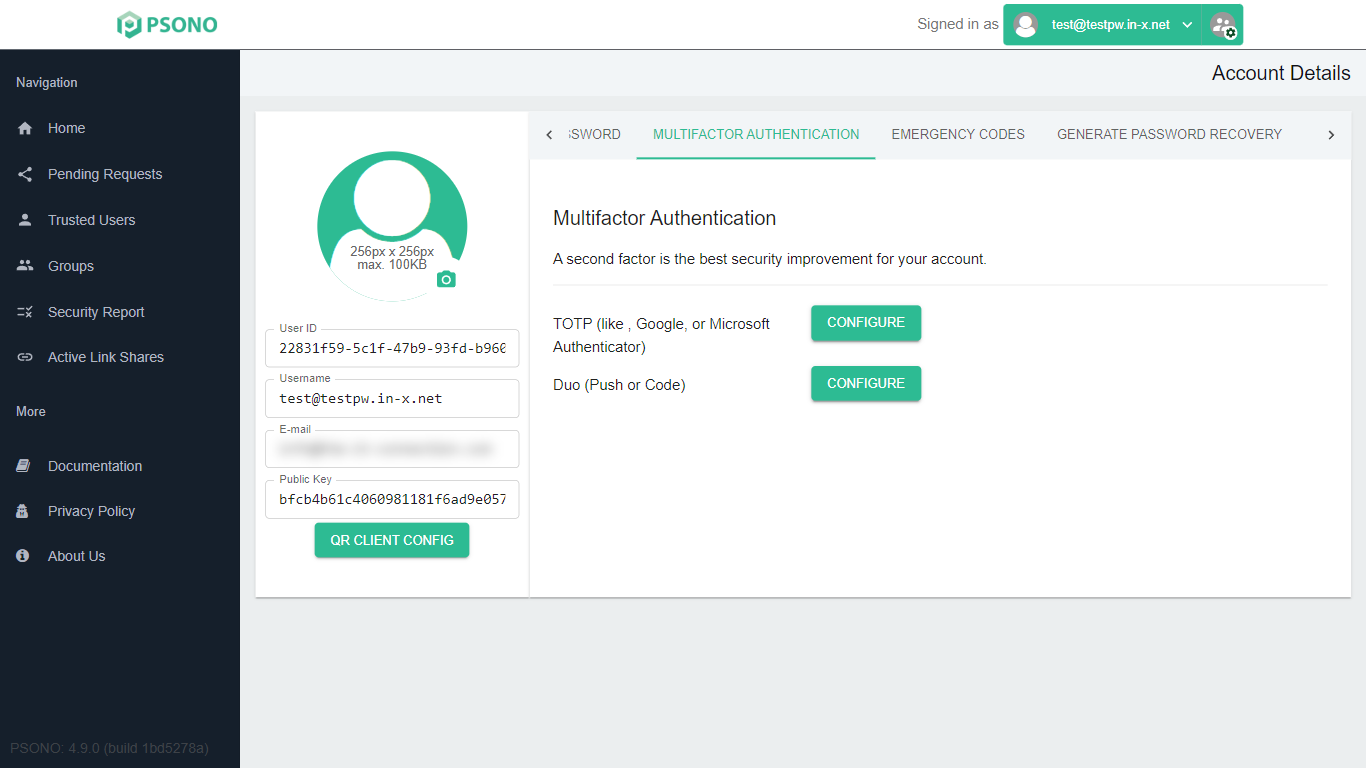
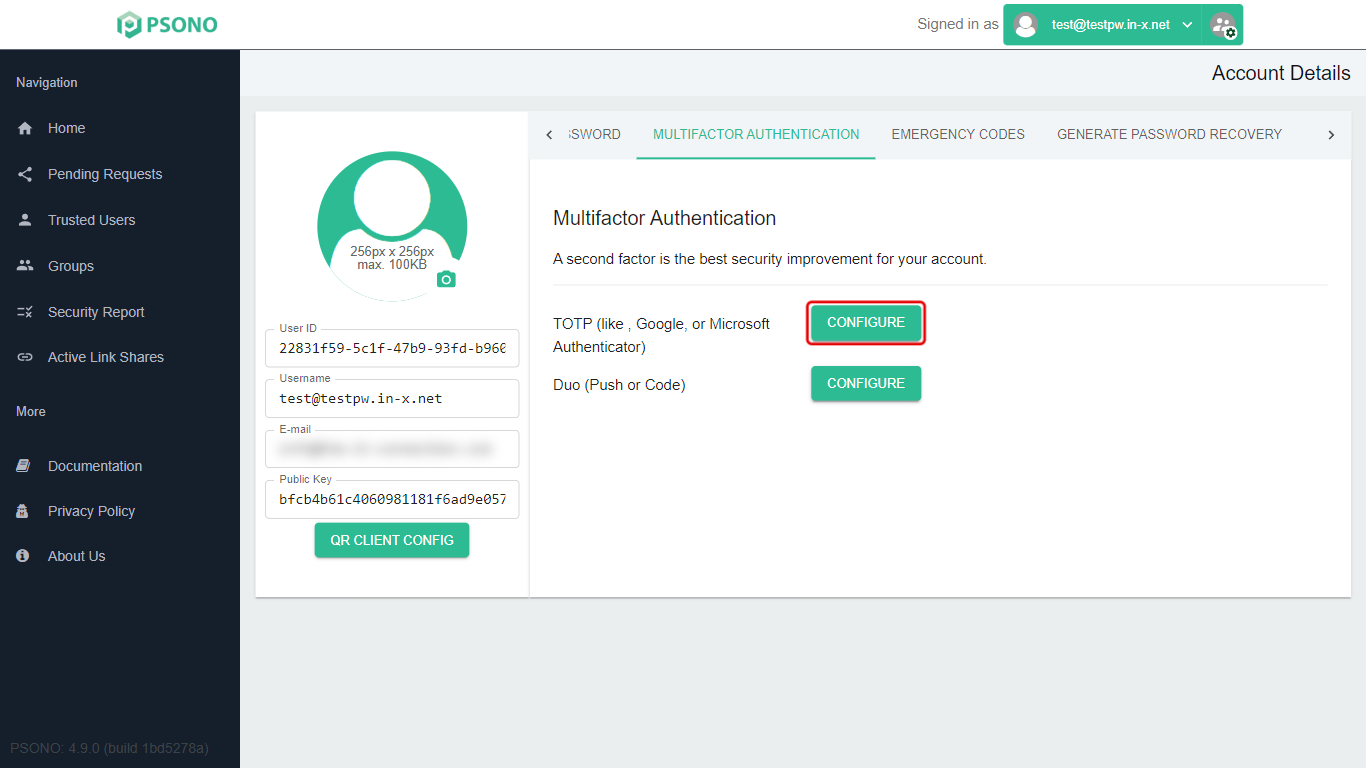
You'll see the types of second factor your company allows.
-
Next to TOTP (the line that mentions Google or Microsoft Authenticator), click Configure. If your company uses Duo, click Configure next to Duo (Push or Code) instead and follow the Duo prompts on your phone.
-
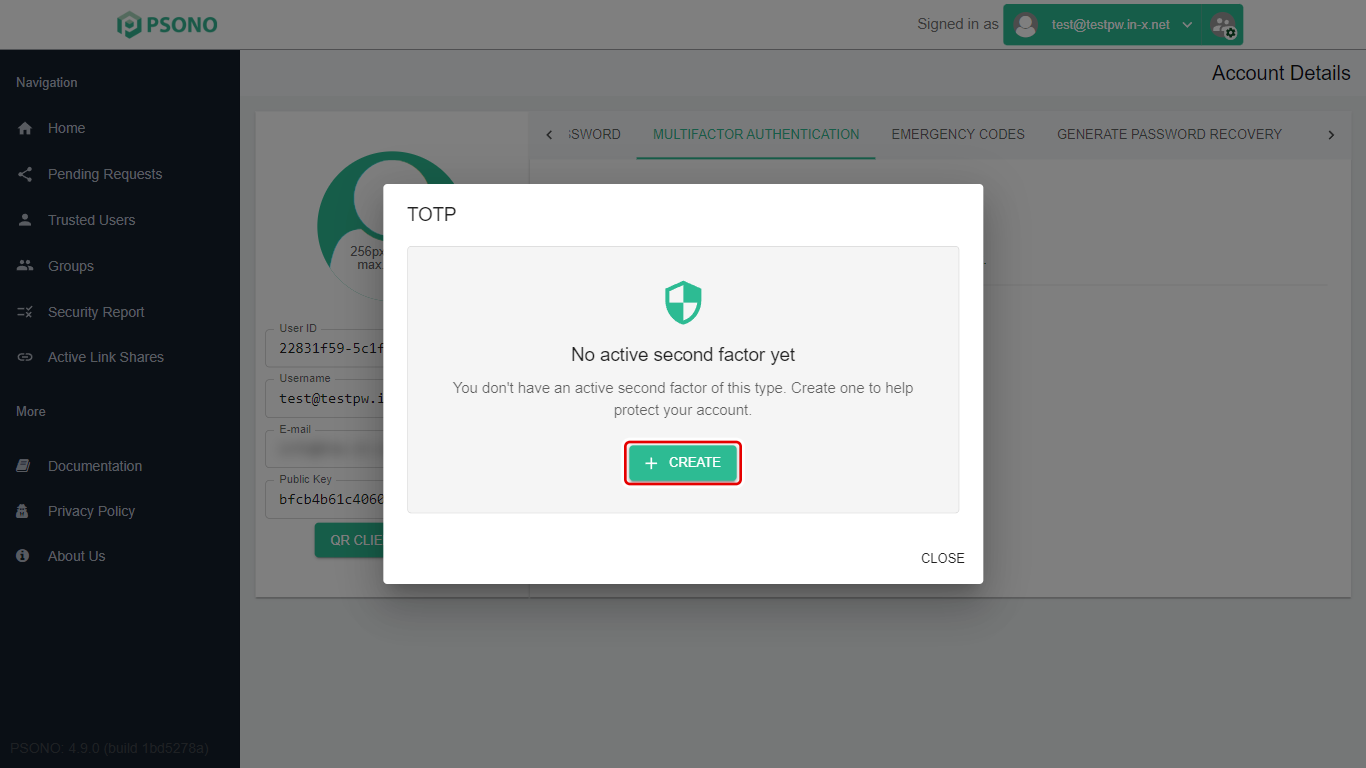
Click Create.
-
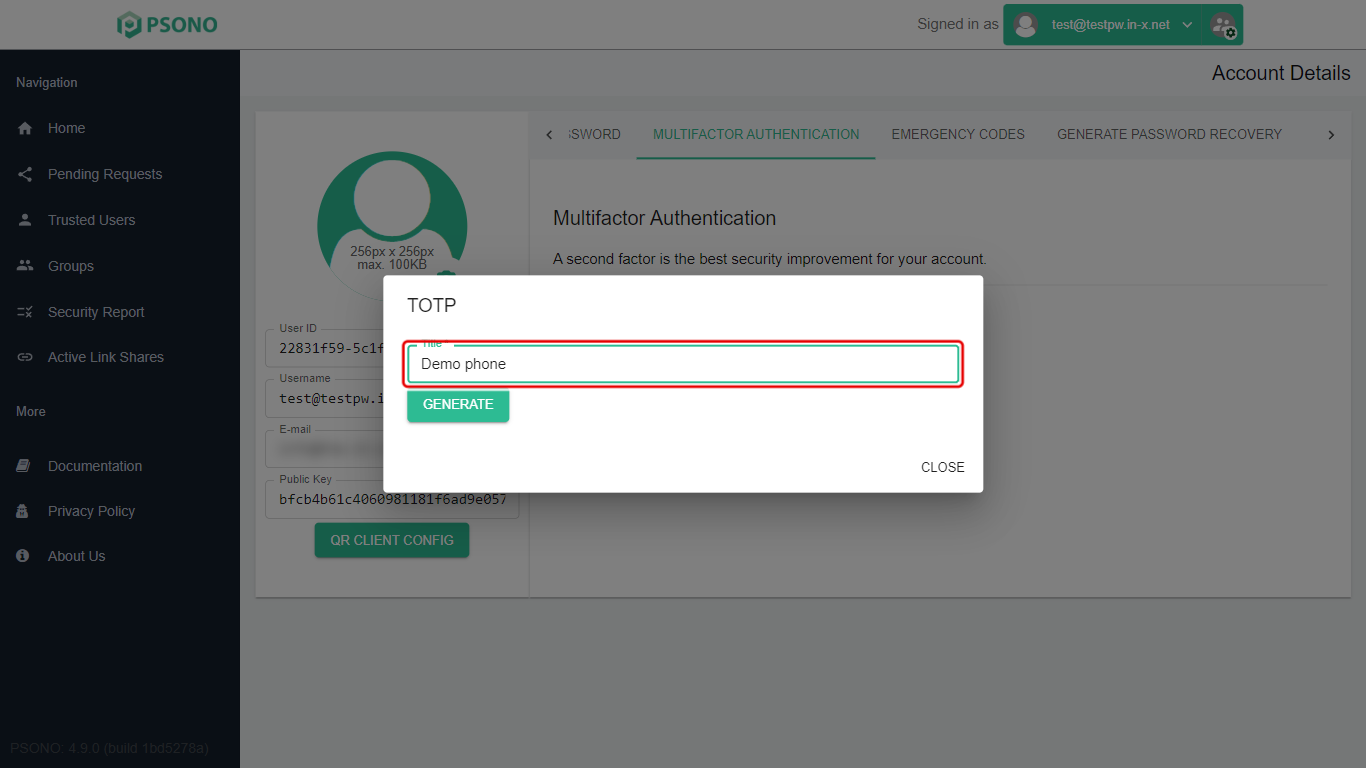
Type a Title so you know which phone this is, for example My phone.
-
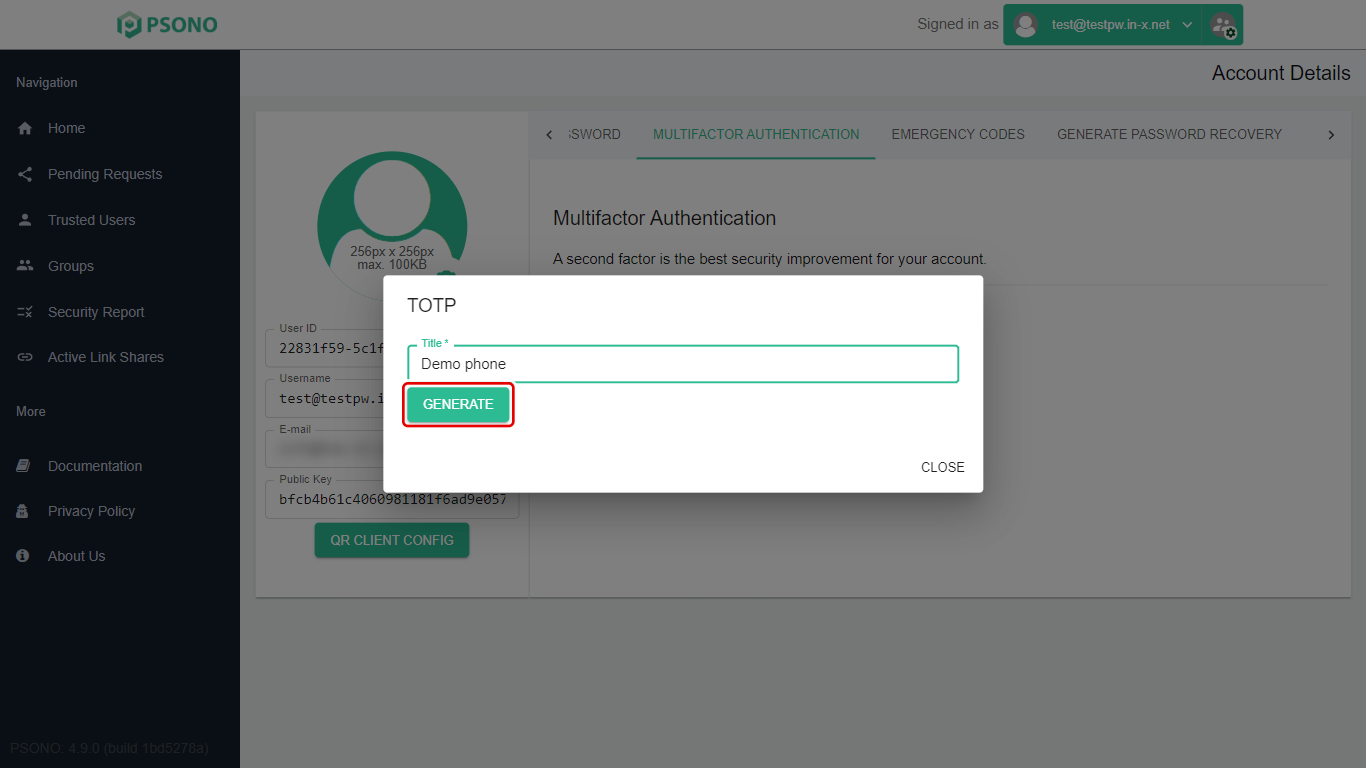
Click Generate.
-
Step 1: Scan the QR code. On your phone, open your authenticator app, tap Add (or +), choose Scan a QR code, and point the camera at the QR code on your screen.
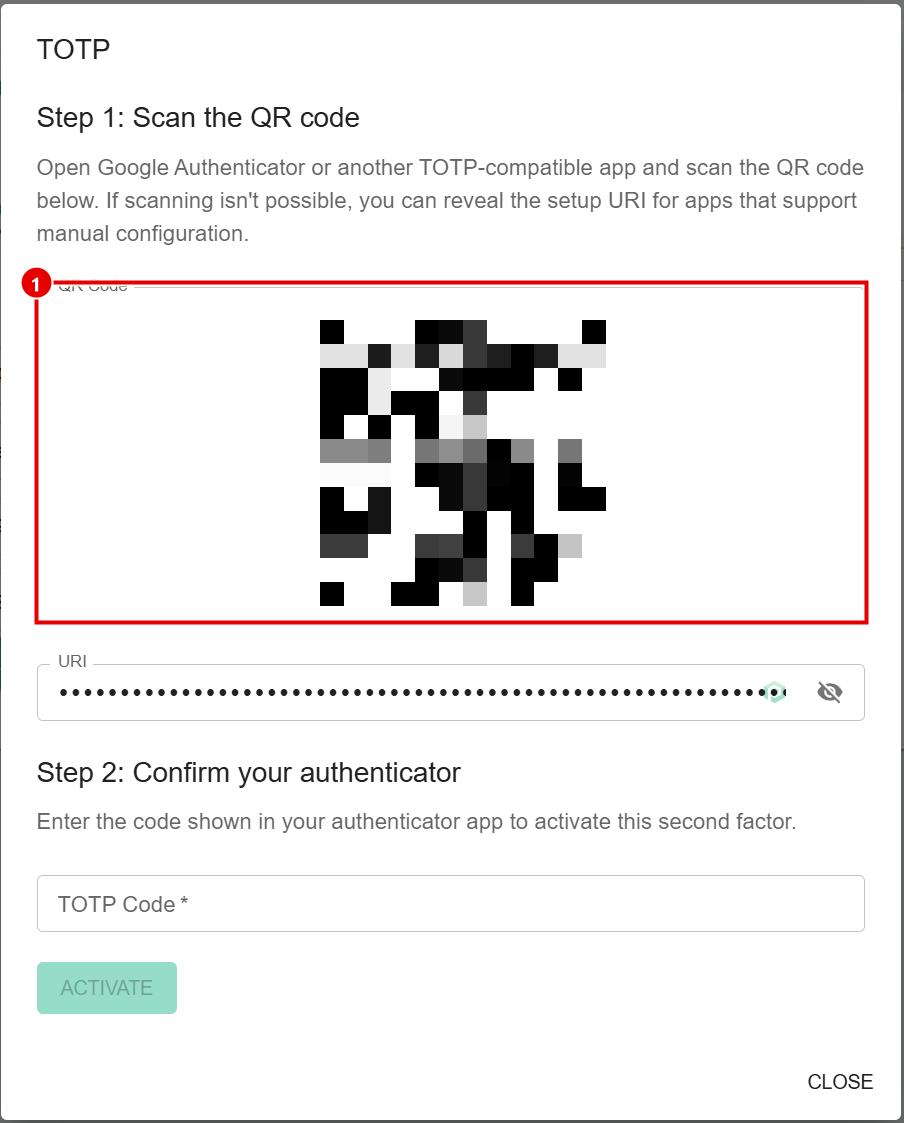
The QR code in our picture is blurred on purpose. Yours will be clear.
-
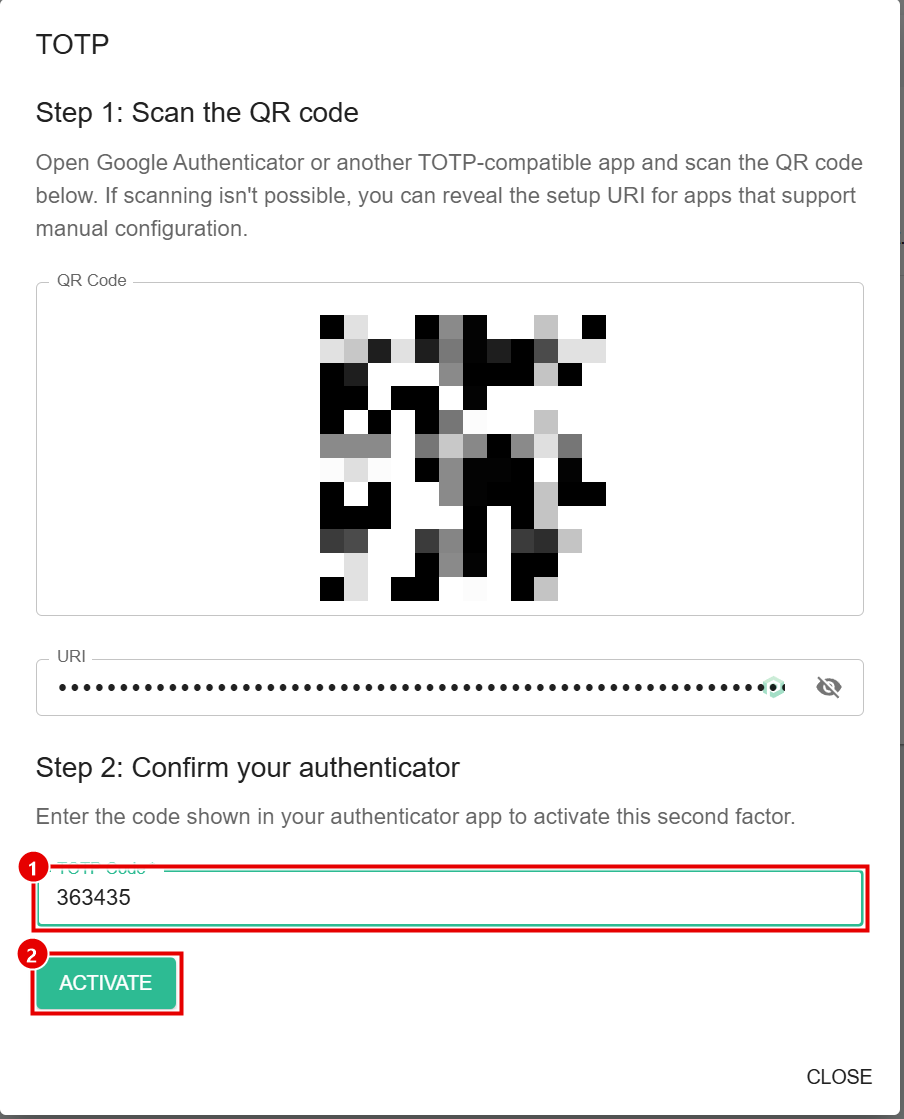
Step 2: Confirm your authenticator. Your phone now shows a 6-digit code for Psono. Type it into TOTP Code (1) and click Activate (2). The code changes every 30 seconds; if it's rejected, type the new one.
-
Your phone is now listed with a tick under Active. Click Close.
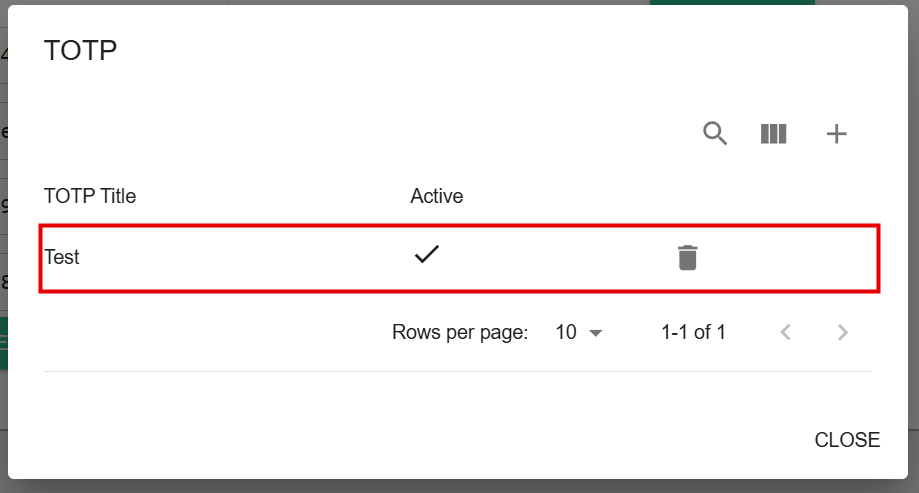
From now on, Psono asks for the 6-digit code from your phone when you sign in. If you get a new phone, set Psono up on it before you reset the old one, or contact us first.
Make a recovery code
Do this as soon as your account is set up. It's the only way back in if you forget your Psono password. See Making a recovery code.
Stuck on a step? Email support@the-it-connection.com or call 815-526-3600 and we’ll walk you through it.