
Click any picture to see it full size.
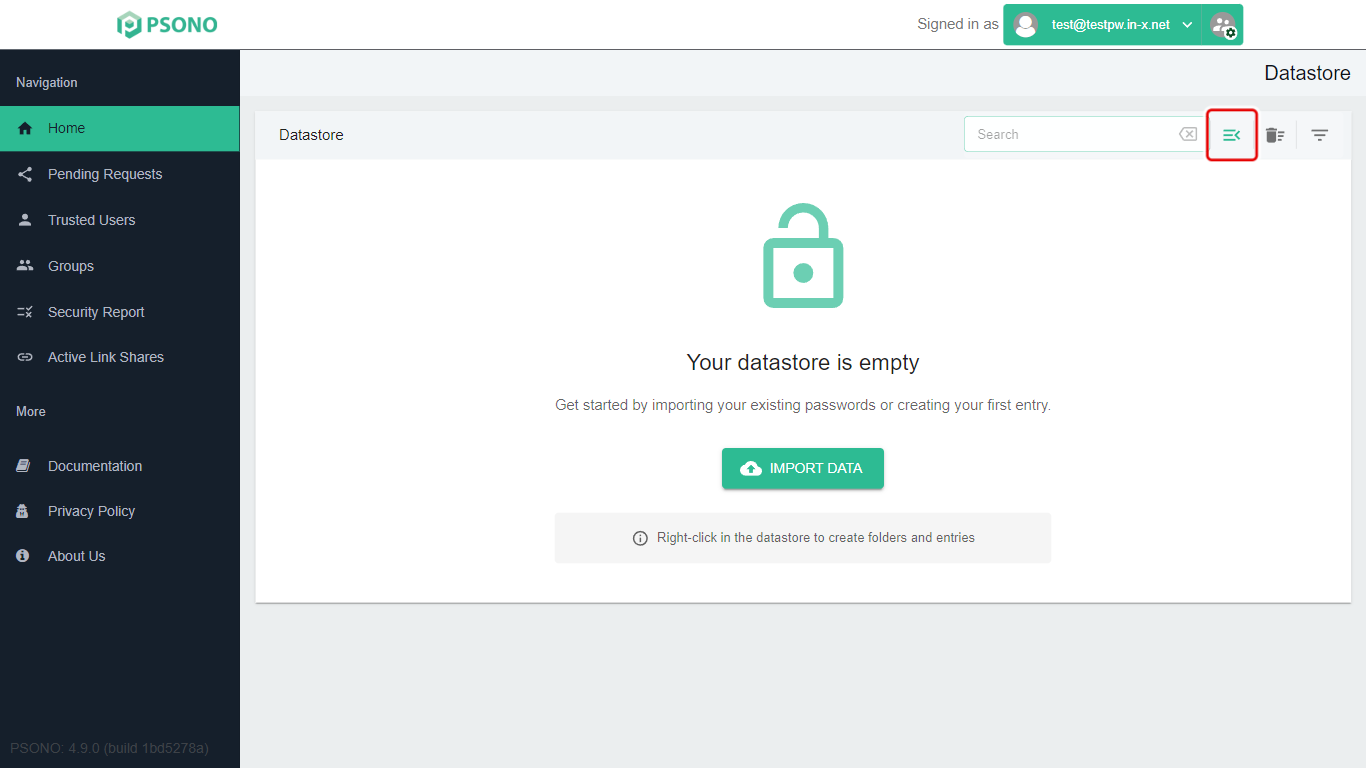
In this guide, the red box in each picture shows what to click.
Tip: If a Filters panel is open on the right side of the Datastore page, click its X to close it. It's only for narrowing down the list by entry type.
What you'll do
Psono keeps your passwords as entries. You can group entries into folders, the same way you keep papers in folders in a filing cabinet. In this guide you will:
- Make a folder.
- Make a password entry.
- Move the entry into the folder.
Sign in to Psono first. You will start on the Datastore page, which is where all your passwords are kept.
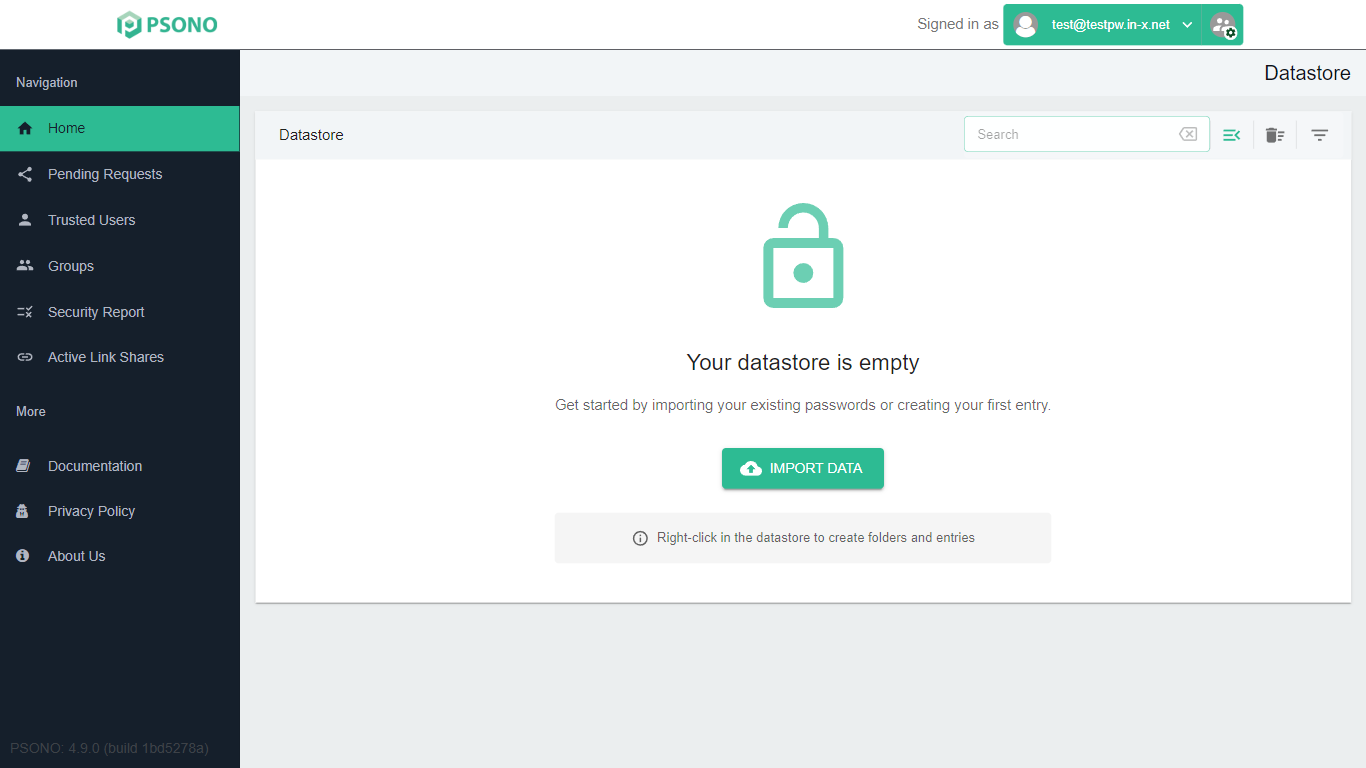
Make a new folder
-
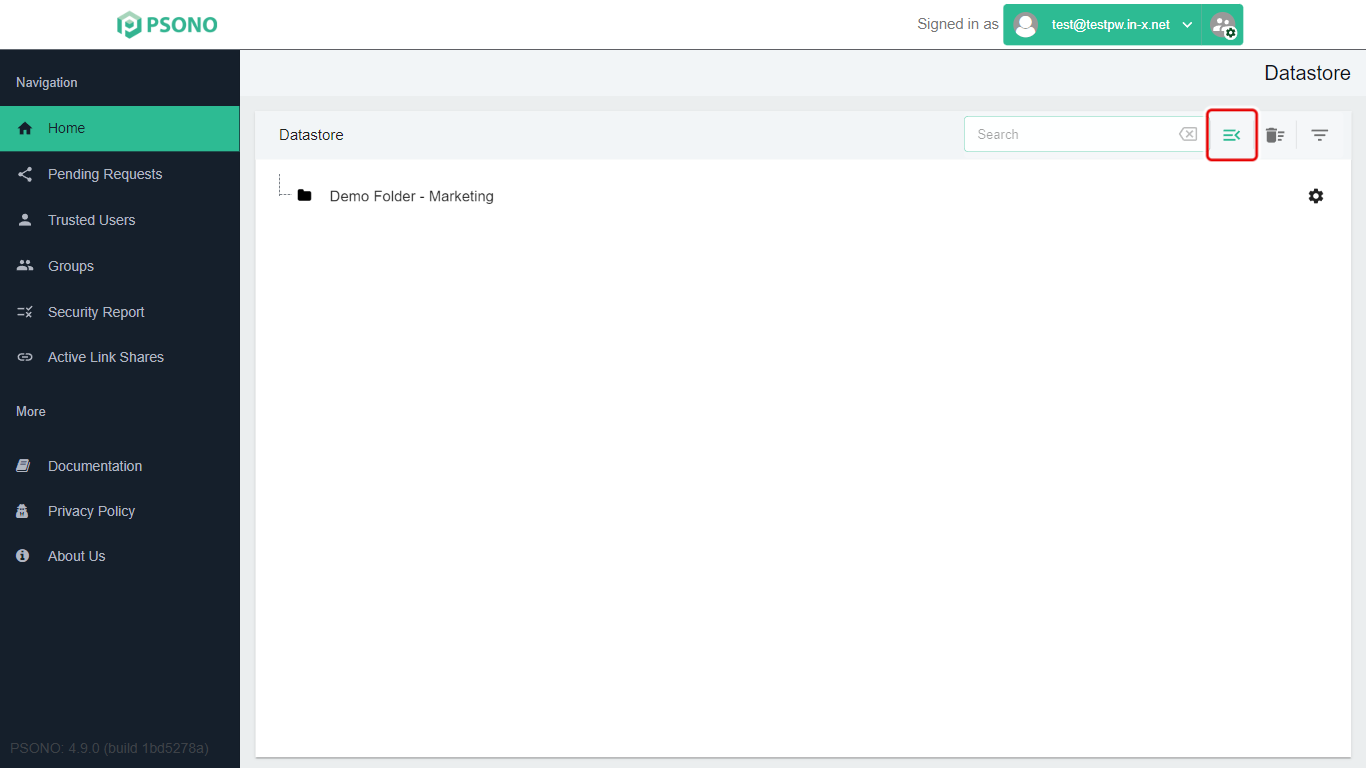
Click the green menu button just to the right of the Search box at the top. It looks like three lines with a small arrow (≡‹).
-
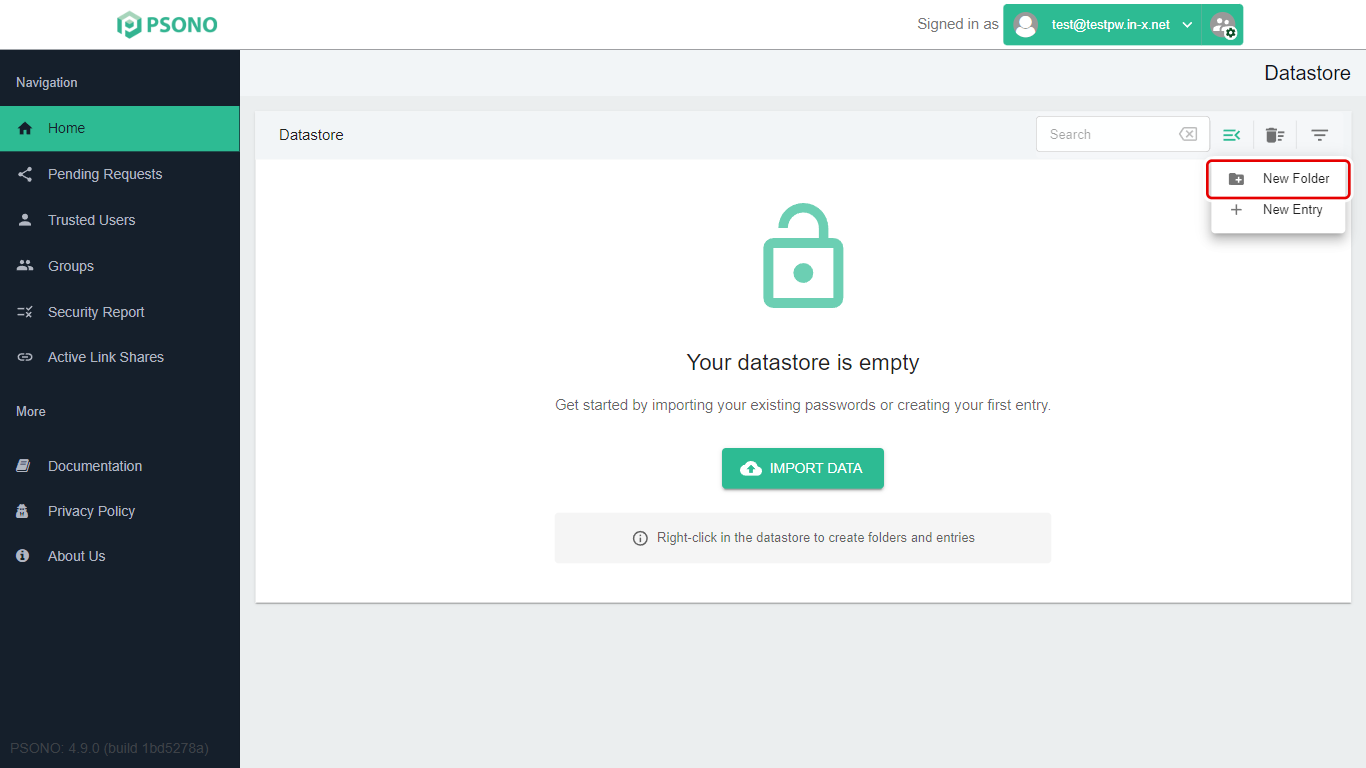
Click New Folder.
-
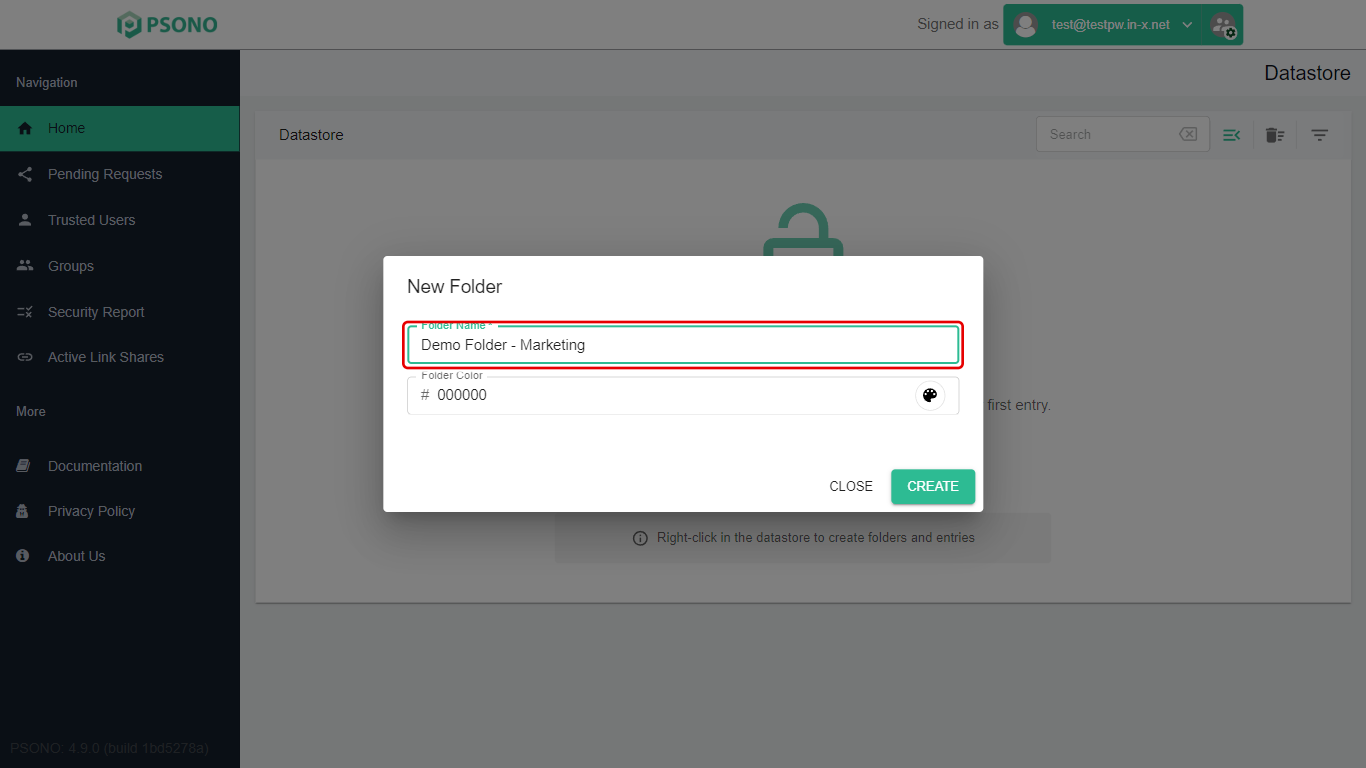
In the New Folder window, type a Folder Name. In our example it is Demo Folder - Marketing. You can also pick a Folder Color, but you don't have to.
-
Click Create.
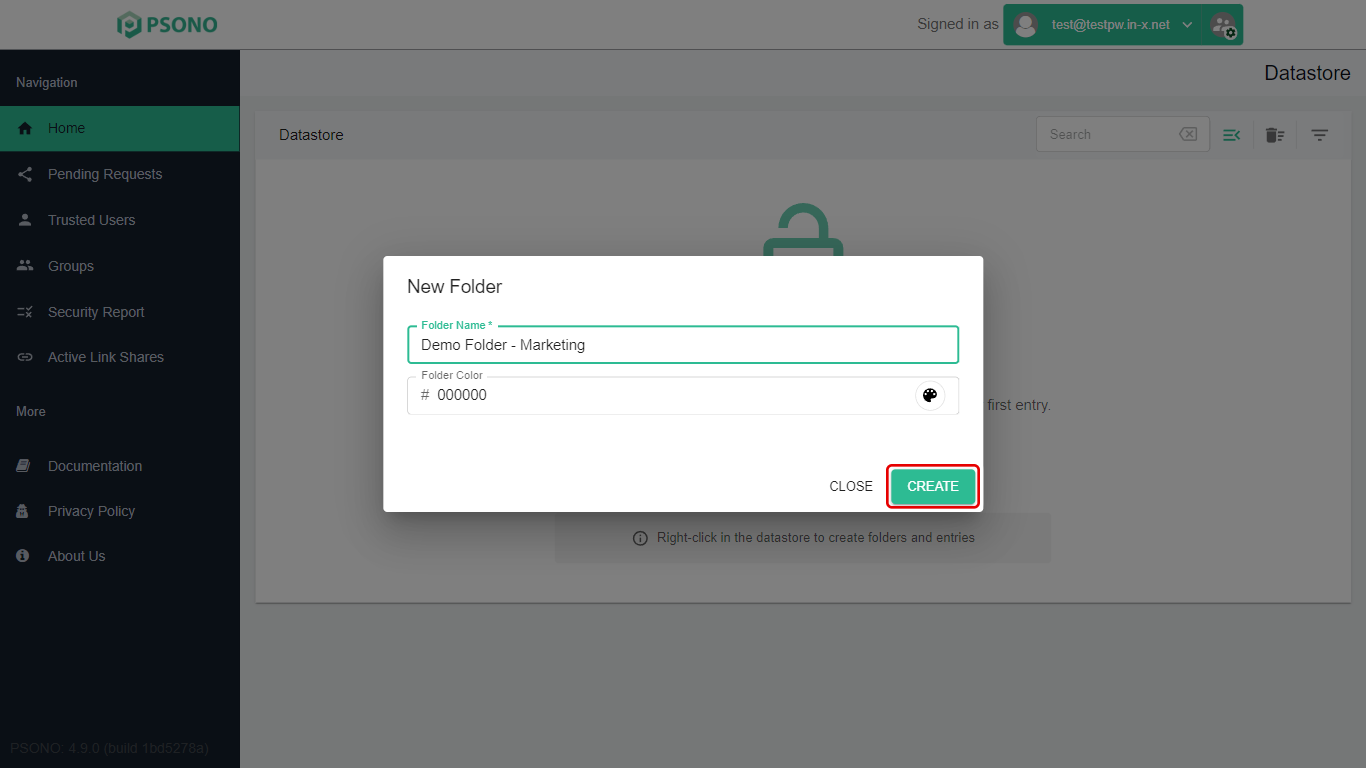
Your new folder now shows in the list.
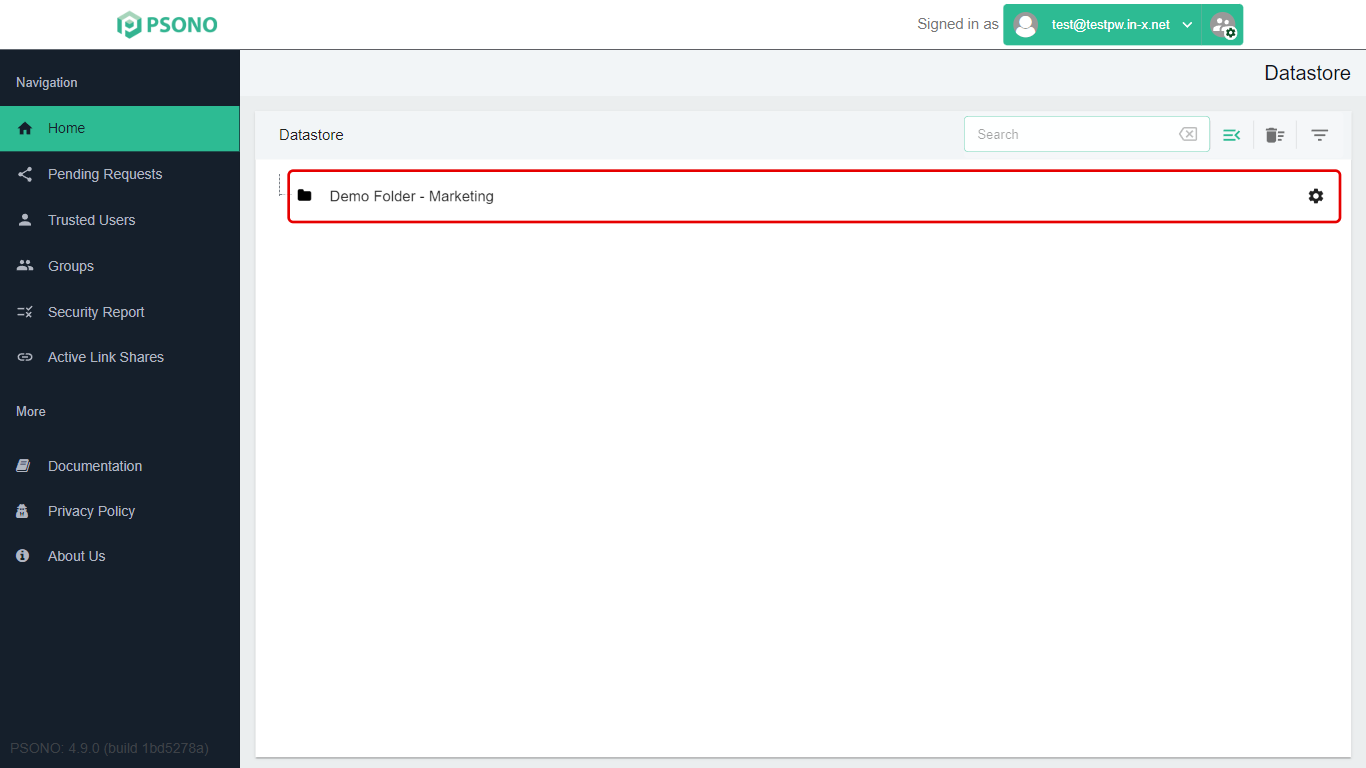
Tip: You can also right-click an empty part of the list to get New Folder and New Entry. To make something inside a folder, click the gear icon at the end of the folder's row instead.
Make a new password entry
-
Click the menu button (≡‹) next to the Search box again.
-
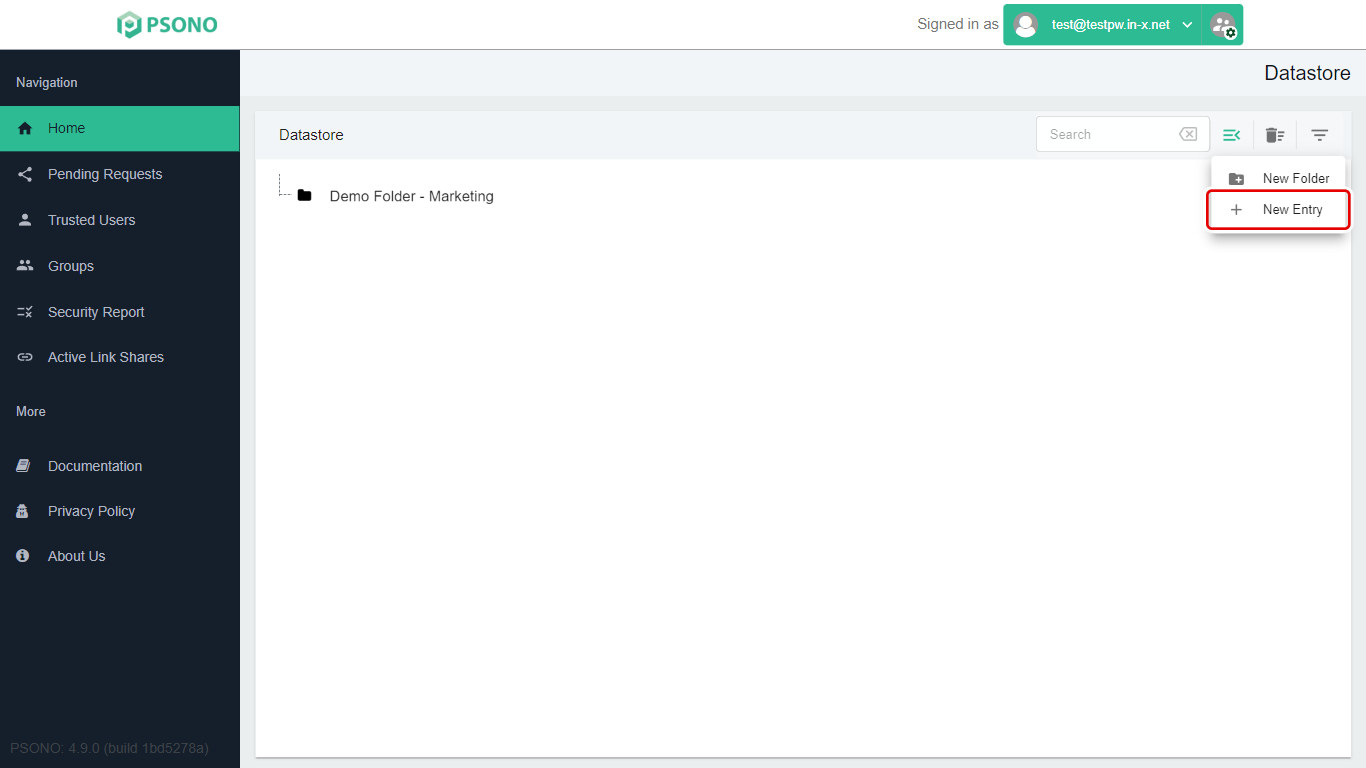
Click New Entry.
-
Check the Type box. It should say Website Password, which is right for most logins. You don't need to change it.
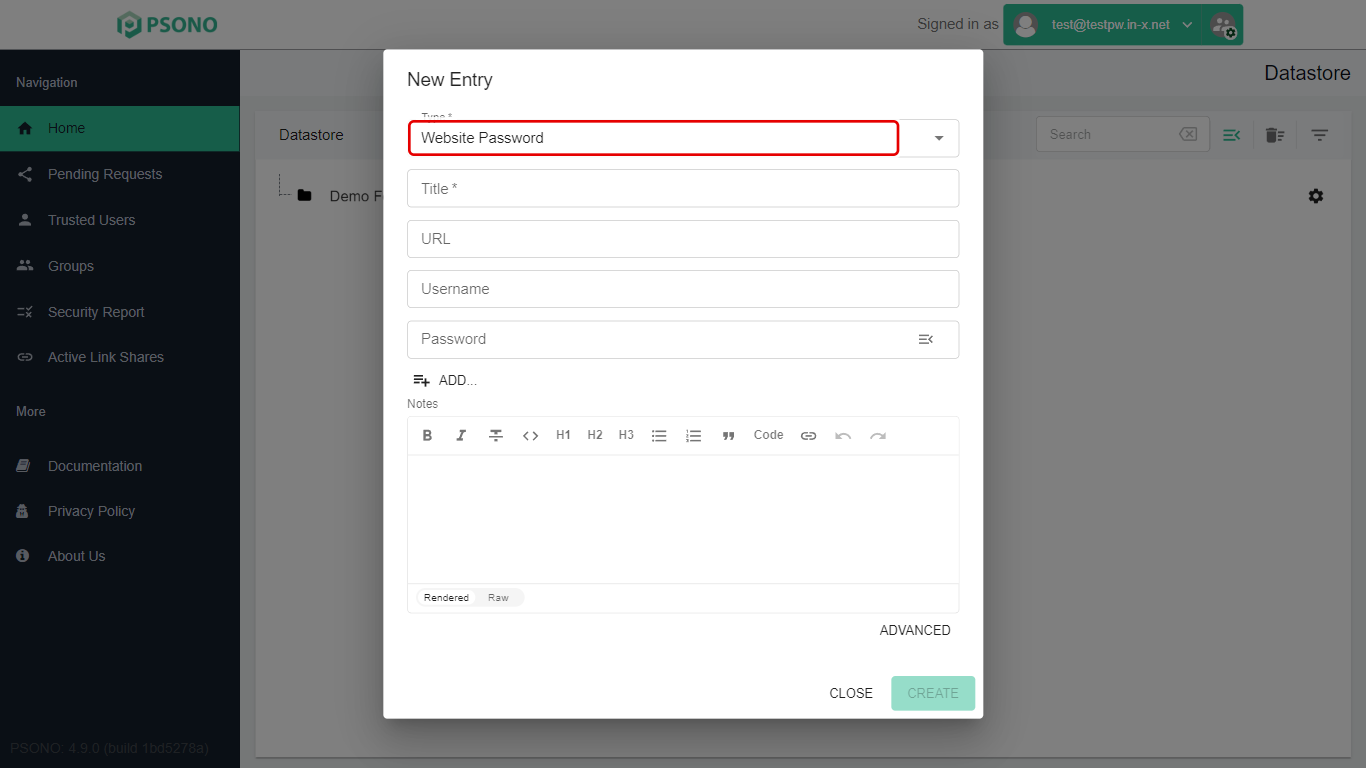
Other types include Application Password (a login with no web address), Note (plain text), and TOTP Authenticator (6-digit sign-in codes).
-
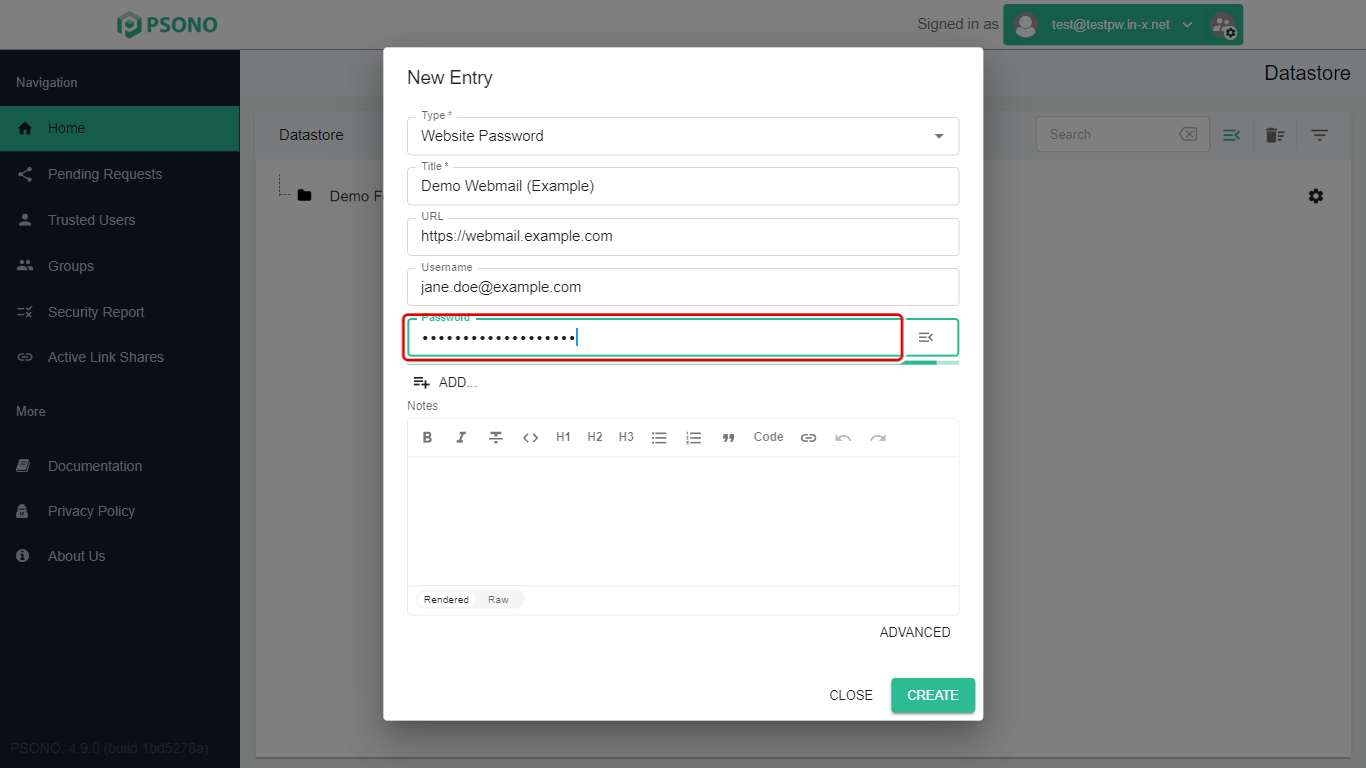
Fill in the details:
-
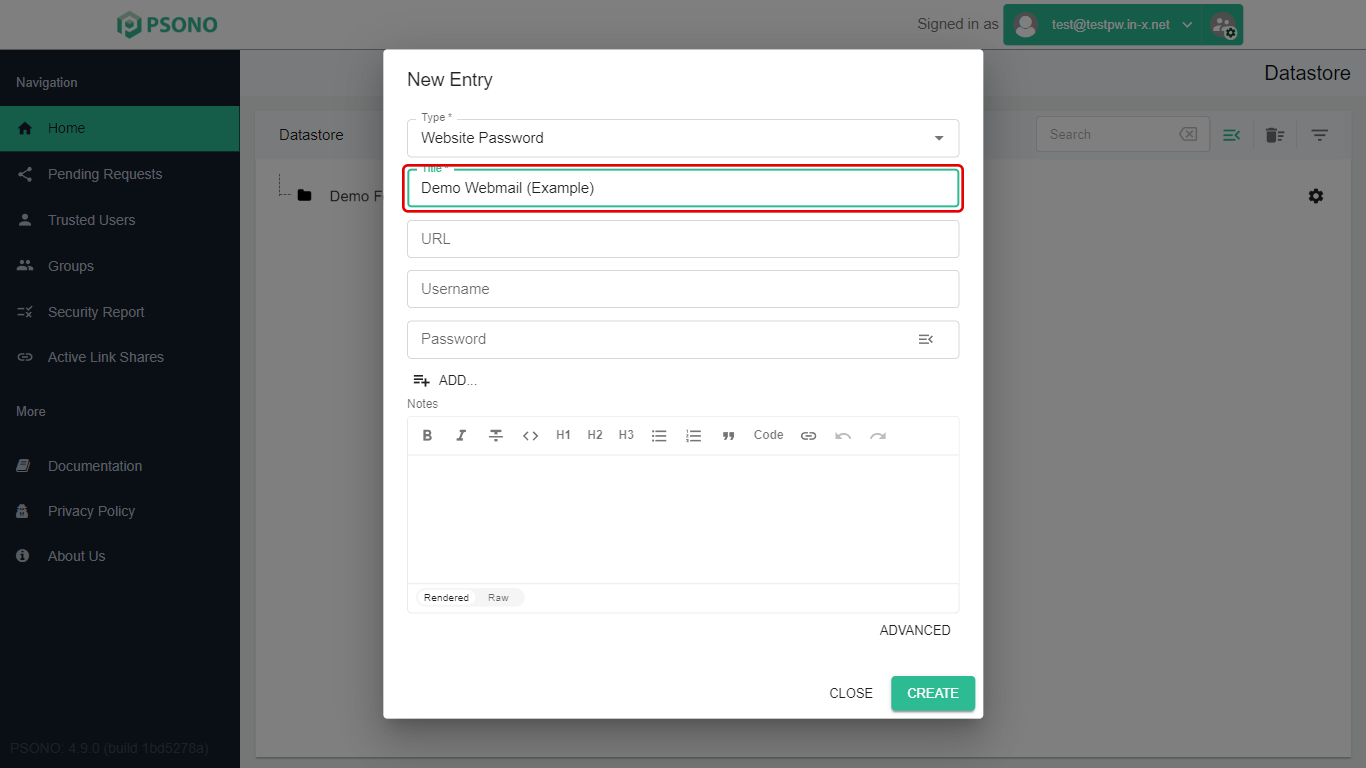
Title: a name you'll recognise, for example Demo Webmail (Example).
-
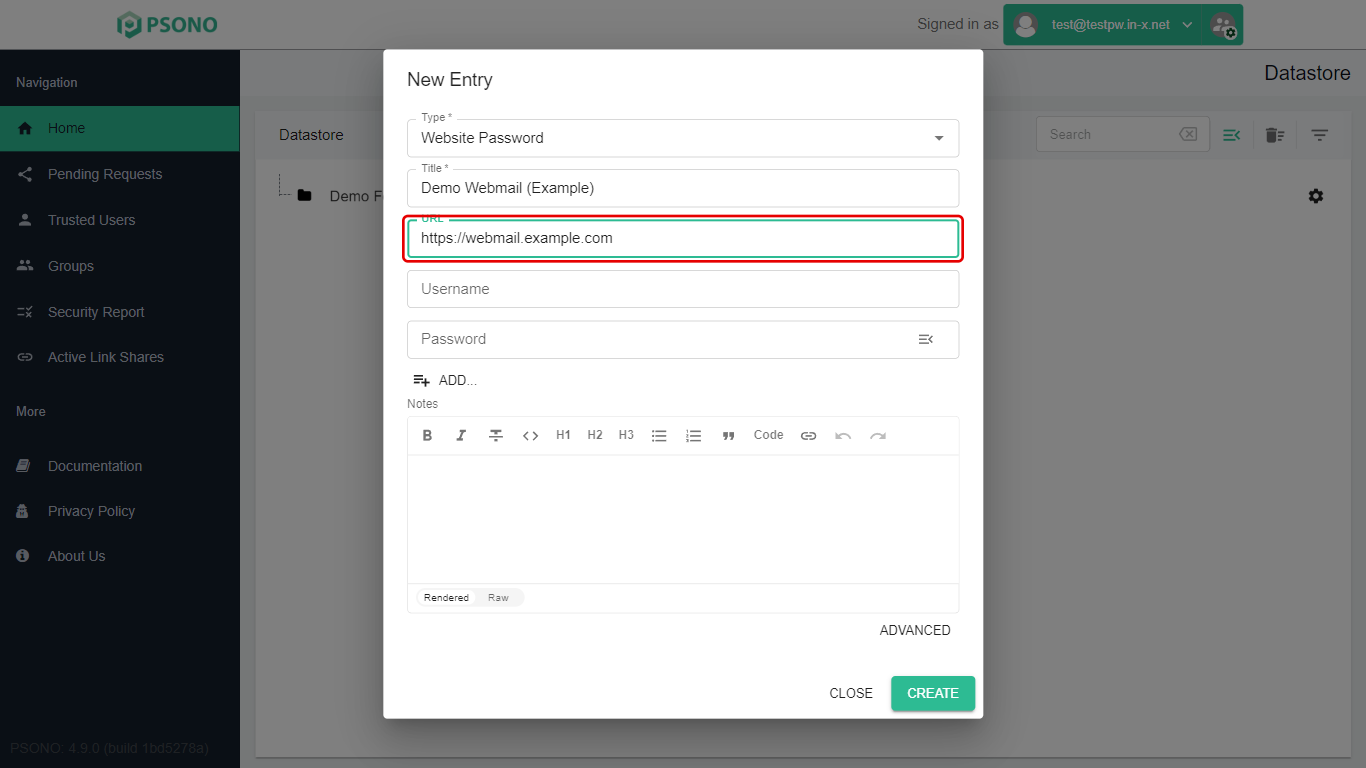
URL: the address of the website's sign-in page.
-
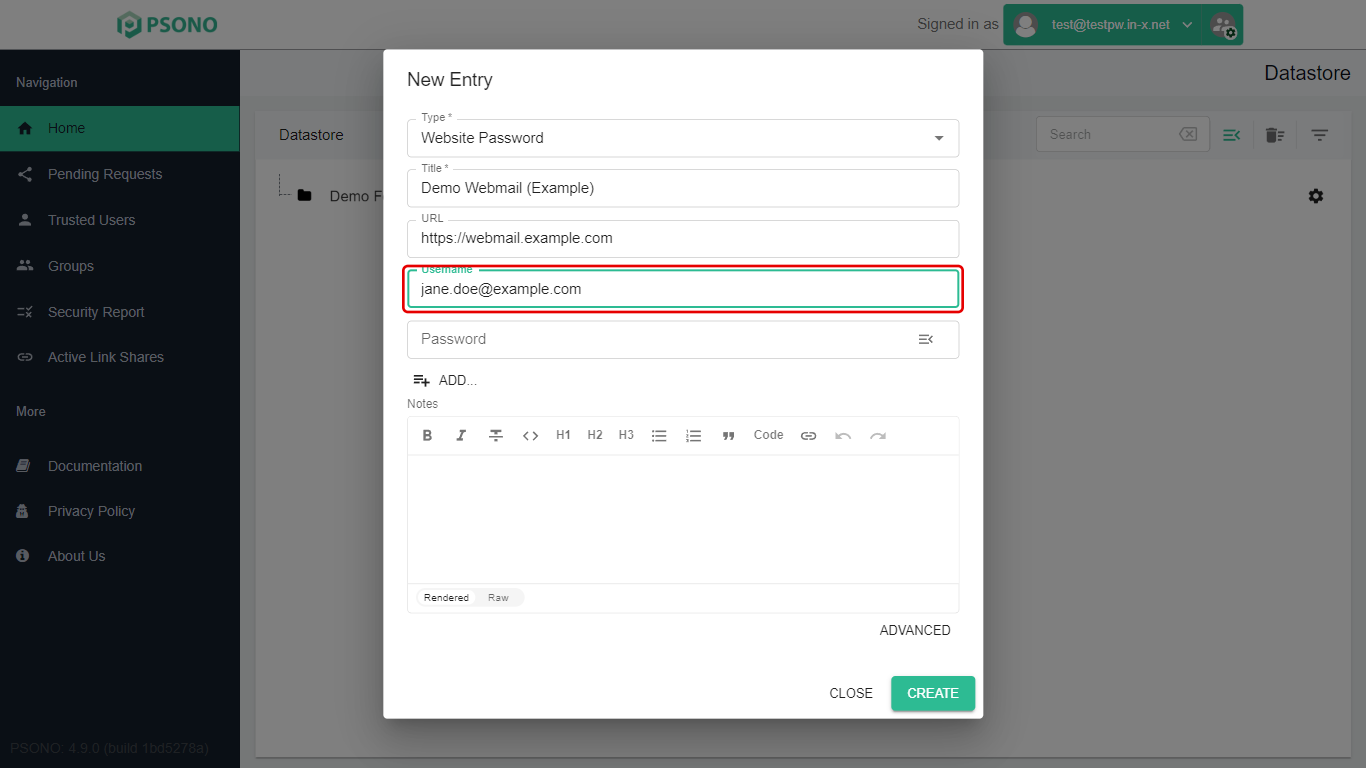
Username: the name or email address you sign in with.
-
Password: the password. It shows as dots while you type. To make a strong random password instead, see Changing a Password and Using the Password Generator.
-
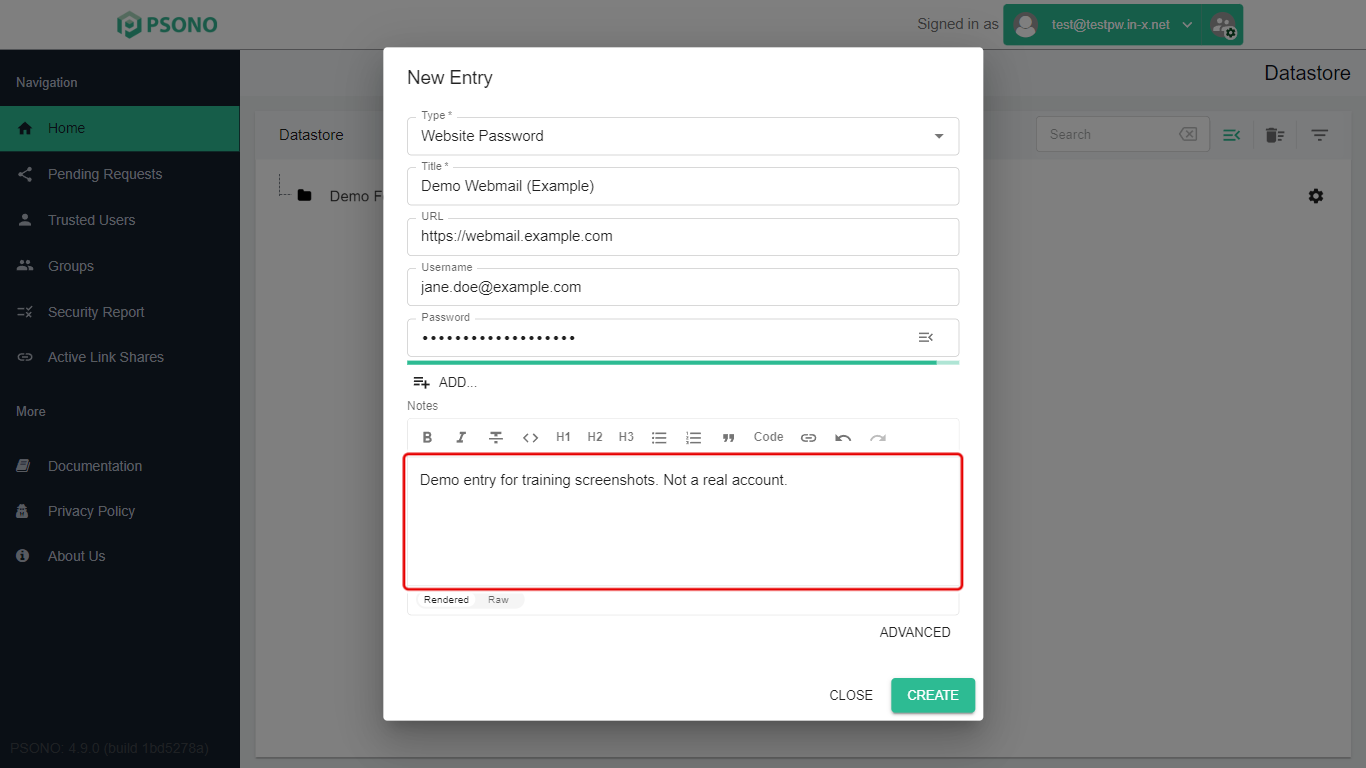
Notes (optional): anything else useful, like a security question hint.
-
-
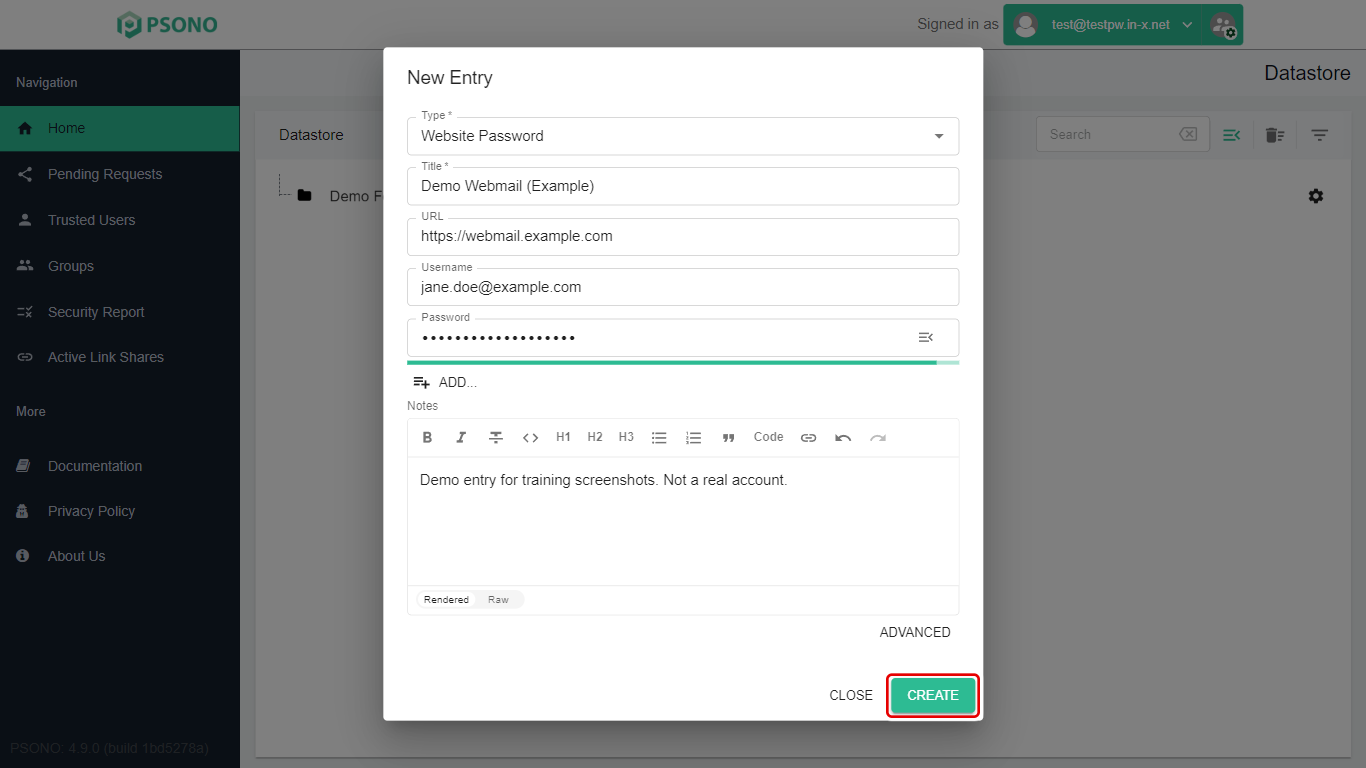
Click Create.
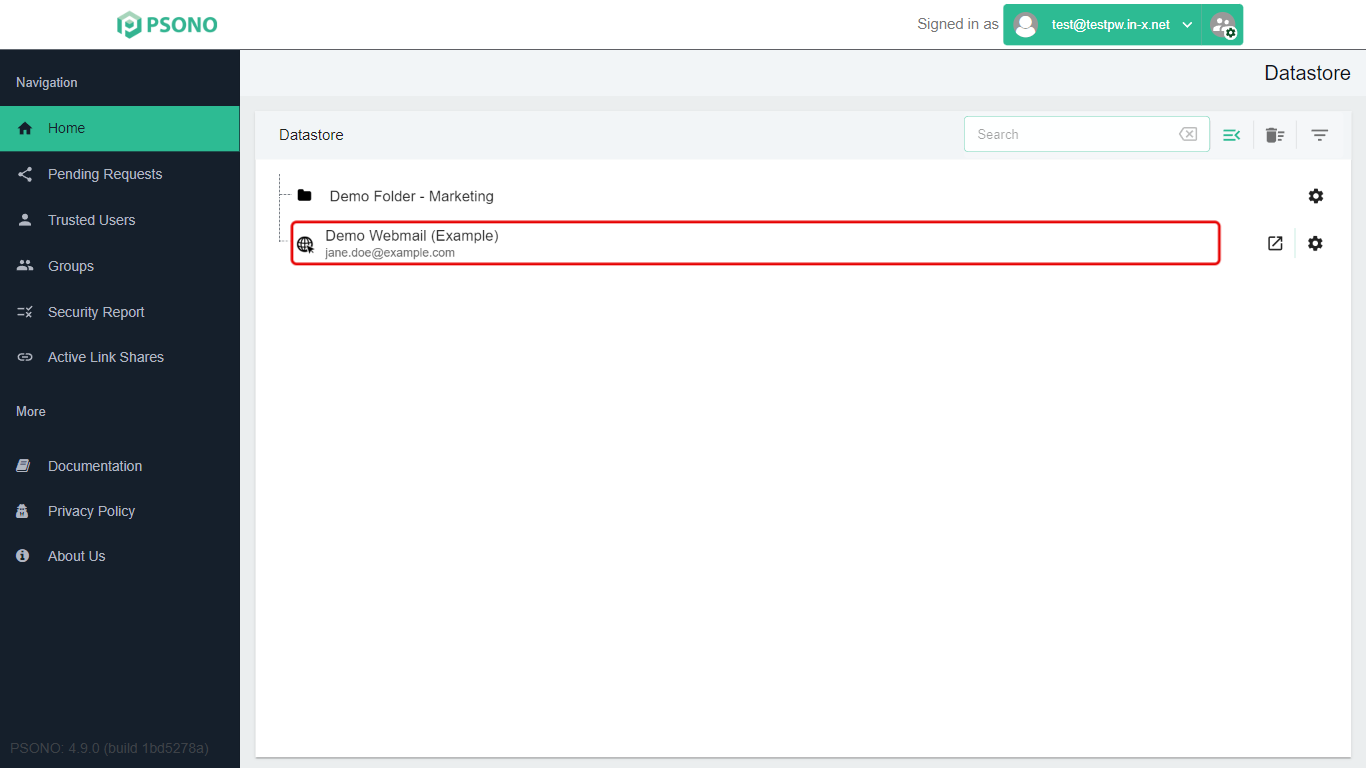
The entry now shows in your list. The arrow icon (↗) on its row opens the website, and the gear icon opens a menu of other actions.
Move the entry into your folder
-
Find the entry. Typing part of its name in the Search box helps. Then click the gear icon at the end of its row.
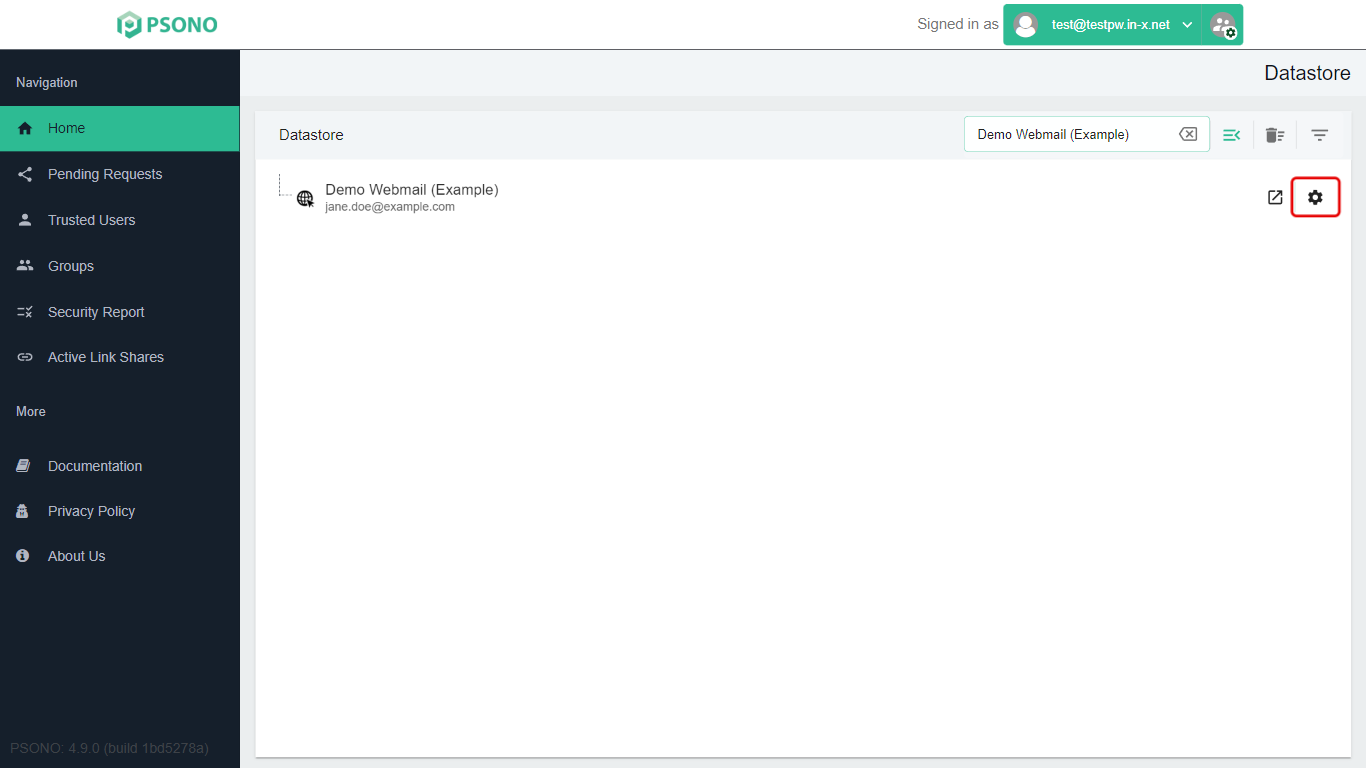
-
Click Move.
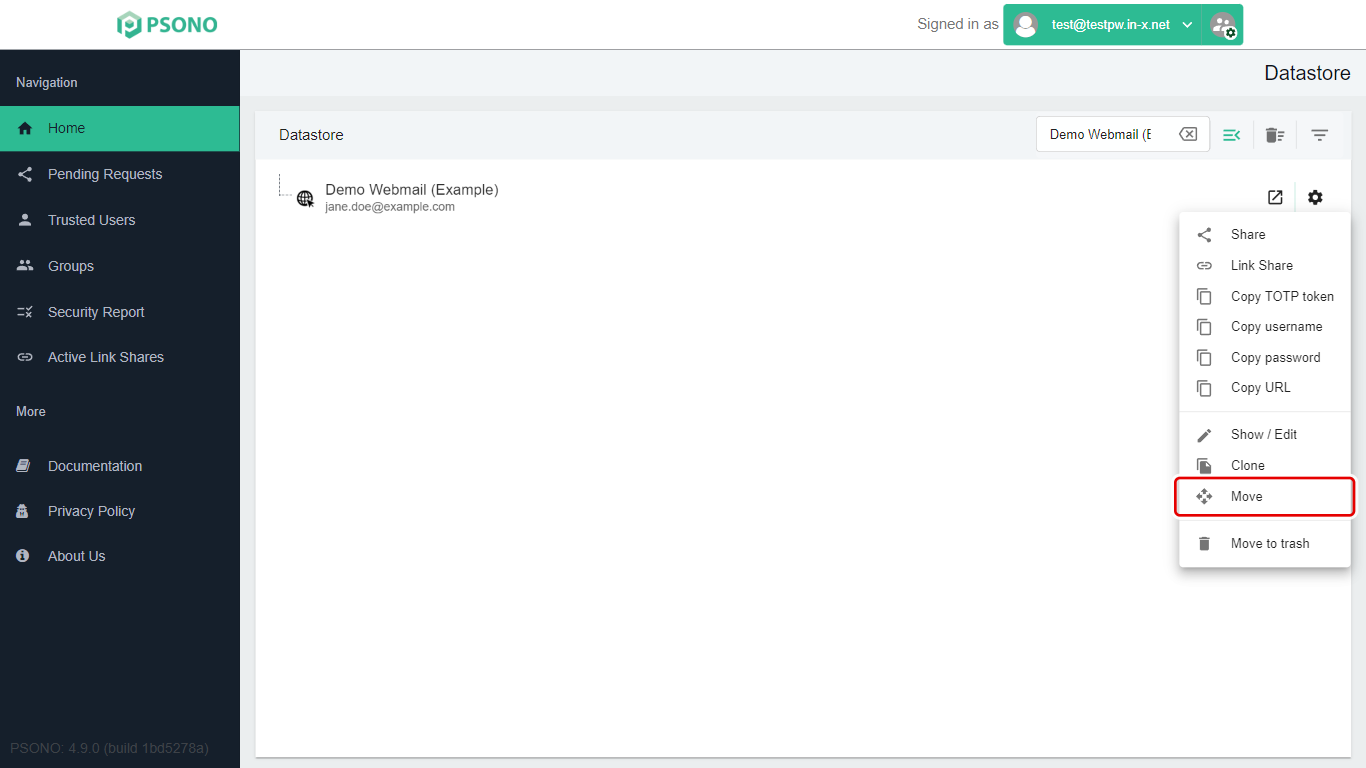
-
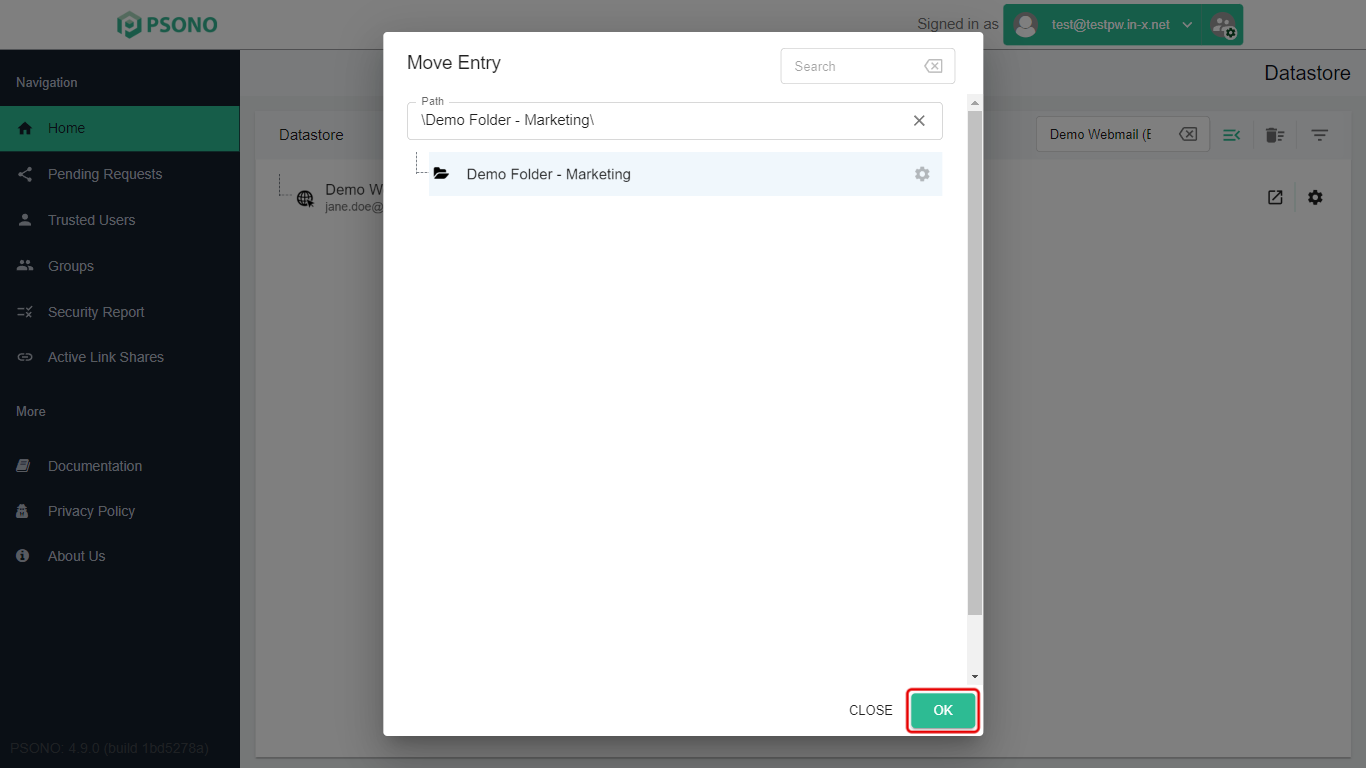
A window called Move Entry opens. Click the folder you want to move the entry into.
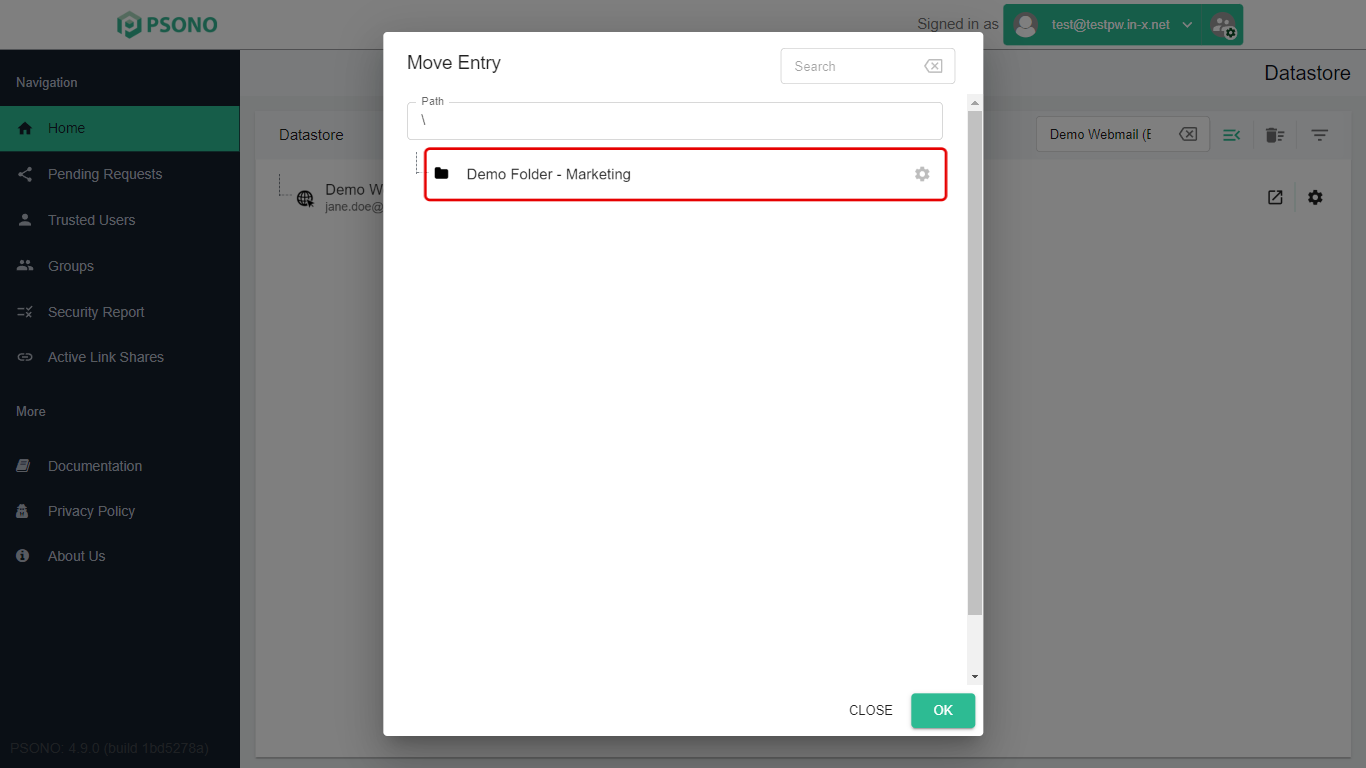
-
Check that the Path box now shows the folder's name, for example
\Demo Folder - Marketing\. (A plain\means the top level.) Don't click the small X in the Path box, because that clears your choice.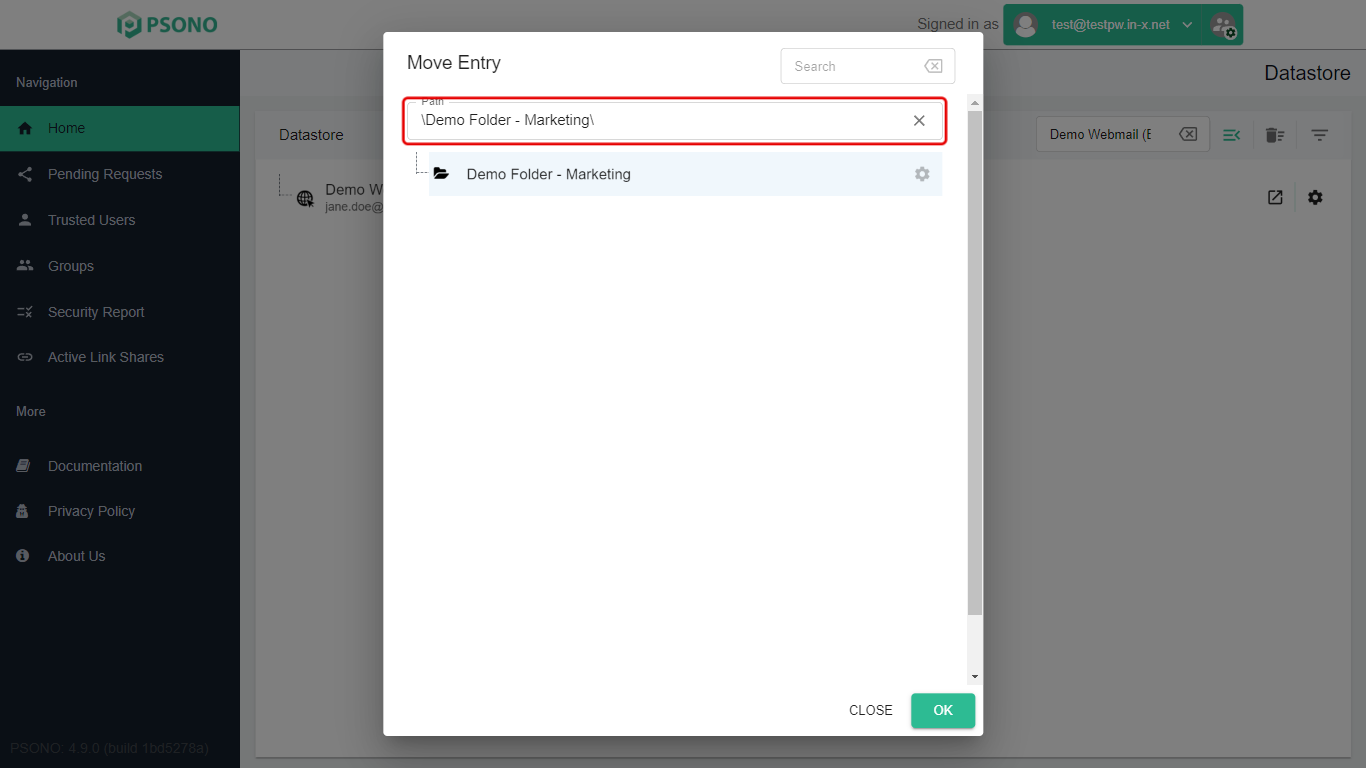
-
Click OK.
The entry is now inside the folder. Click the folder in the list to open or close it.
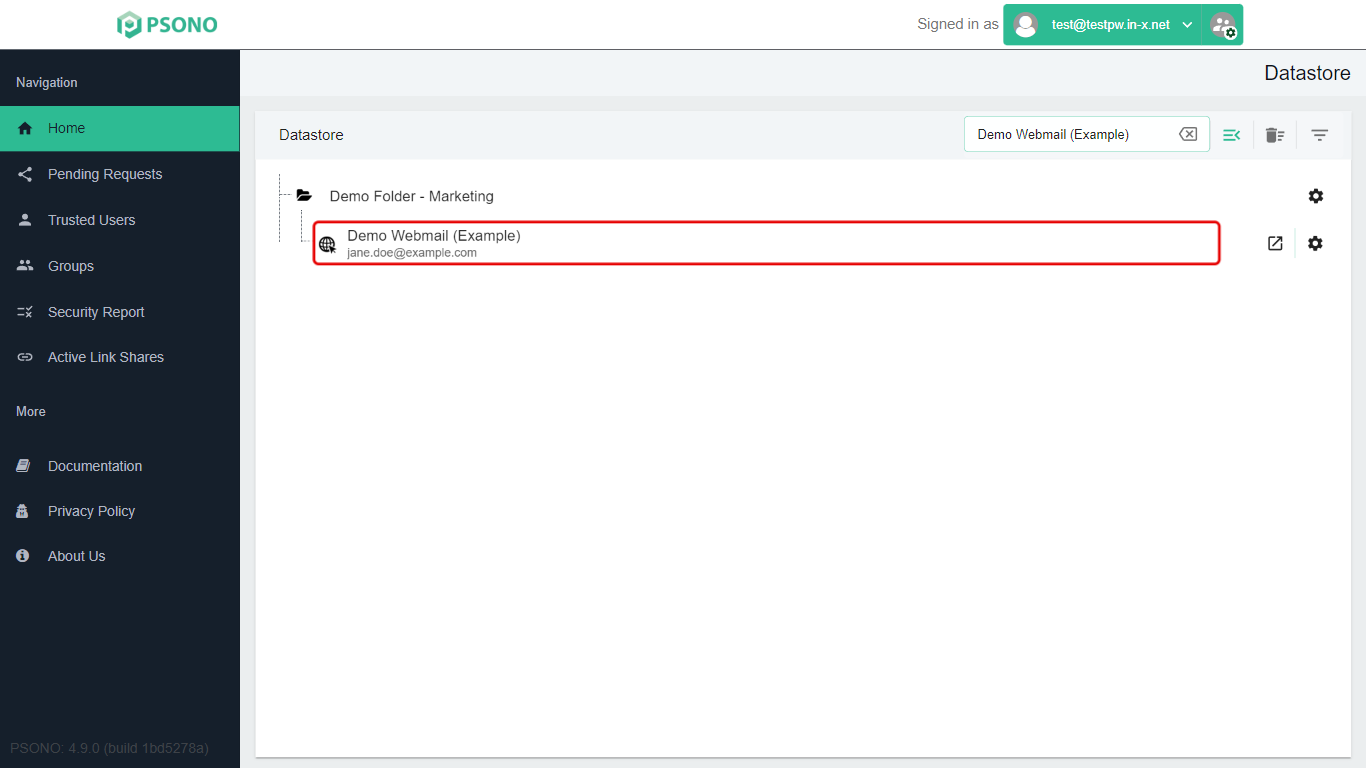
Note: You can't drag and drop entries into folders. Always use Move.
Saving a login with the browser extension
If the Psono browser extension is installed and signed in, it can save logins for you. This is the quickest way to add websites you already use.
-
Sign in to the website as usual, typing your username and password.
-
A dark Psono bar appears at the top of the page: New Password detected: Do you want to save this password? Click Yes.
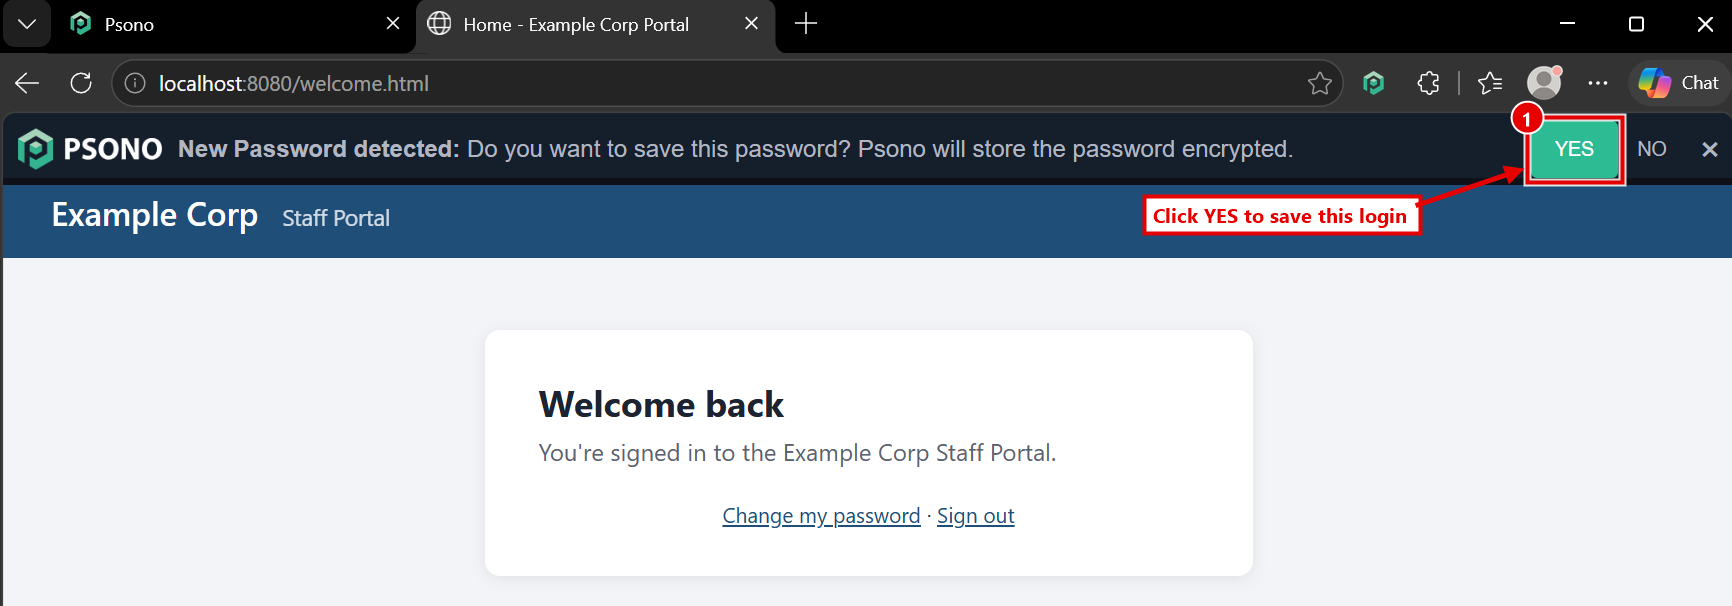
-
That's it: Psono doesn't ask anything else. The login is saved at the top level of your Datastore (not in a folder), with the website's address as its title.
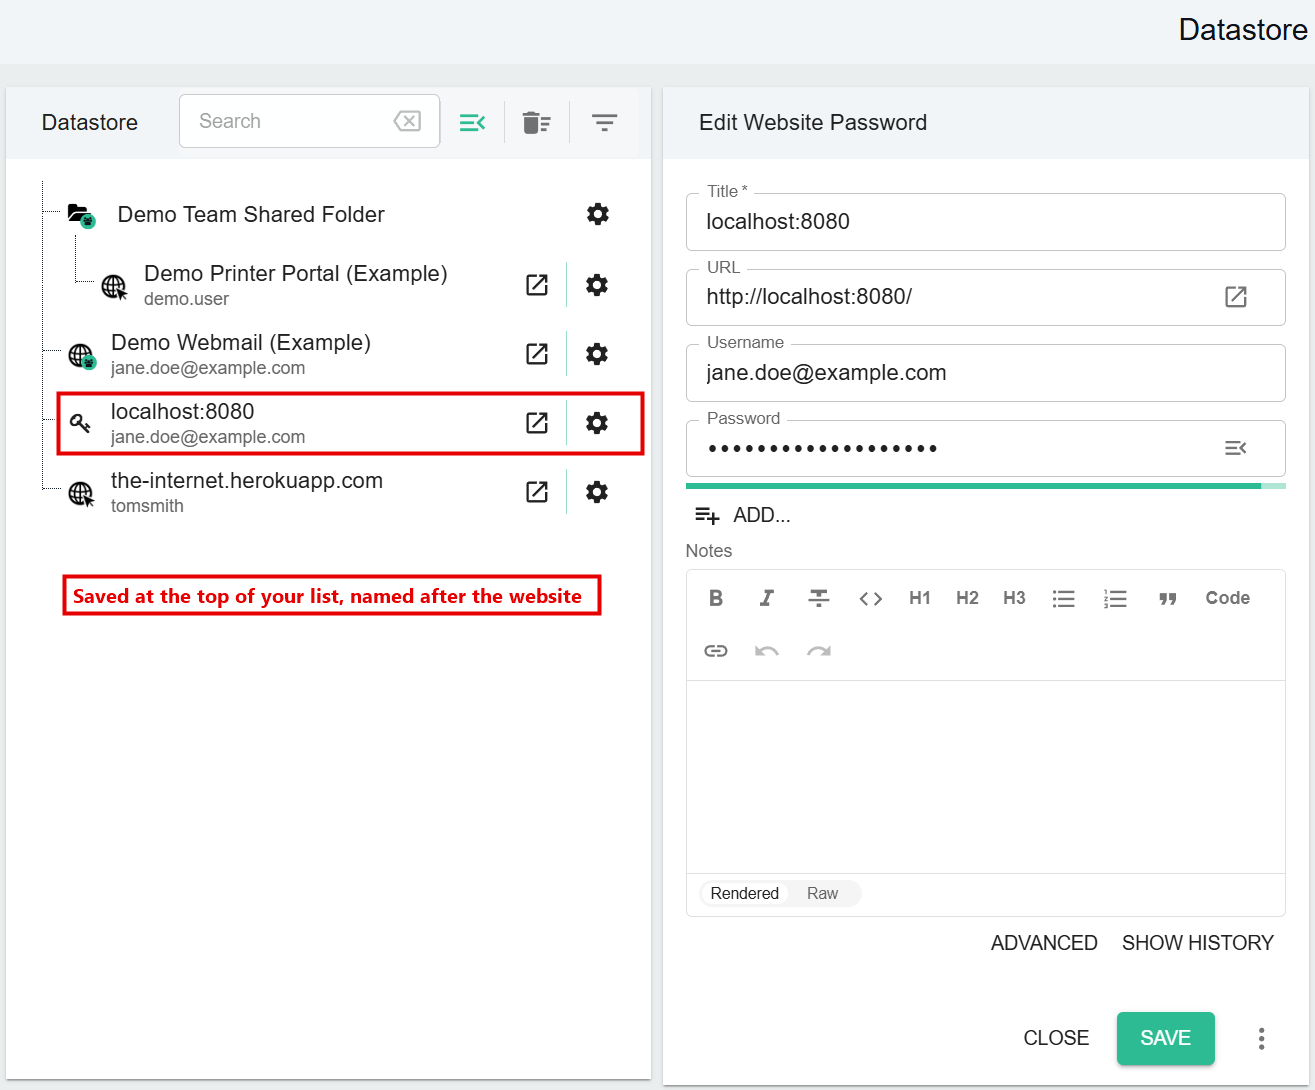
-
Tidy it up in the Datastore:
- To give it a friendlier name, open the entry, change the Title, and click Save.
- To put it in a folder, use Move. See Move the entry into your folder.
If you click No, nothing is saved. If you sign in to a website and the bar doesn't appear, add the entry yourself as shown in Make a new password entry.
Getting the details right
A few details decide whether Psono can find and fill in your login later. To check or change them, click the entry's name. Its details open on the right, under Edit Website Password.
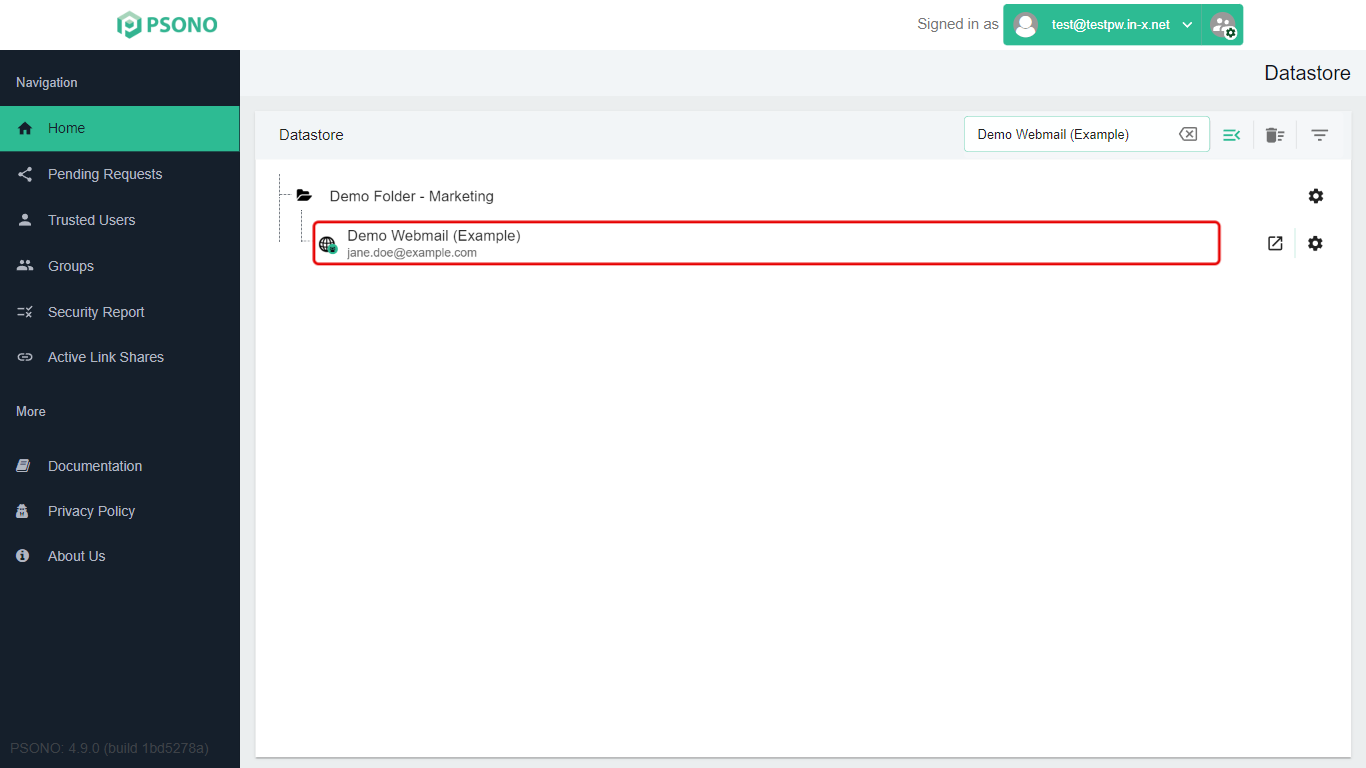
Title
The Title is what you see in your list and what you search for. Give it a name you'll recognise, such as Bank - business account or Supplier portal (orders), rather than just the website address.
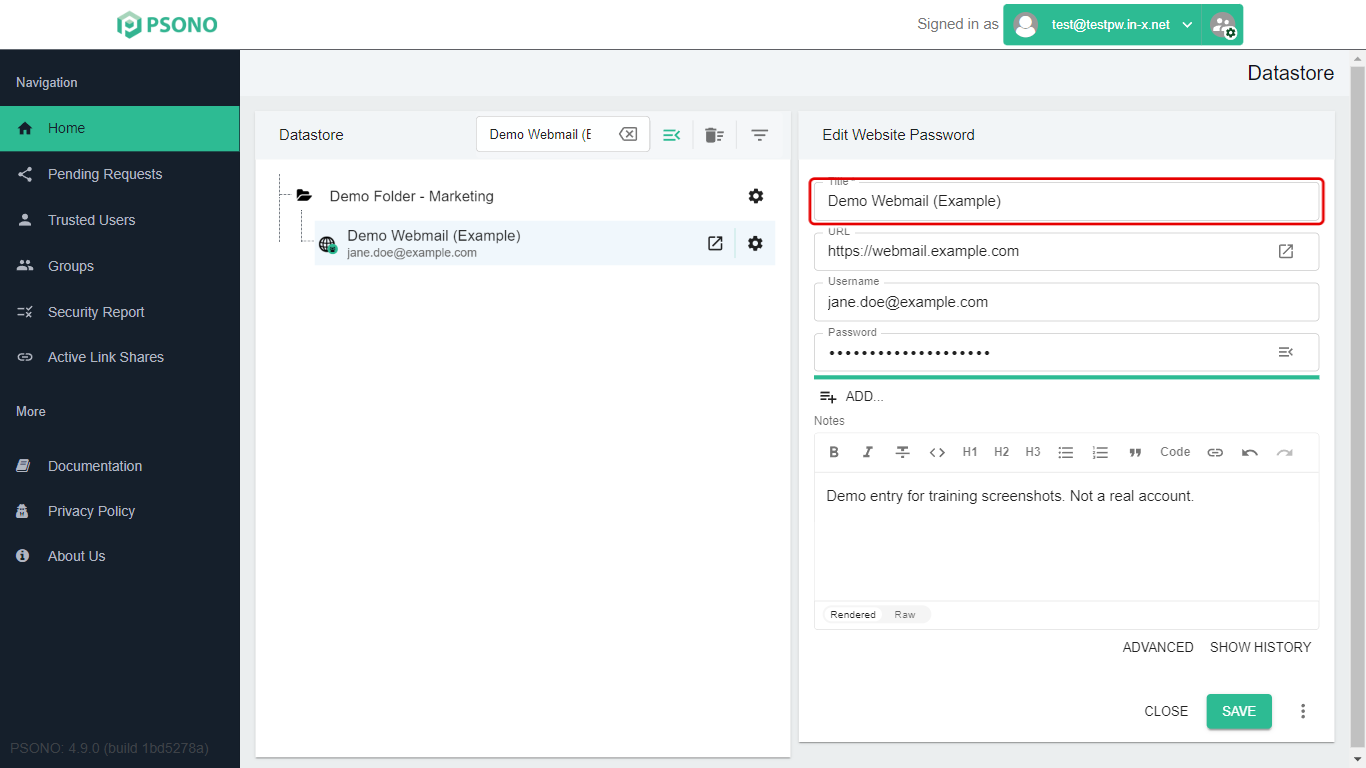
URL
The URL should be the address of the website's sign-in page, not just its home page. The easiest way to get it right:
- Go to the website and open its sign-in page.
- Copy the address from your browser's address bar.
- Paste it into the URL box.
Many websites send you to a different address to sign in. For example, typing gmail.com takes you to accounts.google.com. Psono needs the address where you actually type your password.
Websites with more than one address (Domain Filter)
Psono decides which logins to offer on a website using the entry's Domain Filter. It's filled in for you from the URL when you create the entry. Some websites sign you in on changing addresses (login1.example.com, login2.example.com …). For those, change the Domain Filter so it covers them all:
-
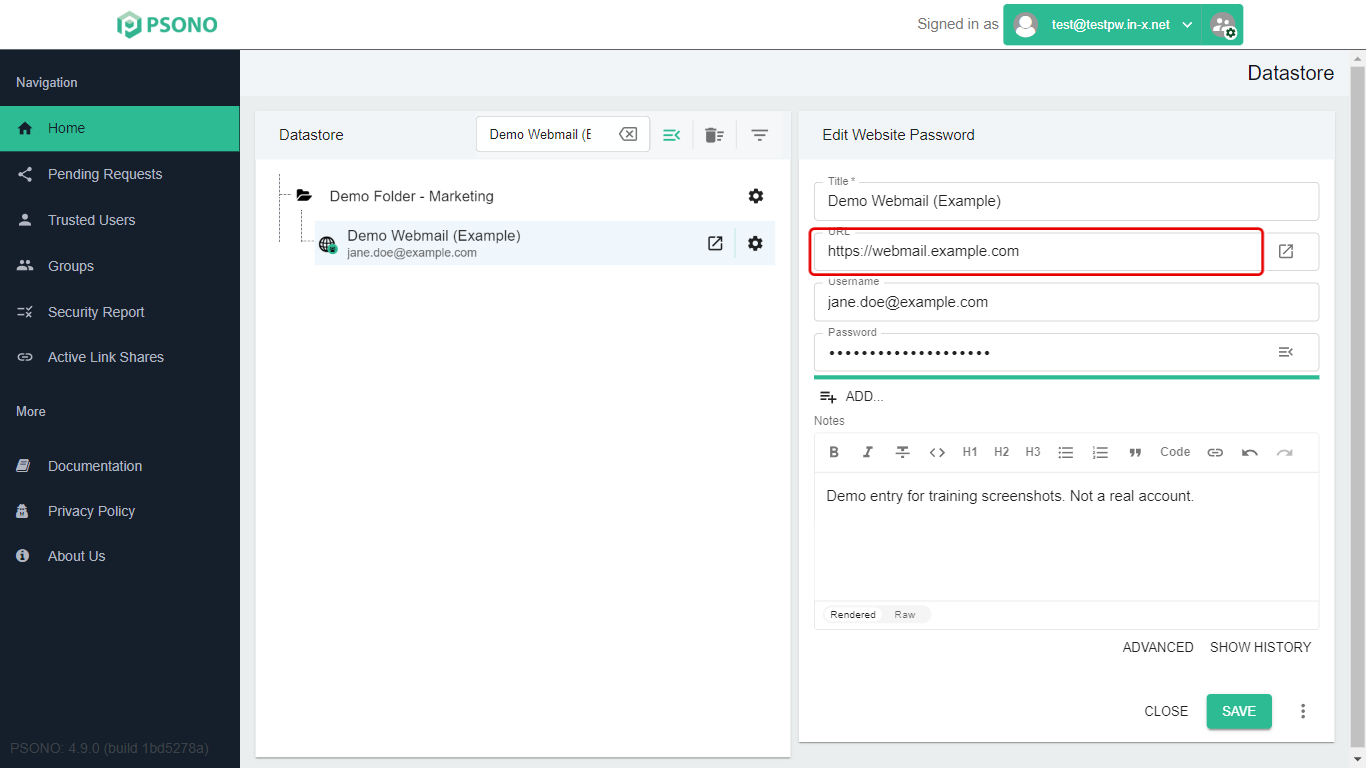
Open the entry and click Advanced.
-
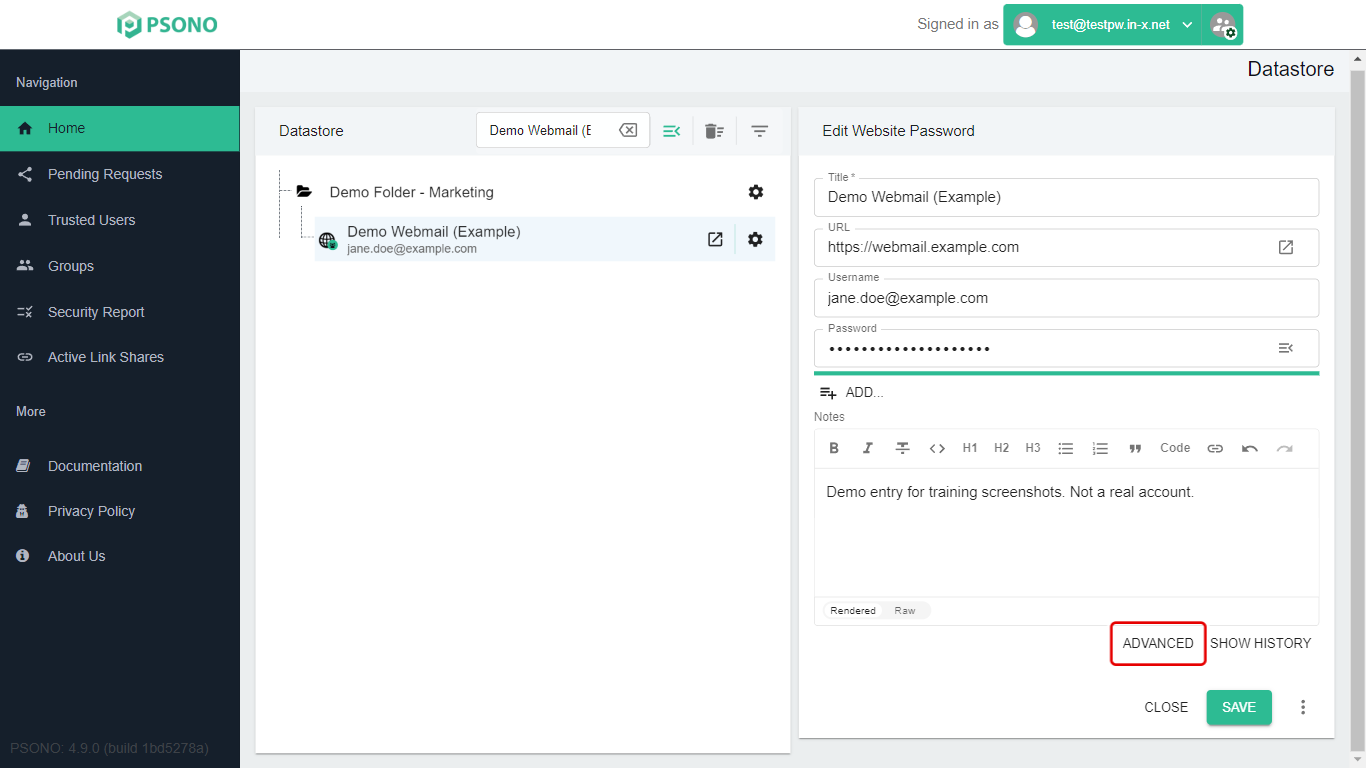
Find the Domain Filter box. It already holds the website's address, taken from the URL.
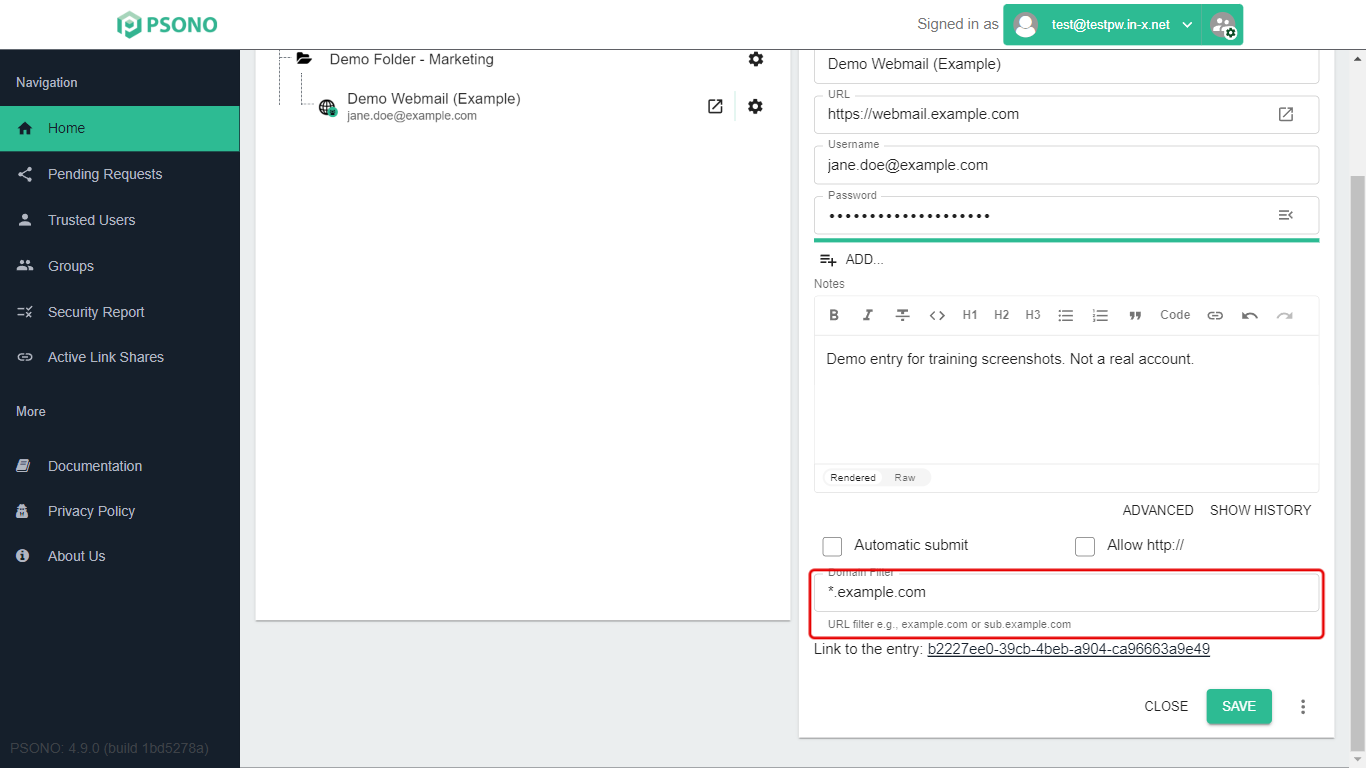
-
Type a star and a dot before the main part of the address. For example,
*.example.comcoverslogin.example.com,mail.example.comand any other address ending in.example.com.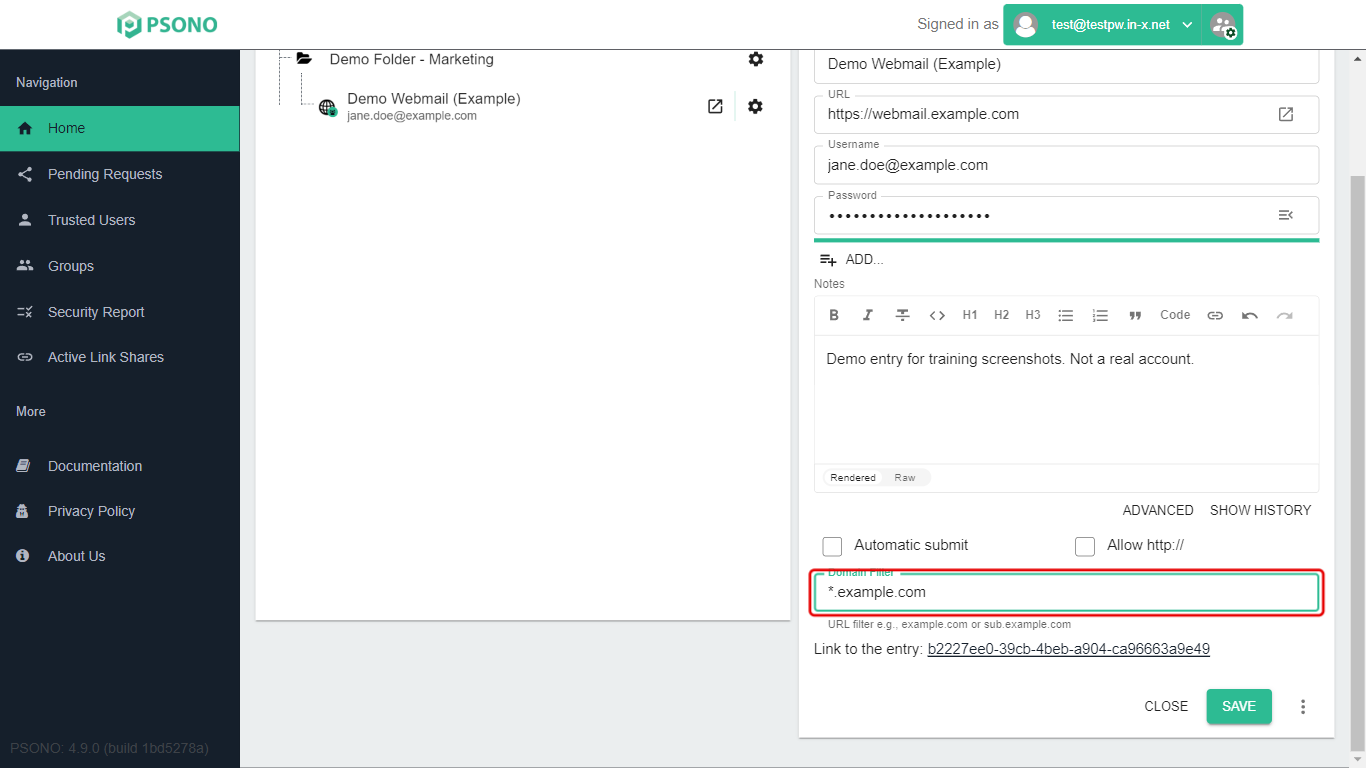
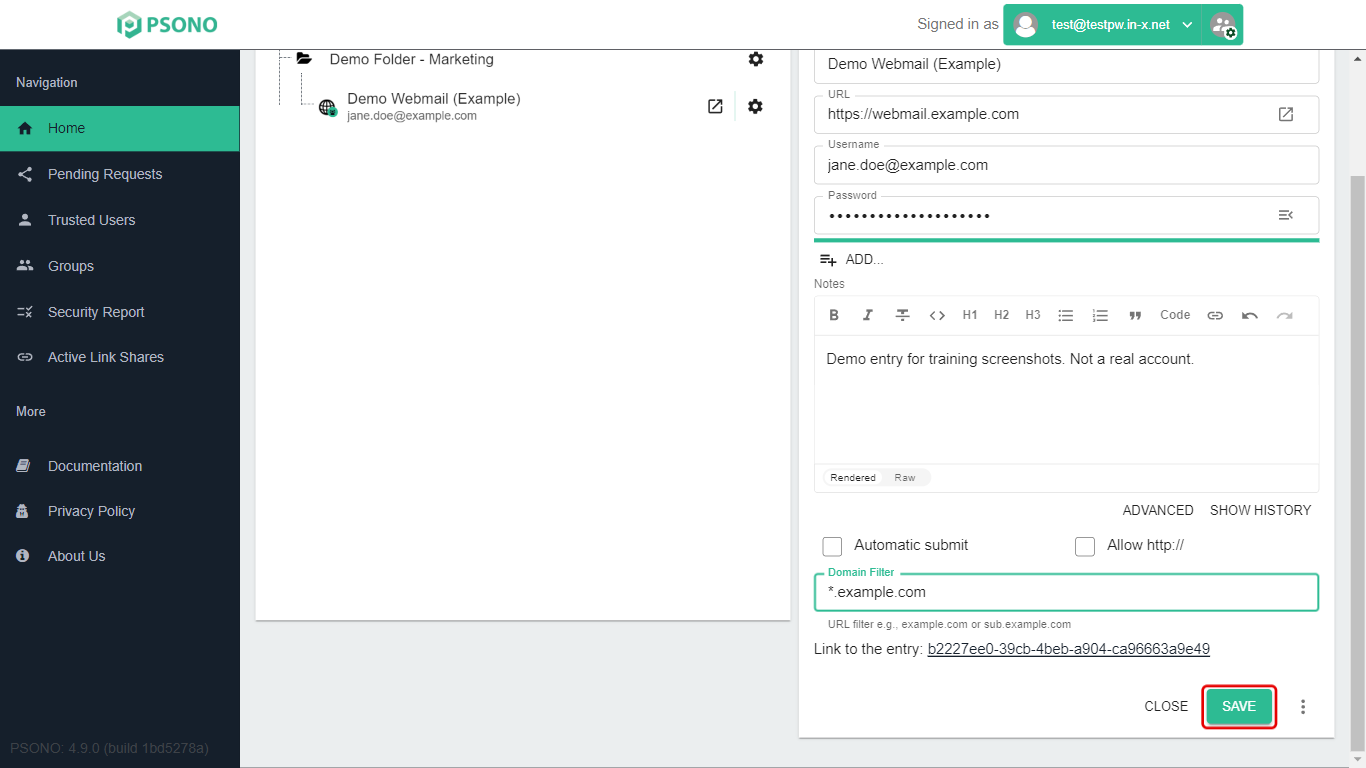
-
Click Save.
Good to know:
*.example.comdoes not cover plainexample.com. To cover both, type both, separated by a space:example.com *.example.com.- Change the Domain Filter only, not the URL. Stars in the URL box don't do anything.
Other Advanced options
-
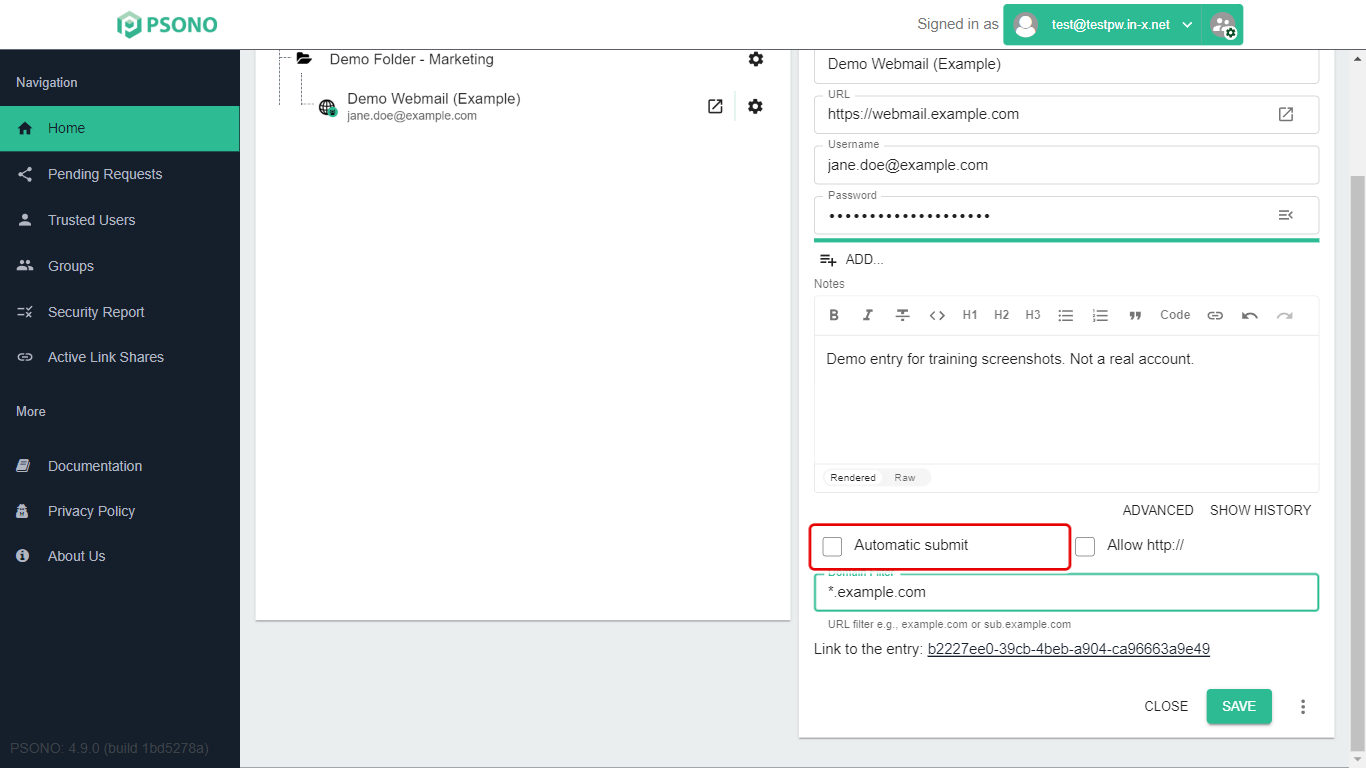
Automatic submit: when Psono fills in this login, it also clicks the website's sign-in button for you. Leave it off if the website asks for anything else at sign-in.
-
Allow http://: leave this off. It's only for old websites whose address starts with
http://instead ofhttps://.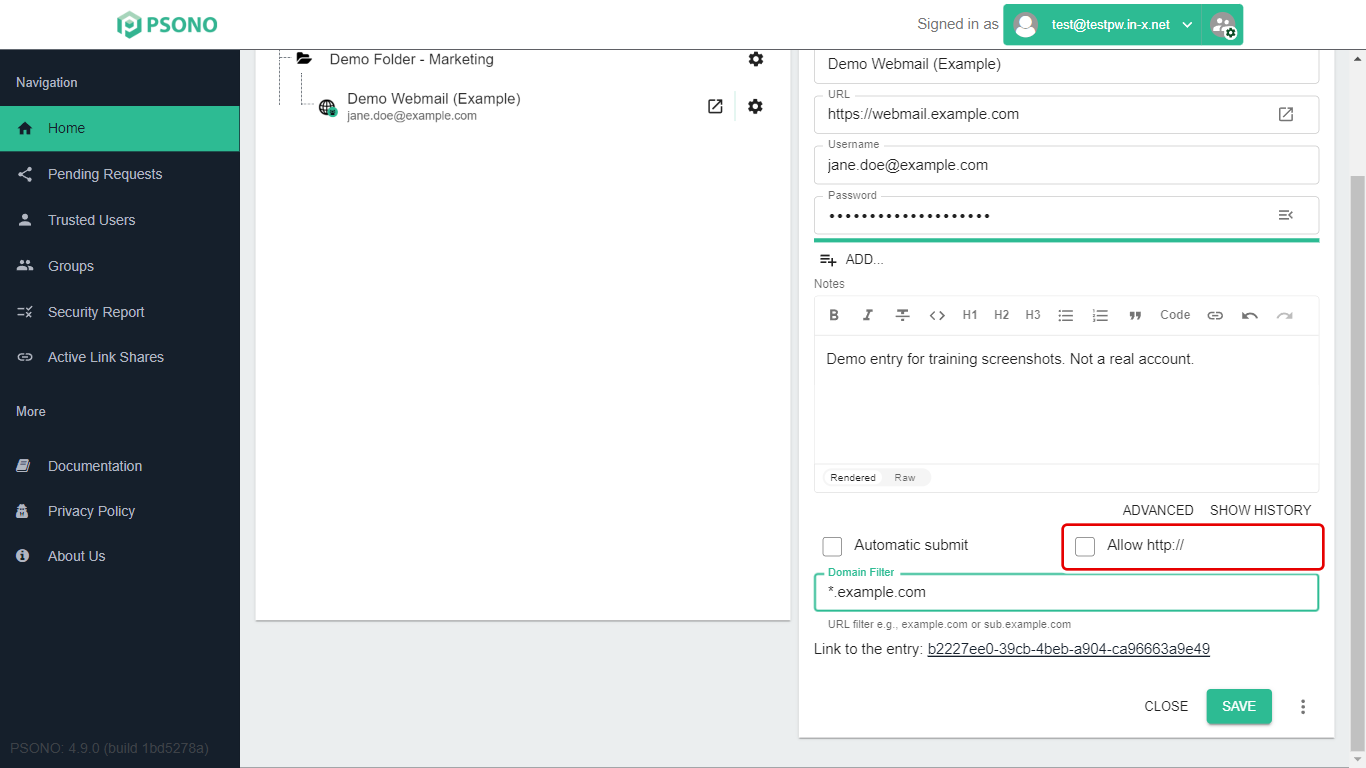
Adding a sign-in code (TOTP) to an entry
If a website asks for a 6-digit code from an authenticator app when you sign in, Psono can store that code with the login. The browser extension can then copy the code for you (the stopwatch icon in the toolbar popup).
-
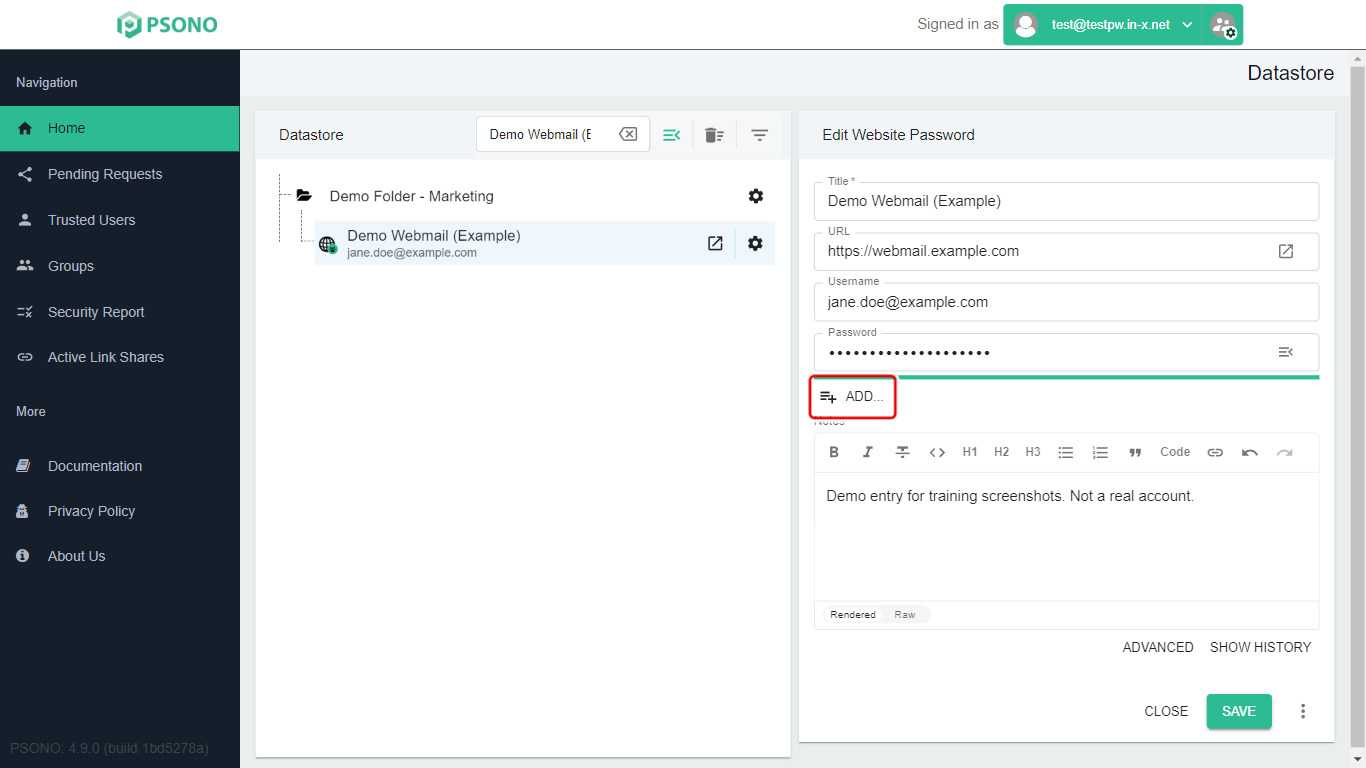
Open the entry and click Add....
-
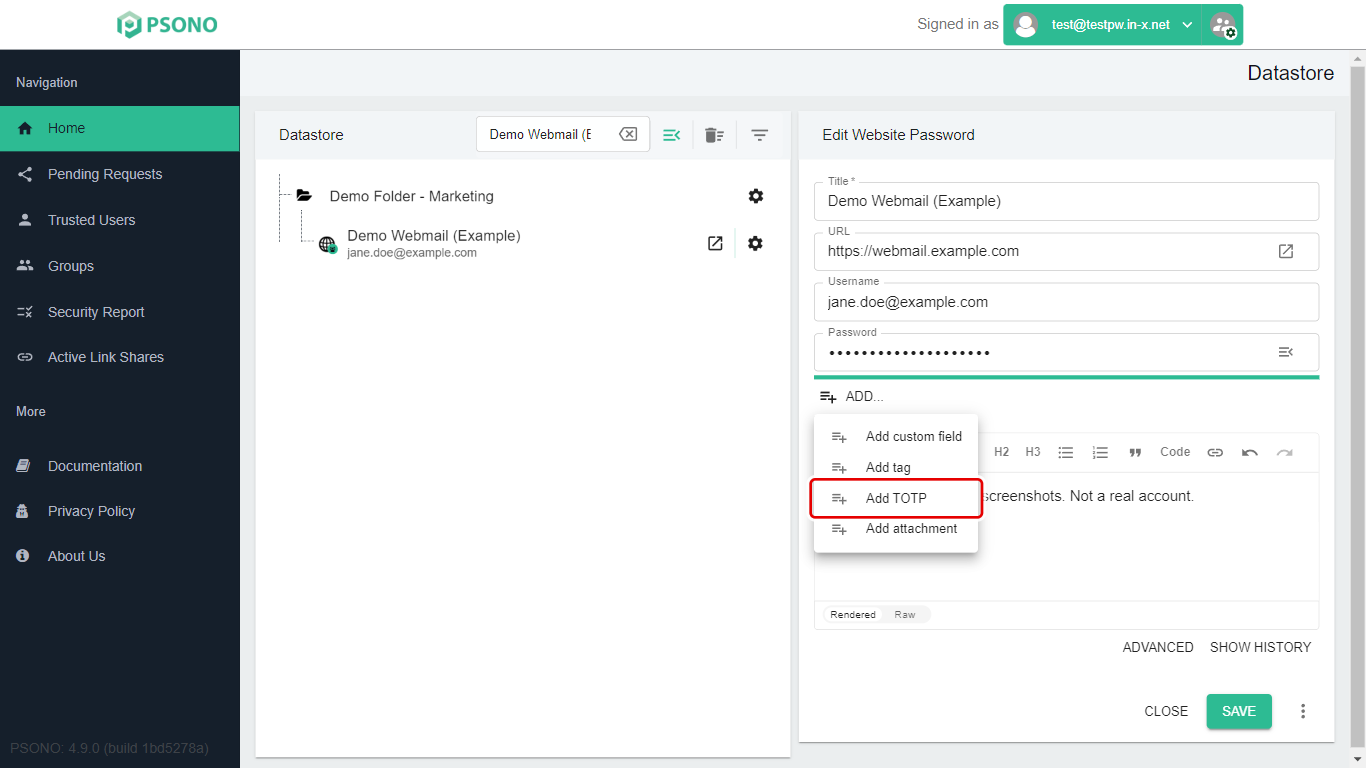
Click Add TOTP.
-
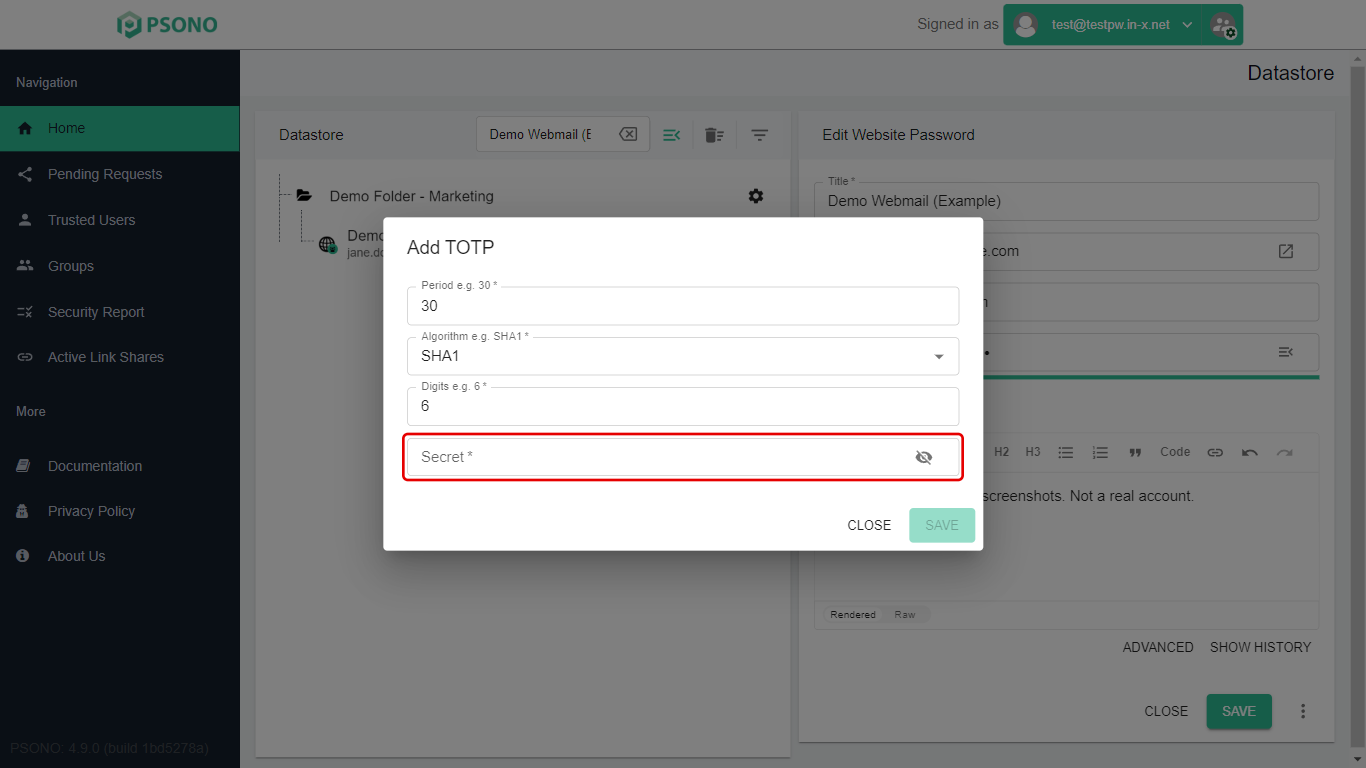
In the Add TOTP window, leave Period, Algorithm and Digits as they are.
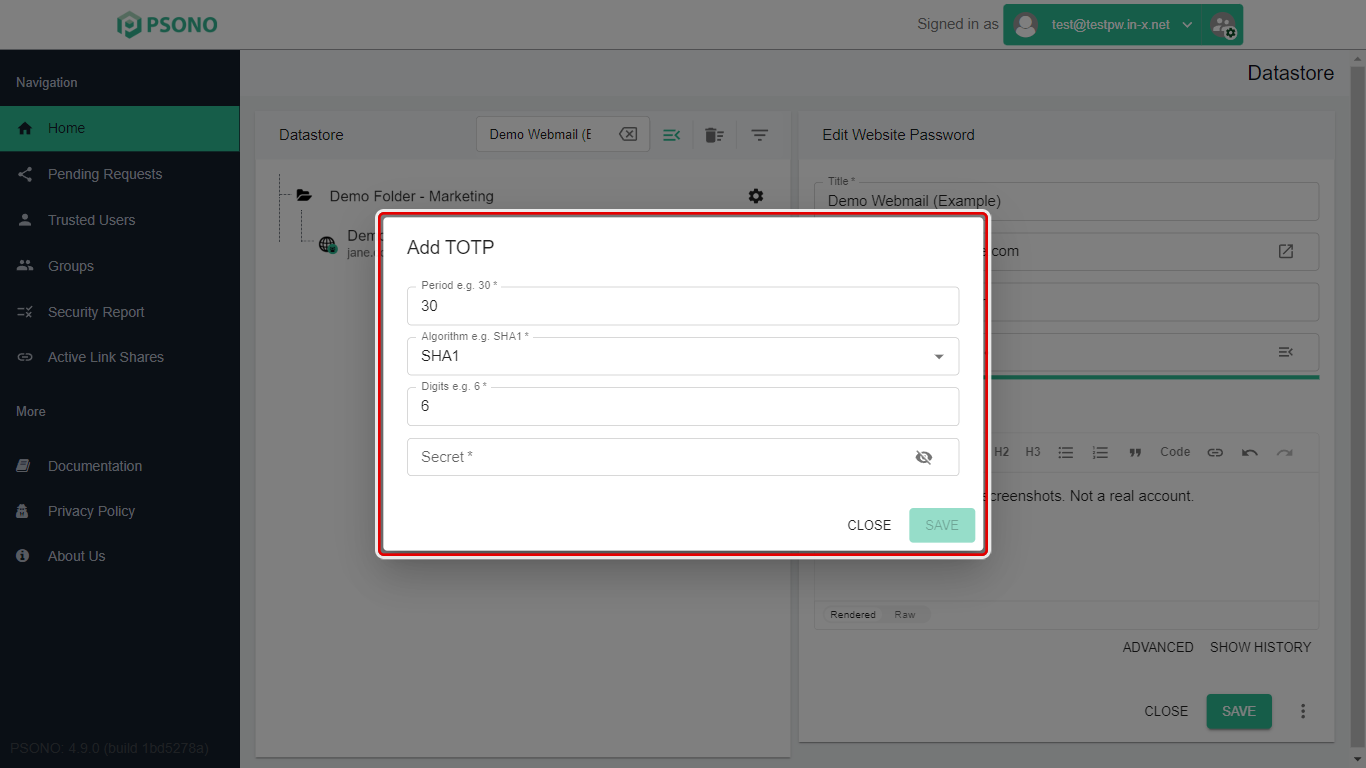
Paste the website's setup key into Secret. This is the text key the website shows next to its QR code; look for "can't scan the code?" or "enter a key instead".
-
Click Save, then Save on the entry.
You can also add custom fields (for example a PIN or a customer number) and tags from the same Add... menu.
Stuck on a step? Email support@the-it-connection.com or call 815-526-3600 and we’ll walk you through it.